Create a free binder spine template that you can customize online and then print.
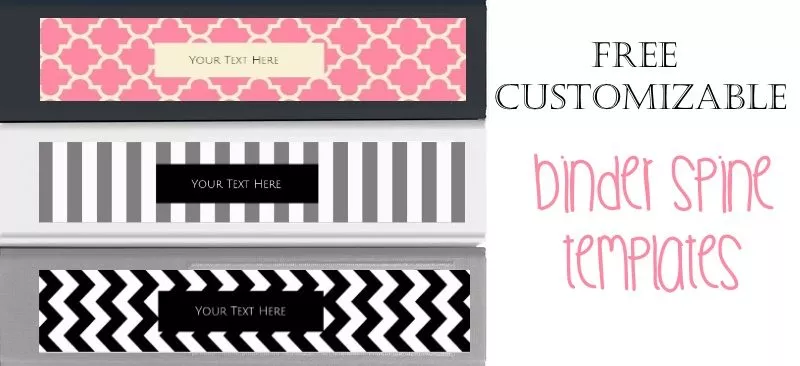
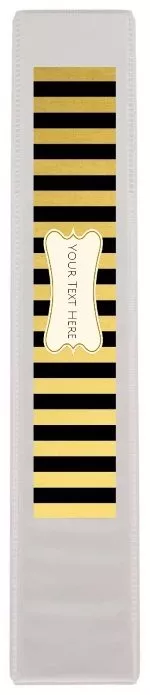
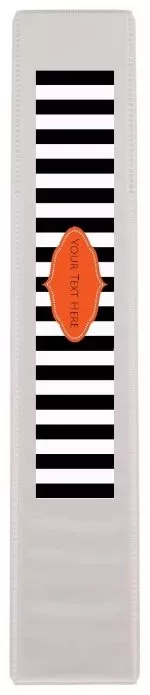
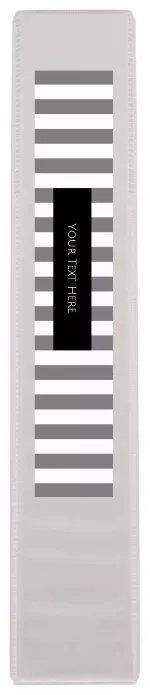
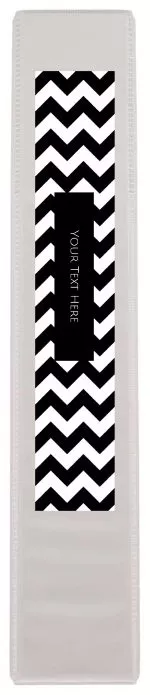
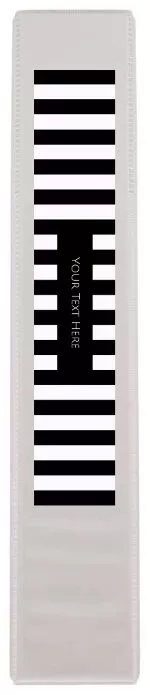
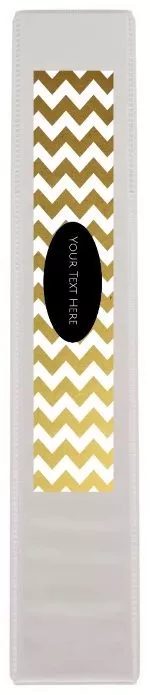
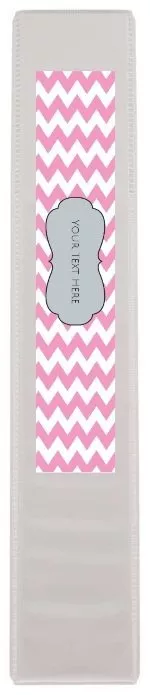
You can create a 3, 2 or 1-inch binder spine template but since the template is editable it can be used for other sizes too. You can change the color of the background and the label (except for the gold designs).
What size is the Binder Spine Template?
You can create binder spine labels in three different sizes. However, since the templates are editable, if your binder isn’t standard size you can make the template larger or smaller to fit your size.
The templates above are 1″ wide. We also have binder spine templates that are 2″ and 3″ wide:
Tips:
- There are two to three free printable binder spines per page. If you only want 1 binder spine template per page then simply delete the other two. To delete, click on the trash can on the bottom left corner. It it isn’t visible then drag the element to the right until you see the trash can.
- Select a binder cover template with a coordinating design.
- Print on cardstock and it will be easier to insert the spine into the pocket.
- Cut with a paper cutter to ensure that you cut a straight line.
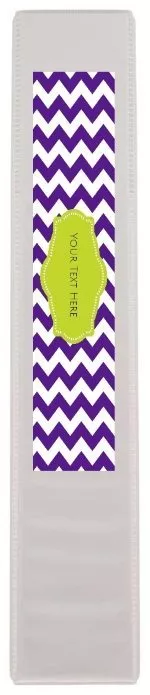
- Use these binder spines and our coordinating binder covers to upgrade cheap binders. Often, we even have old binders at home that don’t even need to be purchased. For example, a chevron binder often costs a lot more than a cheap plain white binder. Use a chevron binder spine and binder cover to create a chevron binder for the price of a cheap plain one.
- You can also use the app to create a book spine template. You might have to make it narrower. To do that click on the background and then on the round circle in the middle. Drag it to make it smaller.
Not sure where these go? These are the binder side labels. Those that go on the long narrow side of the binder (i.e. the vertical binder spine) that is exposed when it is in a bookshelf. If you are looking for a label for the front of the binder then check out our binder covers.
Do you need to use binder labels?
No. If you have binder labels that’s great. However, if you don’t have them then print on plain printer paper and apply with paper glue. You can also print on sticker paper and cut out. To do this, print on a blank sheet of sticker paper and cut around the binder spines.
If you are going to make binder spine inserts then don’t use sticker paper. Instead, use cardstock or heavy printing paper. It will be easier to insert.
How to change the color of the background or the label?
To change the color, click on the element you would like to change. You will see a little black box under it. Click on it and select any color.
How to Use the Template in Word
You can use our free online customizer to add text before you print. It is easier than using Word.
However, if you prefer to use Microsoft Word you can do that too.
- Click on the design that you want to use.
- Delete the dummy text.
- Download as an image.
- Insert the image into a Word document.
 My name is