Is your Happy Planner cover old or boring? You can create beautiful personalized printable covers with our free bullet journal app in under 2 minutes. Instant download!

We offer free printable Happy Planner covers for every Happy Planner size. A DIY planner cover is so cheap to make that you can make a new personalized Happy Planner cover for every month or season.
You can make one cover for the back and one for the front. You can also add content to both the inner and outer cover.
On the inner cover, you can add your name or a quote.
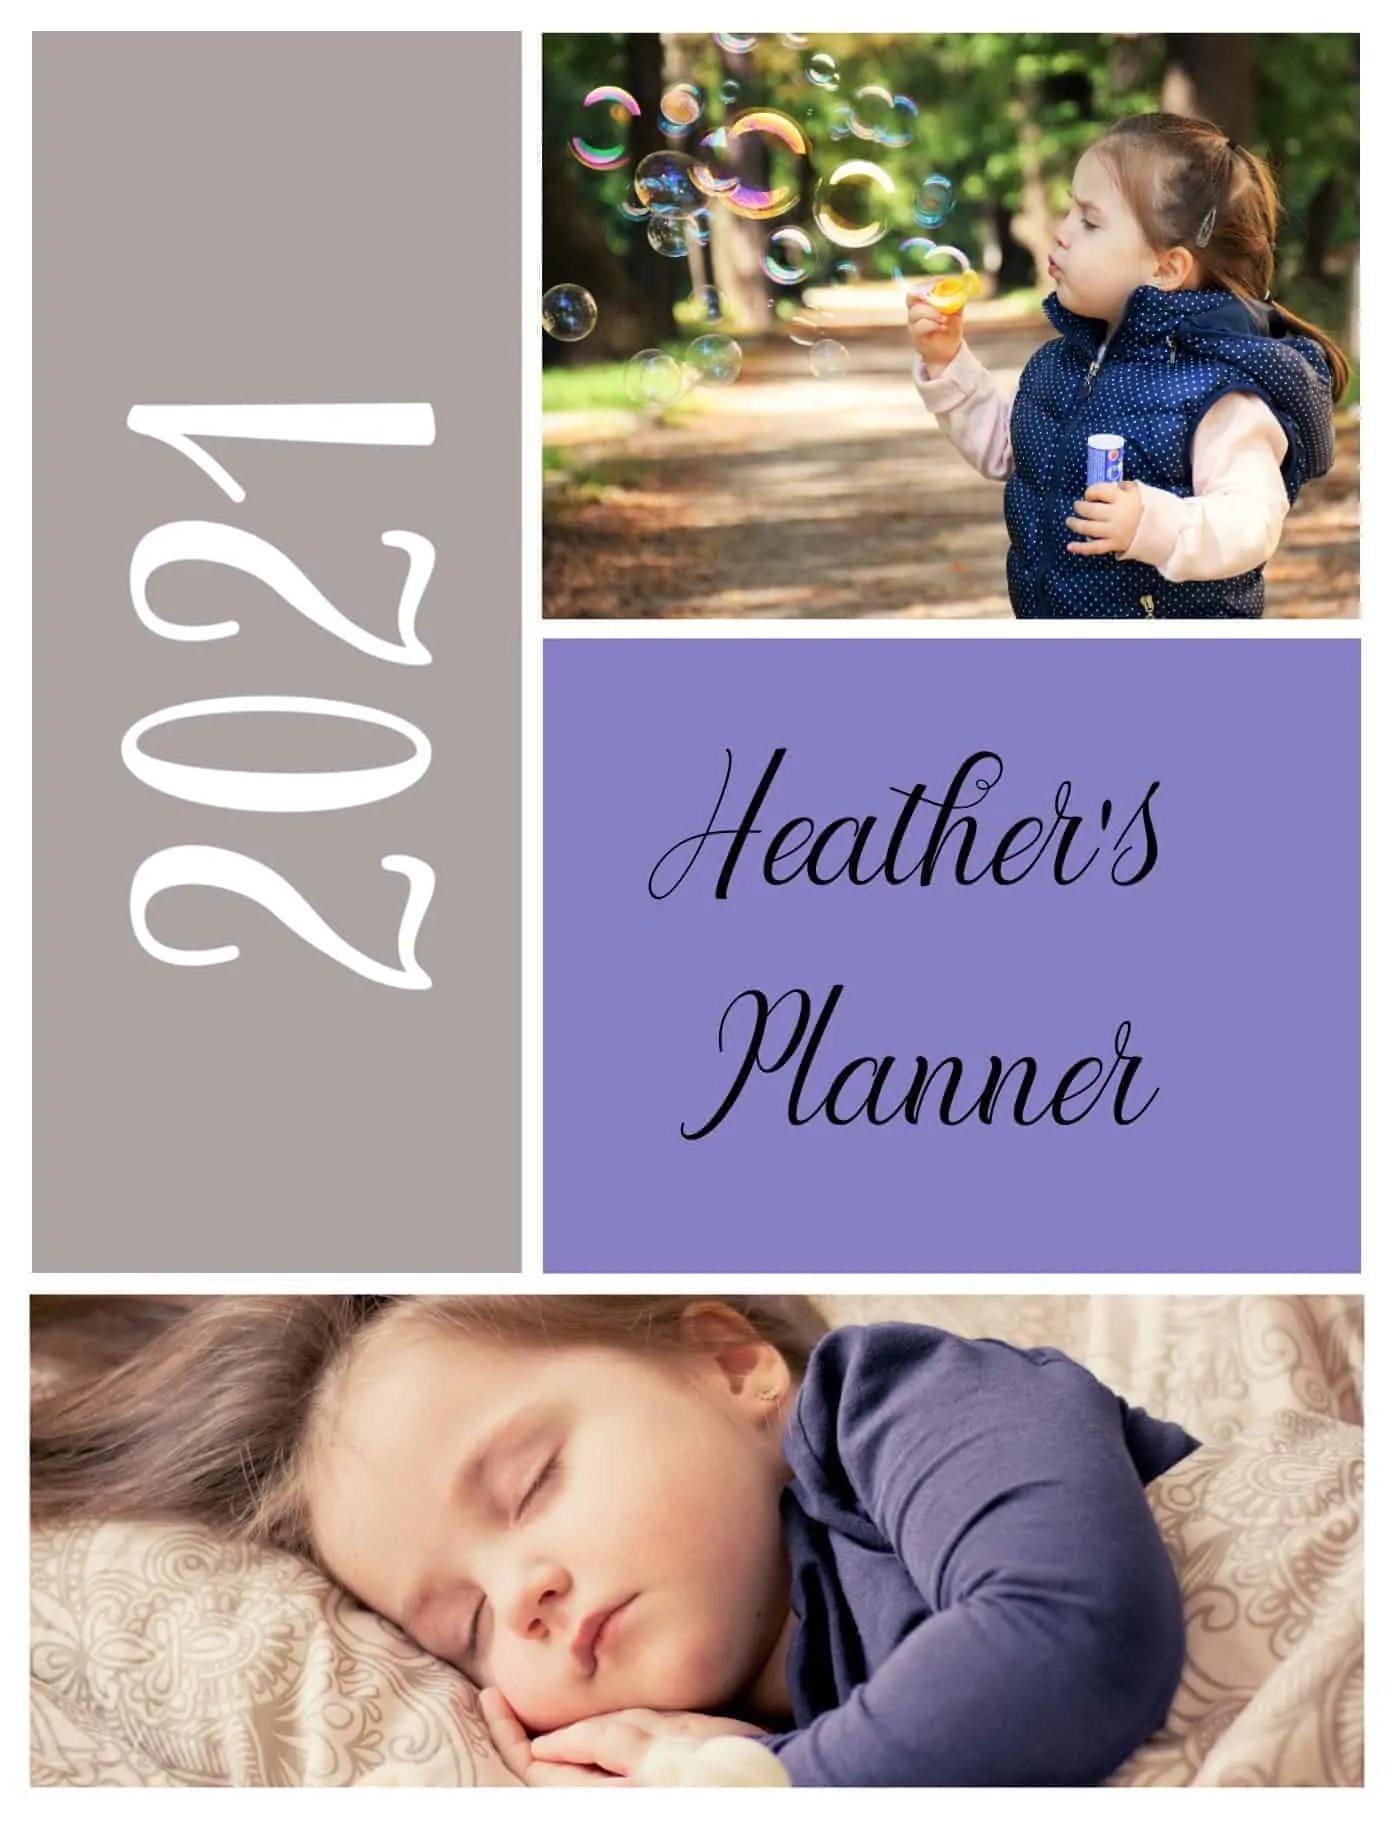
With our free Happy Planner custom cover templates, you can create a photo collage with your own photos in any HP size. You can also select from any of our 101 backgrounds if you prefer not to use photos.
As an Amazon Associate, I earn from qualifying purchases. This means that if you purchase anything I earn a commission on your purchase but it doesn’t cost you anything.
Planner Cover Ideas
We offer four different templates to make your planner cover but each template can be customized and changed. You can add photos, backgrounds, quotes, etc. We offer hundreds of backgrounds and millions of photos. Here are some planner cover ideas made with our cover maker. See step-by-step instructions on how to make a planner cover below.


How to Make a Happy Planner Cover
Supplies:
- Printer (if you don’t have a printer you can use a sheet of scrapbook paper instead of printing)
- 2 sheets of cardstock
- Copy paper if your printer doesn’t print on cardstock. If you print on standard copy paper then adhere the cardstock to the printer paper otherwise it will not be stiff enough.
- Paper cutter or scissors
- Happy Planner punch
- Corner rounder (optional)
- Laminator (if you don’t have one you can get a cheap one here. If you want to make covers for a big HP, then this A3 laminator is better)
- 2 Laminator pouches (5 mil is better than 3 mil which isn’t as thick and durable)
Which laminator can you use?
If you don’t have a laminator then I strongly suggest you get one. It is so useful. I use it to make planner dashboards, store documents and photos, make name badges, and flashcards, protect the recipes I use often (they are protected from dirt and moisture), chore charts, dry-erase weekly calendars and schedules, preserve my kids’ artwork, and I could keep going but I must get back to the point 🙂
The smaller and cheaper laminators such as this one are perfect for the classic and mini size. They will work for the Big size but they will not cover the planner tabs. The pouch is big enough but the page it takes isn’t big enough. An A3 laminator such as this one is perfect for all sizes.
If you don’t have a laminator and don’t want to buy one, you can get lamination services at many office-supplies stores. Alternatively, you can use these laminating sheets that do not require a laminator. If you only want to make two covers (for the front and back) and don’t have a laminator or laminating sheets then this pack is a great option. It was really cheap and is of good quality. Perfect for those with no laminator. The 10-sheet pack will be better if you want to make more than one cover or in case you make a mistake.
If you don’t have a laminator or a cutting machine then this is a great bundle to get. The laminator is 13″ so it can laminate any size planner cover. It comes with a cutting machine and a corner rounder so that you can round your corners like the original covers. It warms up in only 2 minutes! There are other models, where the paper cutter is an integral part of the laminator. If you are going to be using your cutter to cut planner pages and stickers then it isn’t as convenient in my opinion but it is a personal choice.
Instructions:
1. Select a cover template for your Happy Planner Size. We offer templates for all the Happy Planners: Happy Planner Mini | Happy Planner Classic | Happy Planner BIG Size

2. Customize the front planner cover and download it.
3. Customize the back planner cover and download it.
4. Print both covers. If your printer prints on cardstock then it is better. Many printers don’t print on cardstock. If your printer doesn’t print on cardstock you can print on standard copy paper (that’s what I did). If you do print on paper then adhere a piece of cardstock to the printed cover otherwise it will not be stiff enough.
5. Trim if required. You do not have to cut the BIG planner size since the page is the size of standard copy paper (8.5” x 11”). The other sizes will need to be cut. If you are making a big planner cover and if your printer prints bigger than standard size then resize the cover to enlarge it. If not, print on standard paper and back the cover with a larger piece of cardstock.
6. Cut a blank sheet of cardstock for each printed sheet of paper.
7. Place the blank sheet and the printed sheet together. Adhere with a bit of paper glue so that the sheets stay together in the laminator.
8. Round the corners with scissors or a corner rounder. On the original cover, the corners are rounded both before they are laminated and after they are laminated.
9. Put two sheets into the laminator pouch.
10. Insert it into the machine and turn it on.

11. Place your new cover on your old cover and mark the outline with a pencil so that you can know where to trim.

12. Trim the excess lamination around the sheet. Be sure to leave a 1/4 ” border of laminate around the edge so the pouch can maintain its seal.

13. Round each corner slightly if your pouch doesn’t have rounded corners.
14. Place your new cover on your Happy Planner and mark the holes with a pencil.
15. Punch holes.

16. Snap it on your Happy Planner.
Happy Planner Covers
Big Happy Planner Cover
A3 Laminator and Laminating Pouches
This is the perfect size for the Big HP cover (see above). If your printer can print A3 (which is bigger than standard size then that is perfect). If not, you can either have it printed or use a scrapbook page or piece of cardstock behind the printed cover.
8.5″x11″ Laminator and Laminating Pouches
The BIG HP cover size is 9” x 11.25”. This is bigger than a standard-sized laminating pouch. If you don’t have access to a larger laminator (A3) such as this one, then these laminating pouches will work relatively well for the Big size. They are of perfect thickness (5 Mil) and the size (8.9″x11.4″) is nearly identical to the original planner cover. They also have rounded corners. It should be noted that the pouch will be slightly narrower than the original cover but it will still be wide enough to cover the planner tabs. It will also be slightly longer than the original. The original cover is 11.25 and these pouches (and most others) are 11.4″ but they can easily be cut. They are 8.9″ (as are most others) and the original is 9″.
The problem is the page. The pouch takes a standard-sized page (8.5 ” x 11″). This means that although the laminated cover will be nearly the right size, it takes a standard-sized page so it will cover the planner pages but it will not cover the planner tabs. You can solve this by taping washi tape around the laminating pouch to cover the transparent area.
If you have an A3 laminating pouch and access to a printer that can print A3 then set the printer to print the cover at 9” x 11.25”.
If you have an A3 laminating pouch but your printer can on print on standard-size paper then print on paper and back it with a larger piece of plain cardstock.
Supplies for the BIG size (since it is larger than the standard page size the supplies are different than the classic and mini size):
- Printer (if your printer can’t print A3 you can have it printed or use a scrapbook sheet)
- 2 sheets of cardstock
- A3 copy paper if your printer doesn’t print on cardstock. If you print on standard copy paper then adhere the cardstock to the printer paper otherwise it will not be stiff enough.
- Paper cutter or scissors
- Happy Planner punch
- Laminator (this A3 laminator is perfect for the Big HP cover. This one is slightly more expensive but it comes with 16 pouches – 4 of which are A3 size which means you can make two covers with a front and back without buying any pouches)
- 2 Laminator pouches (5 mil is better than 3 mil which isn’t as thick and durable)
- Corner rounder (nice to have but not necessary – it creates rounded corners like the original HP covers. This one cuts corners in three different sizes)
Happy Planner Classic Cover
The Classic Happy Planner cover size is 7.75” x 9.75”. This cover can be easily created with a standard-sized laminator and laminating pouch.
Mini Happy Planner Cover
The Mini Size HP cover size is 5.125” x 7.5”. This cover can be easily created with a standard-sized laminator and laminating pouch.
 My name is
Thanks for the guide, you explained a lot in it!