
Finding the perfect seating arrangement is challenging but we have you covered. Use our free seating chart maker or classroom seating chart templates to find the best solution with minimum effort.

With our free online classroom design tool, you can create a classroom layout with a few clicks of your mouse. Add desks, chairs, storage, bookshelves, etc to design and plan your ideal classroom layout. We also offer a free editable classroom seating chart template to help organize your classroom and plan the seating arrangements. Printing a visual layout of your classroom will help you find the ideal layout for your classroom and ideal seating arrangements. You can move tables and students around until you find the ideal classroom seating arrangement.
Classroom Seating Chart
The following classroom seating chart templates are available in four different formats: a typeable PDF, Microsoft Word, Powerpoint, and an image file.
Select the classroom floor plan that most resembles the floor plan you have or would like to create. If you find a perfect match, then you can download an image or editable PDF and type the names of the students only. If you need to change the layout, then select the Powerpoint version. You can delete desks, add additional desks or drag them around.

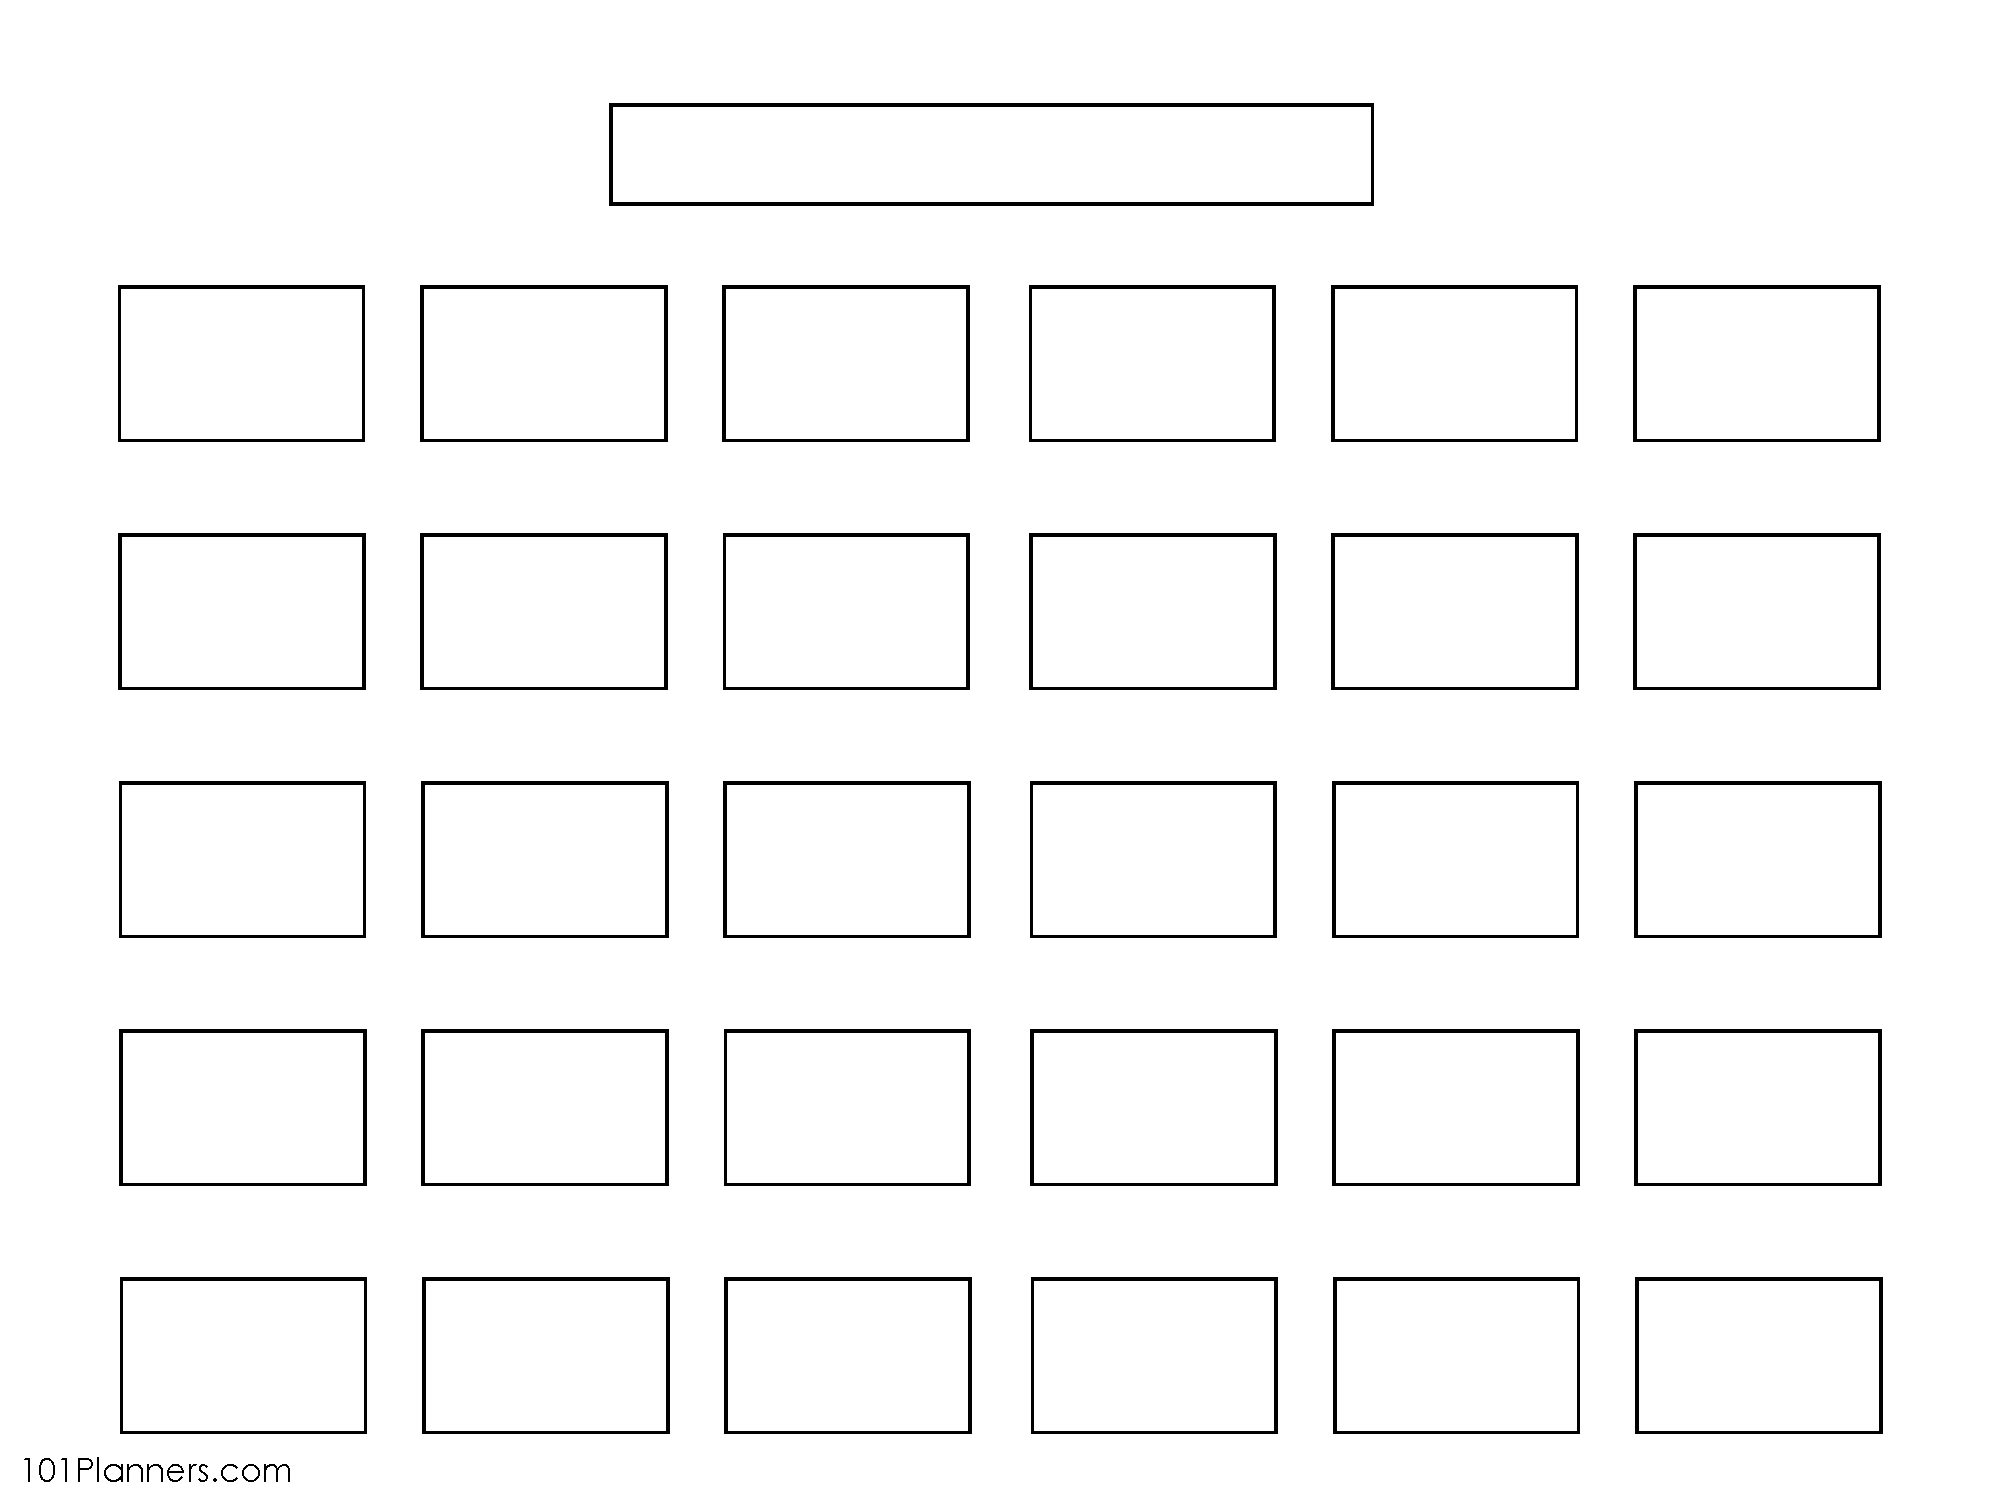
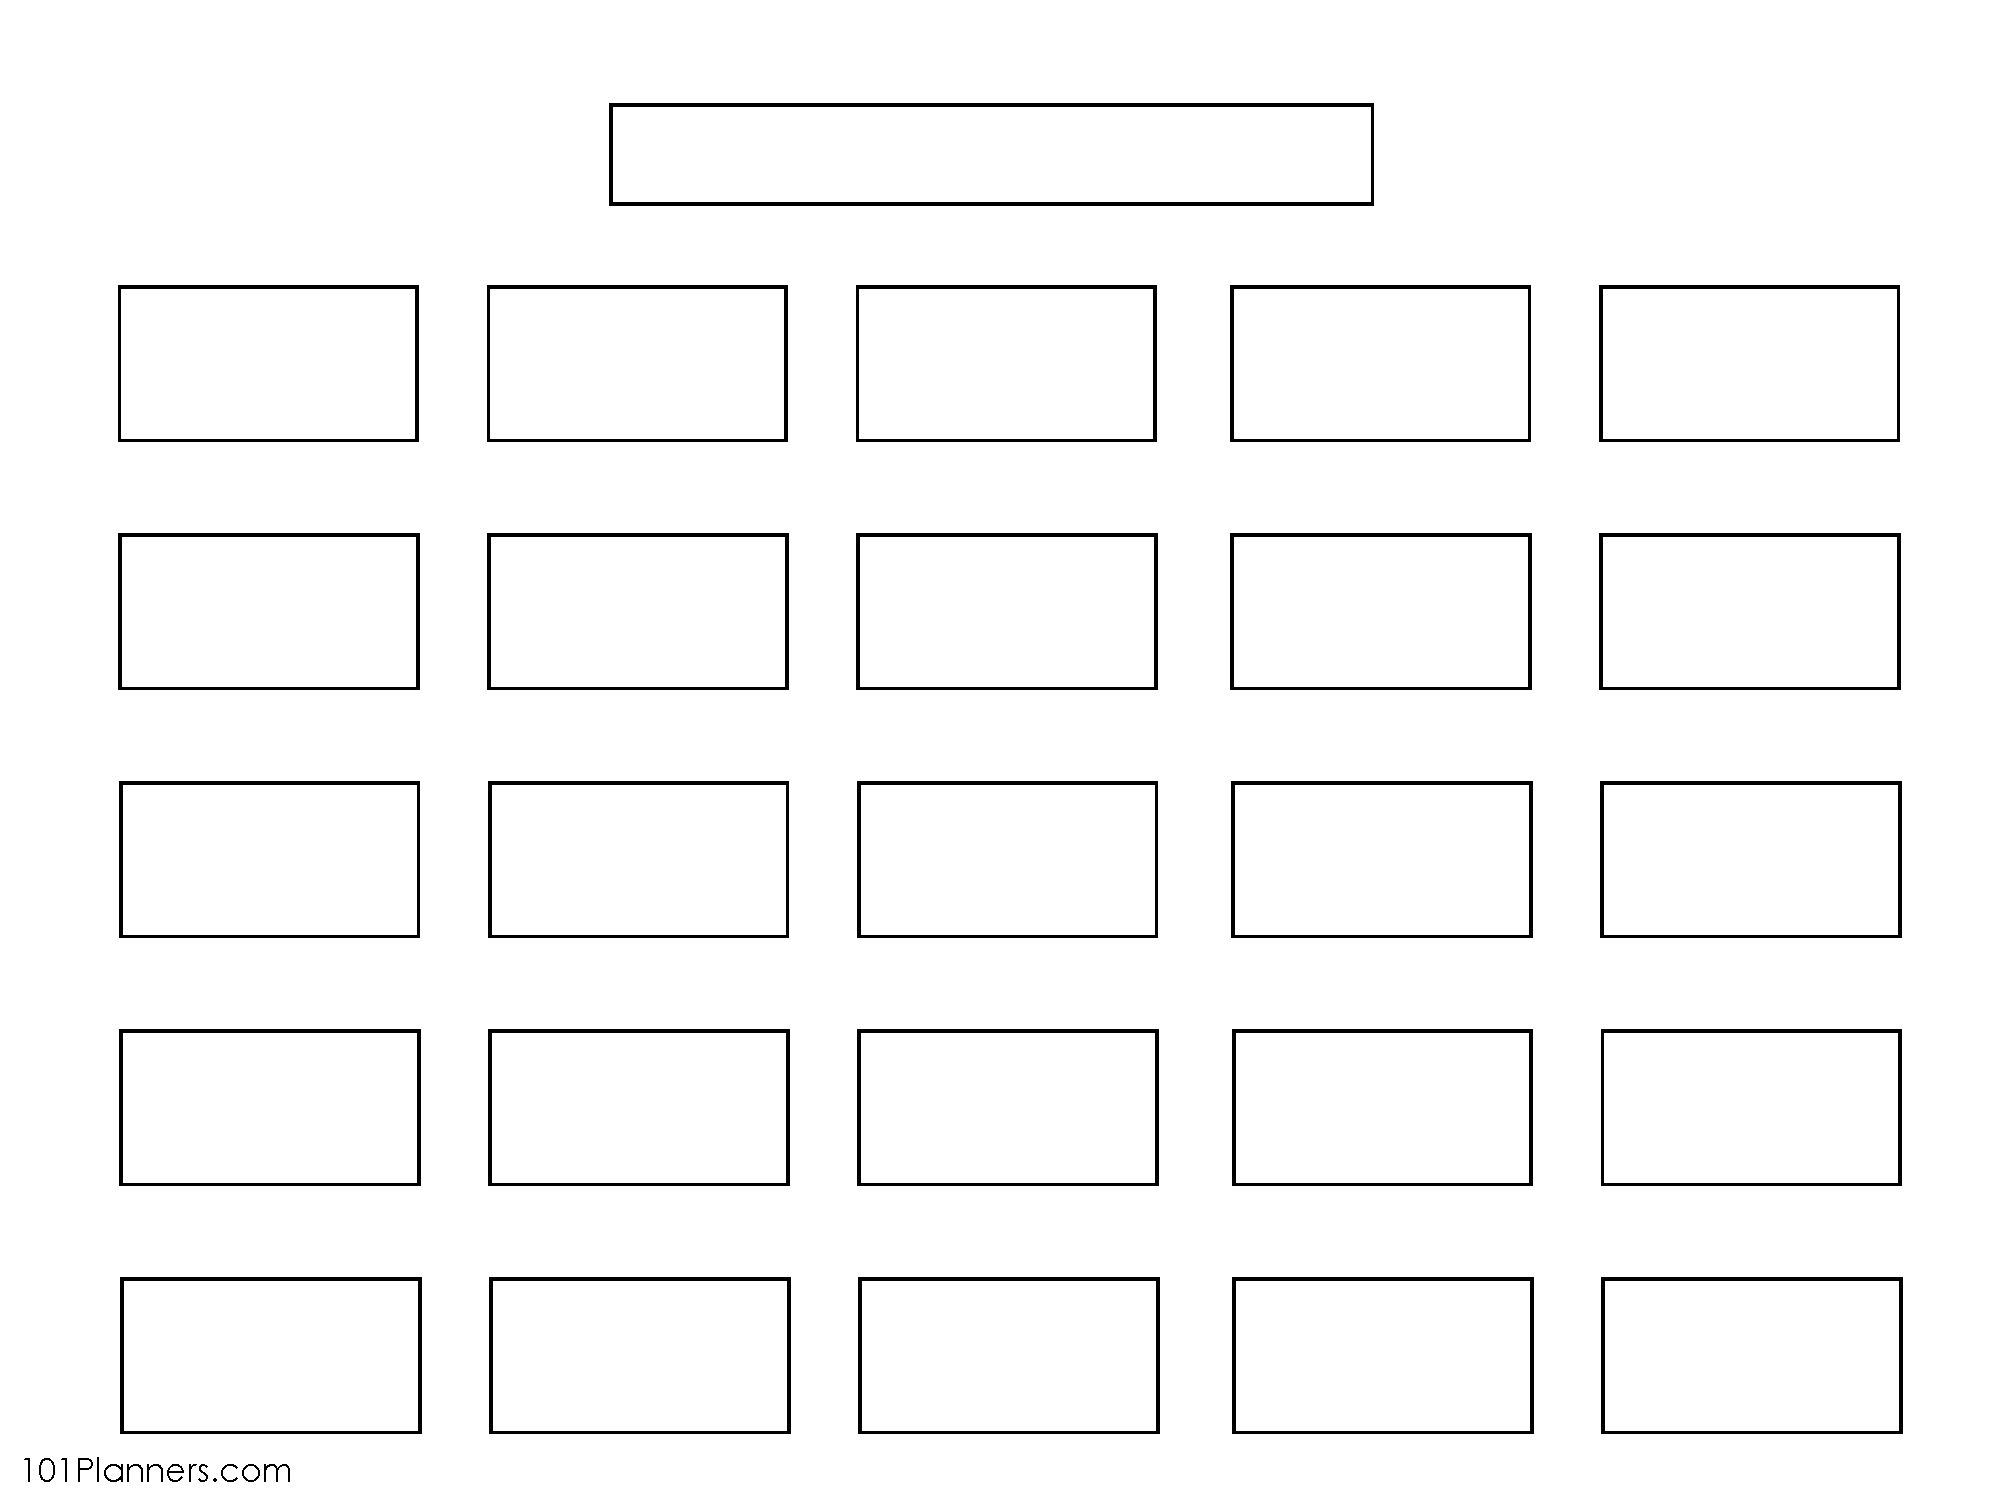
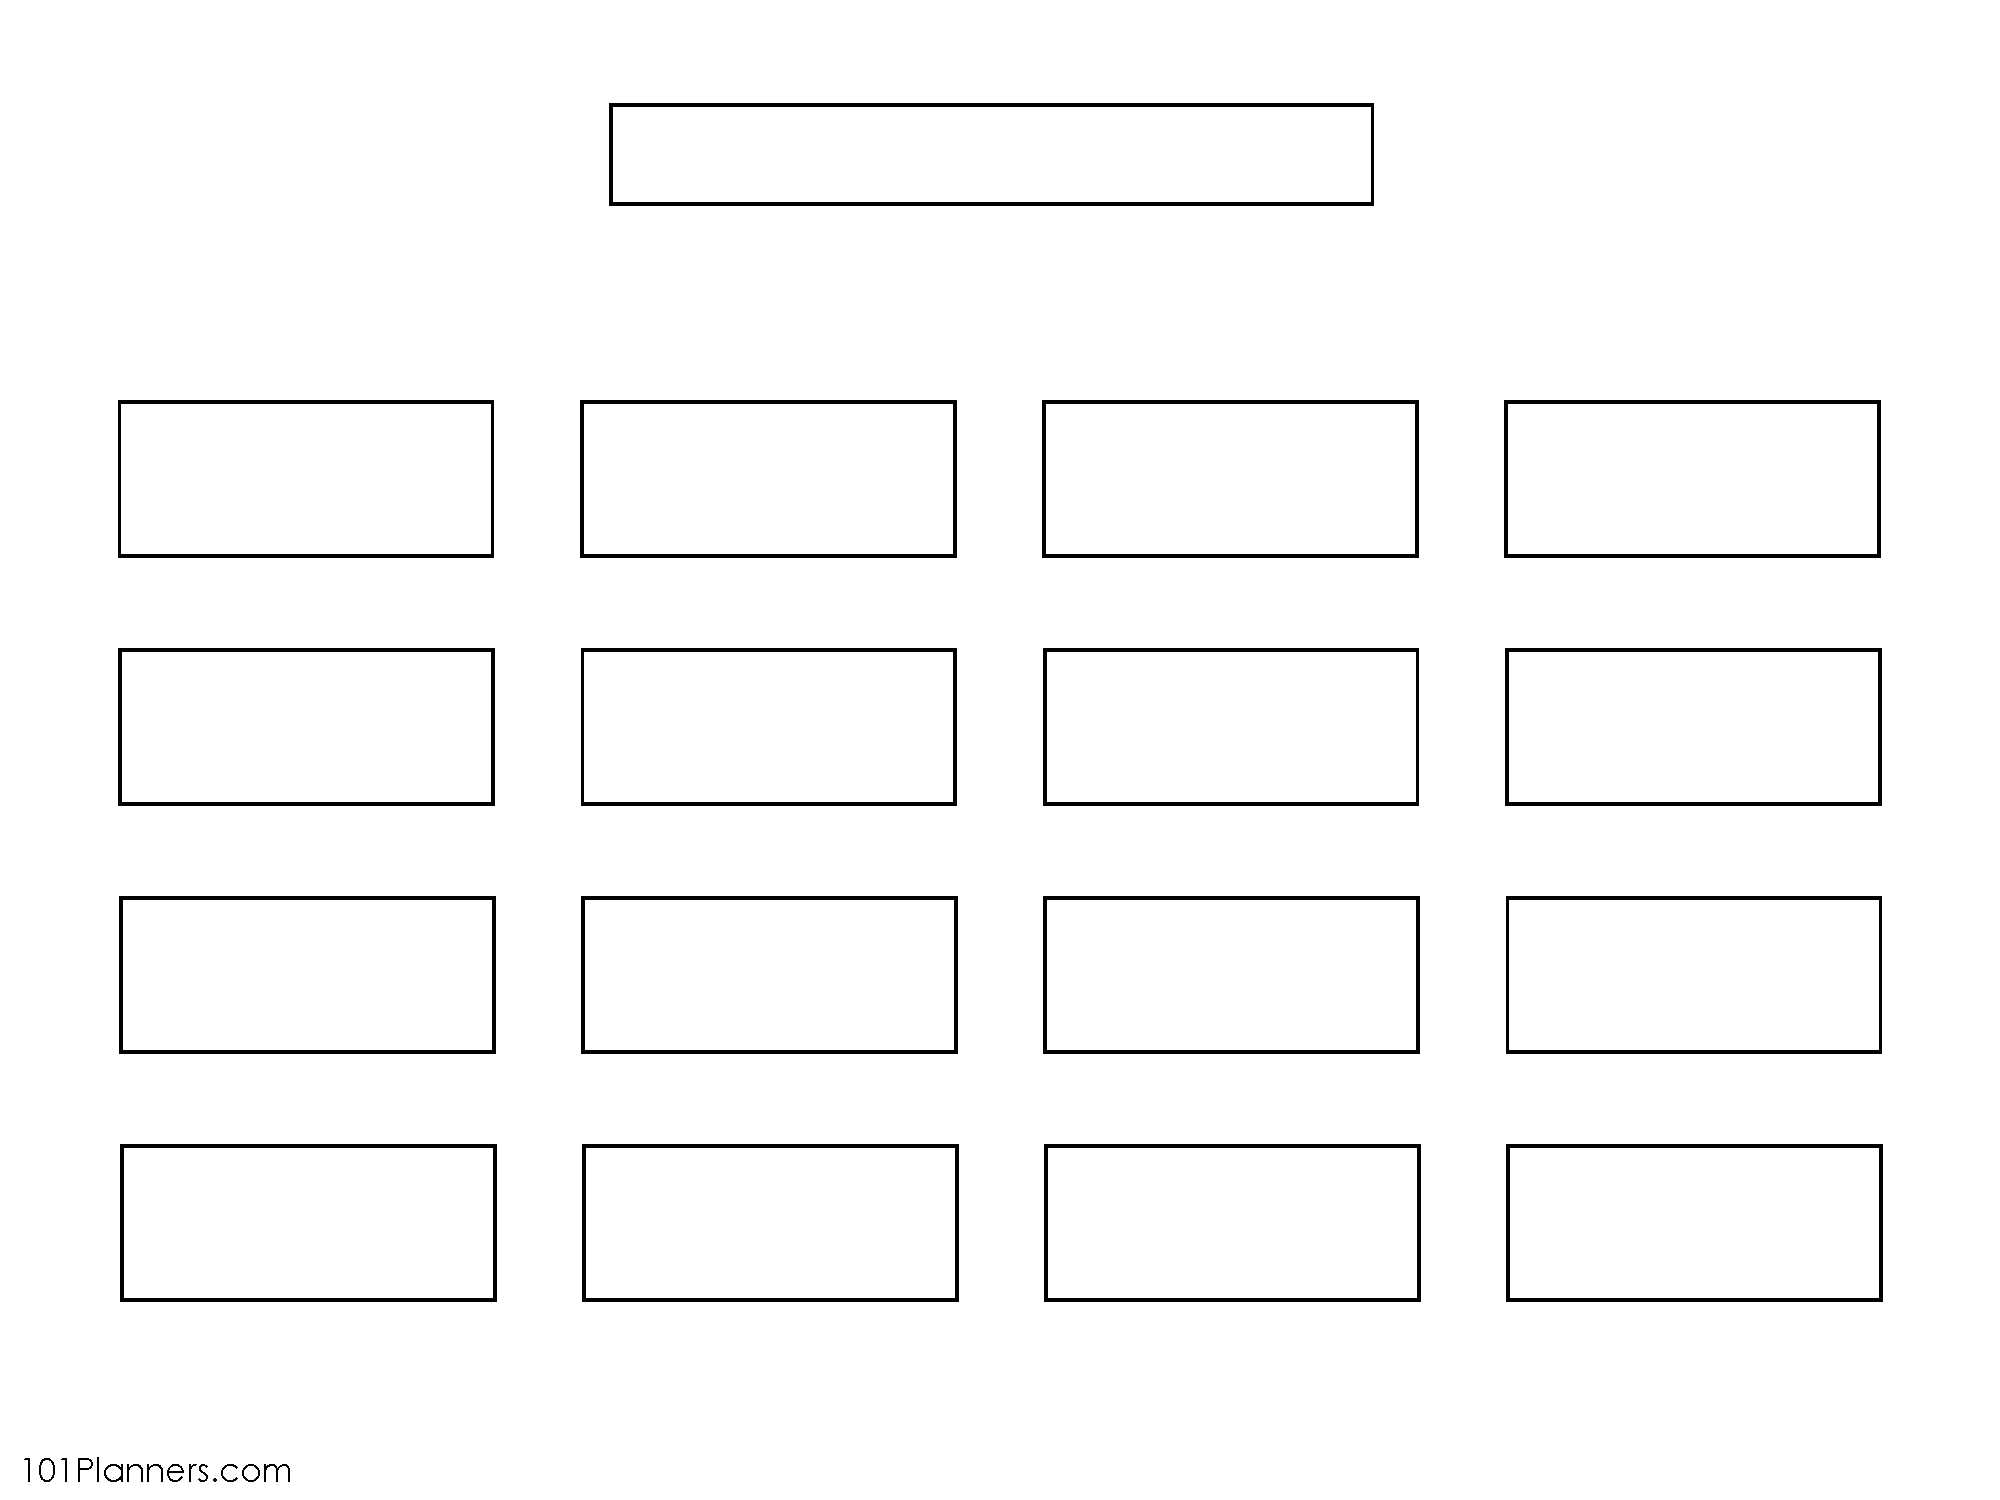
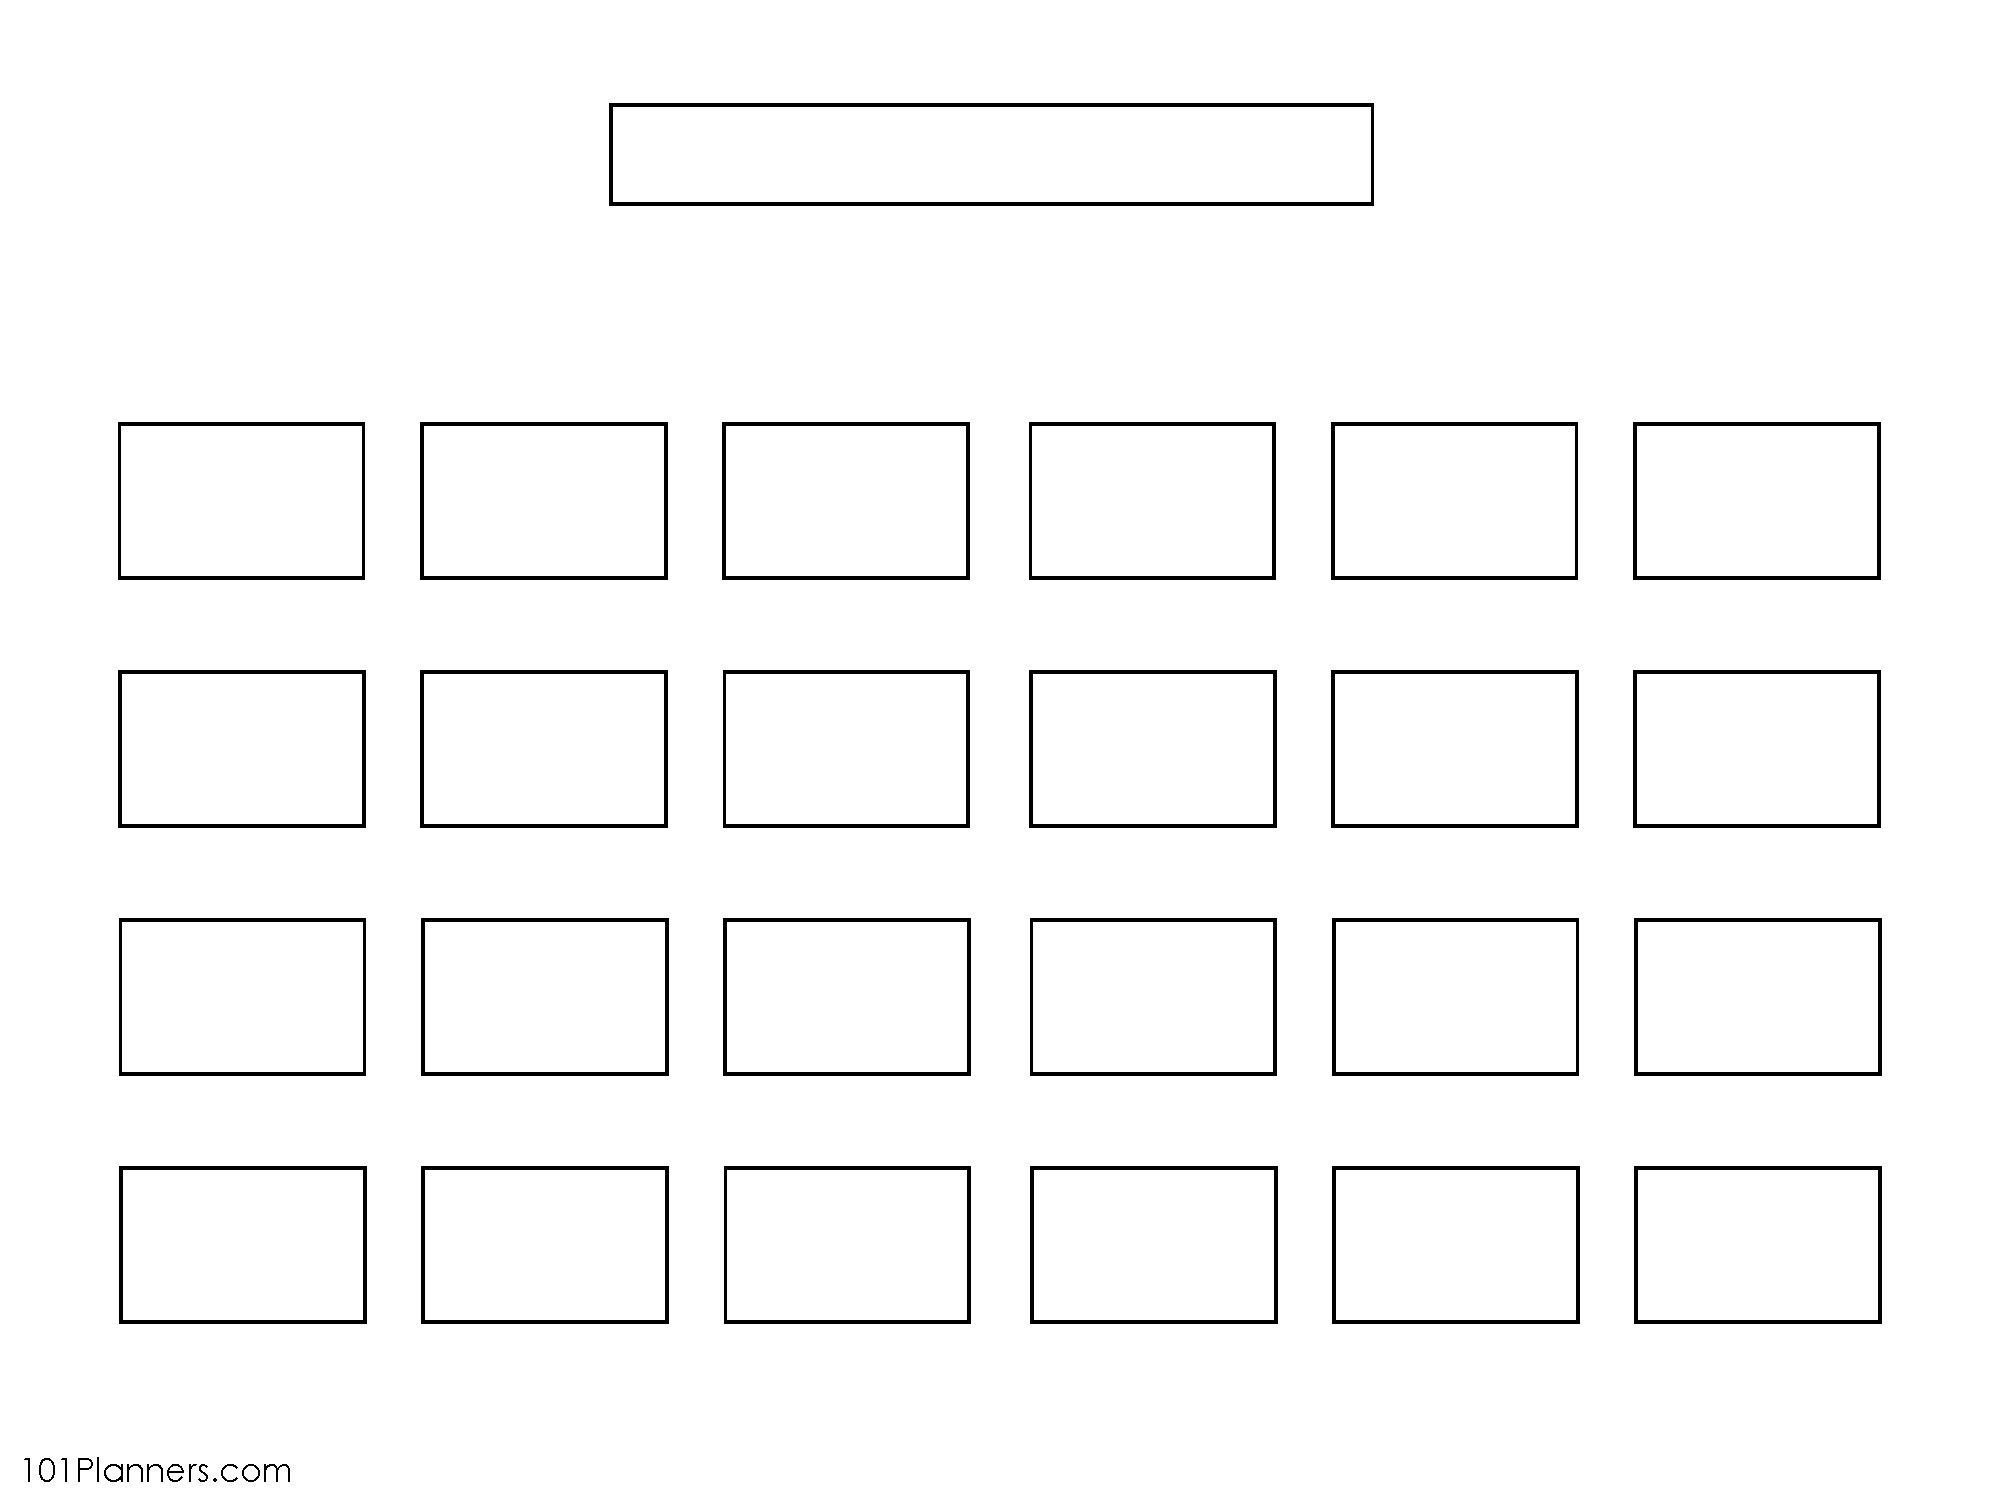
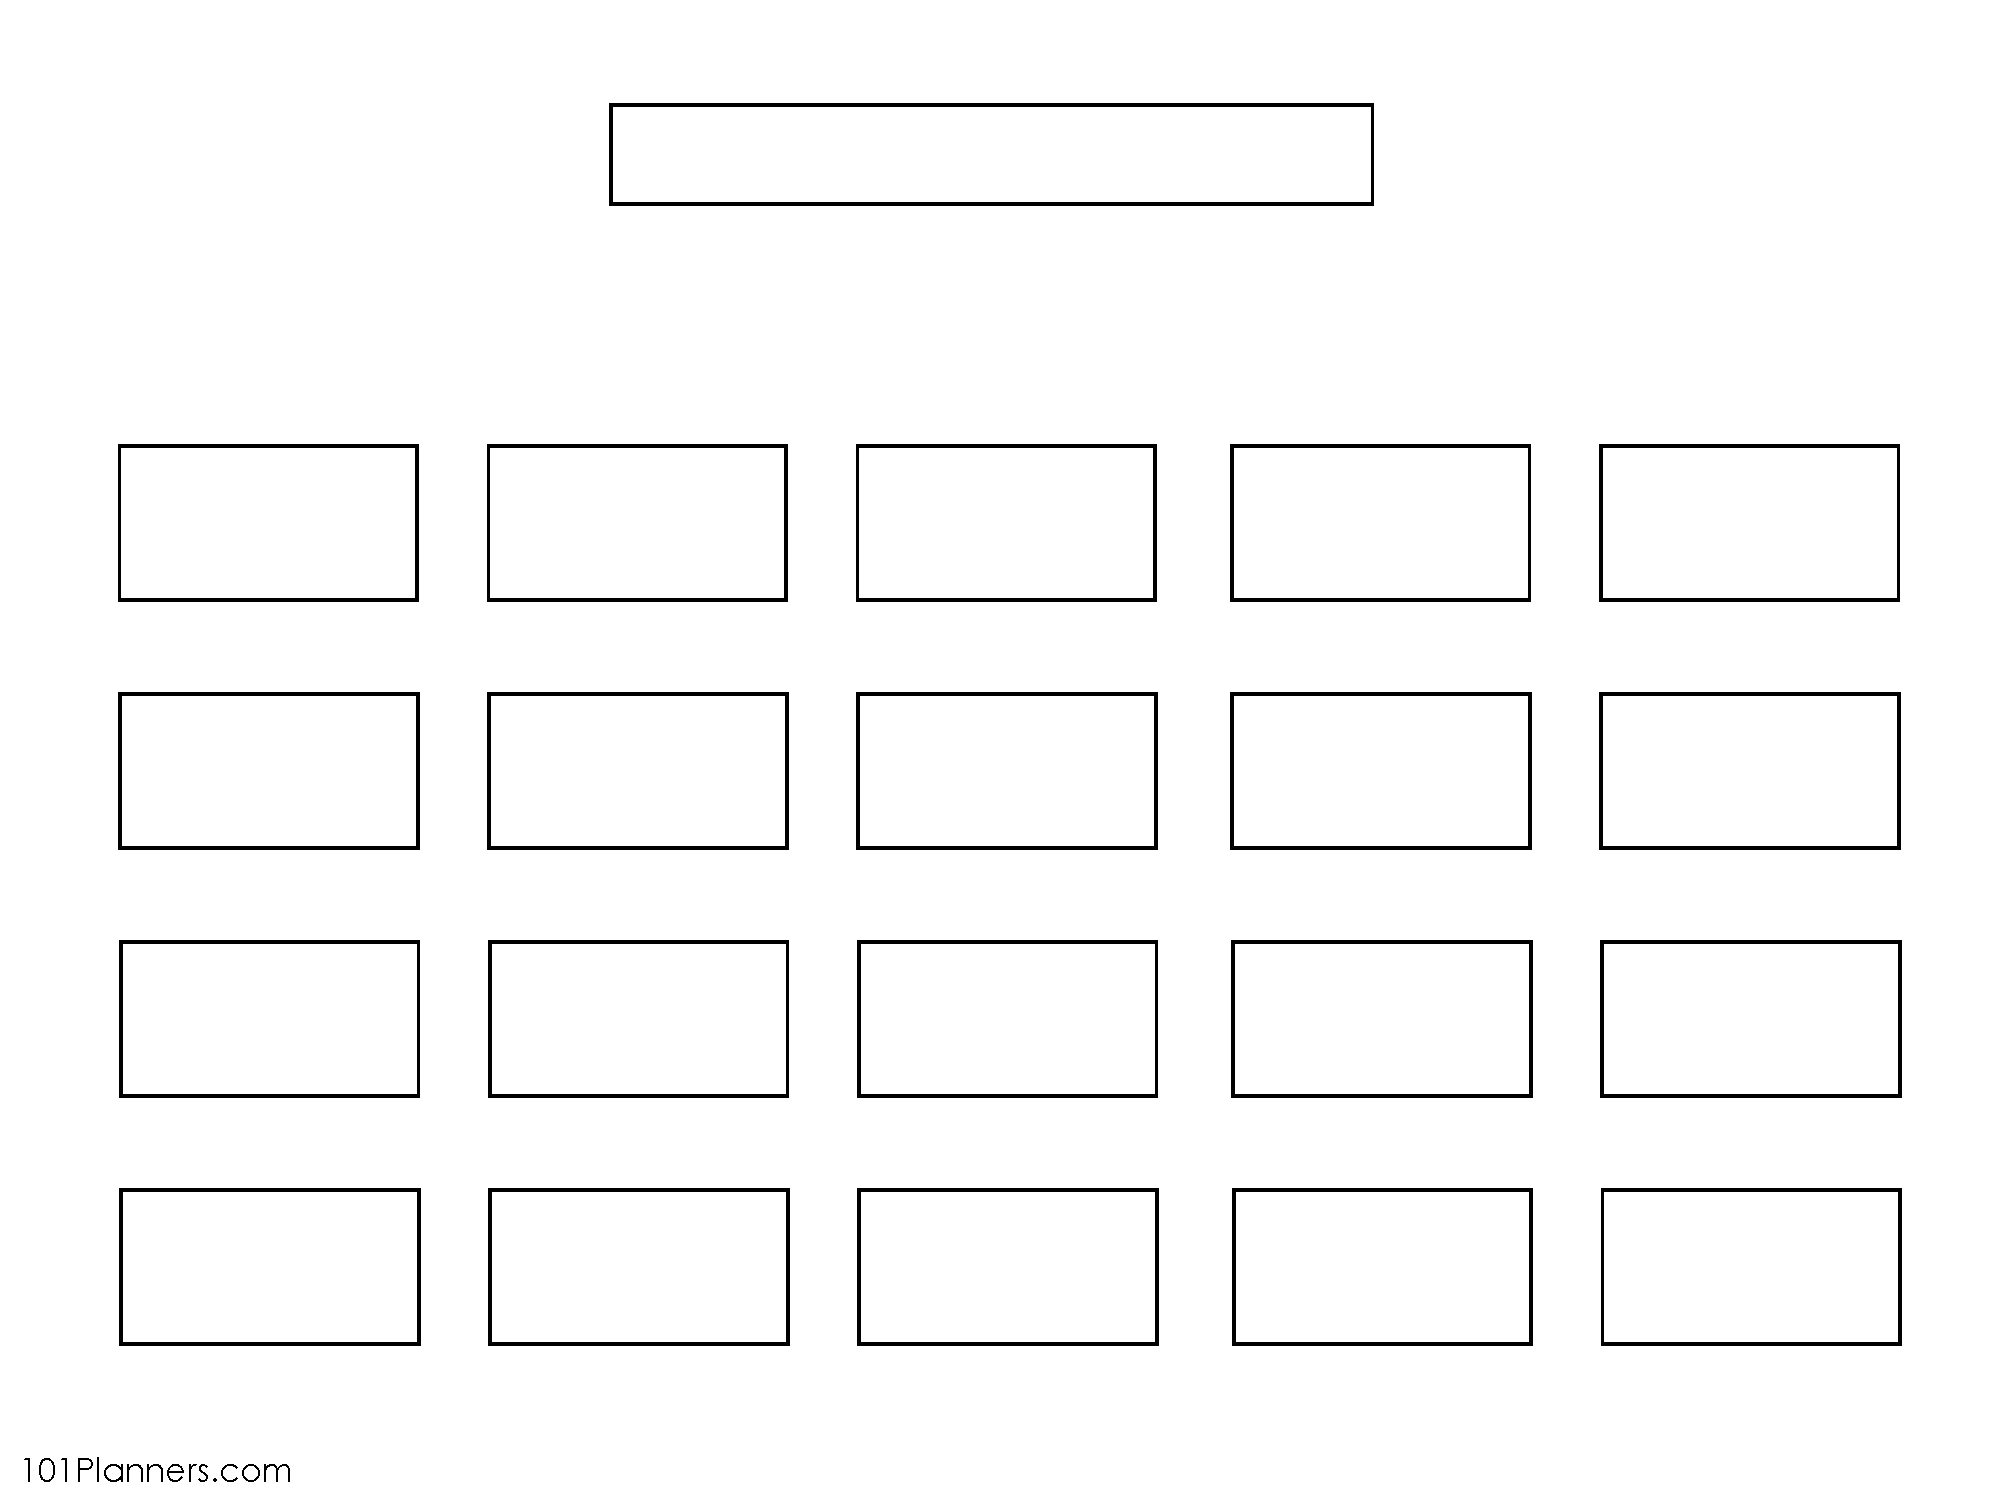
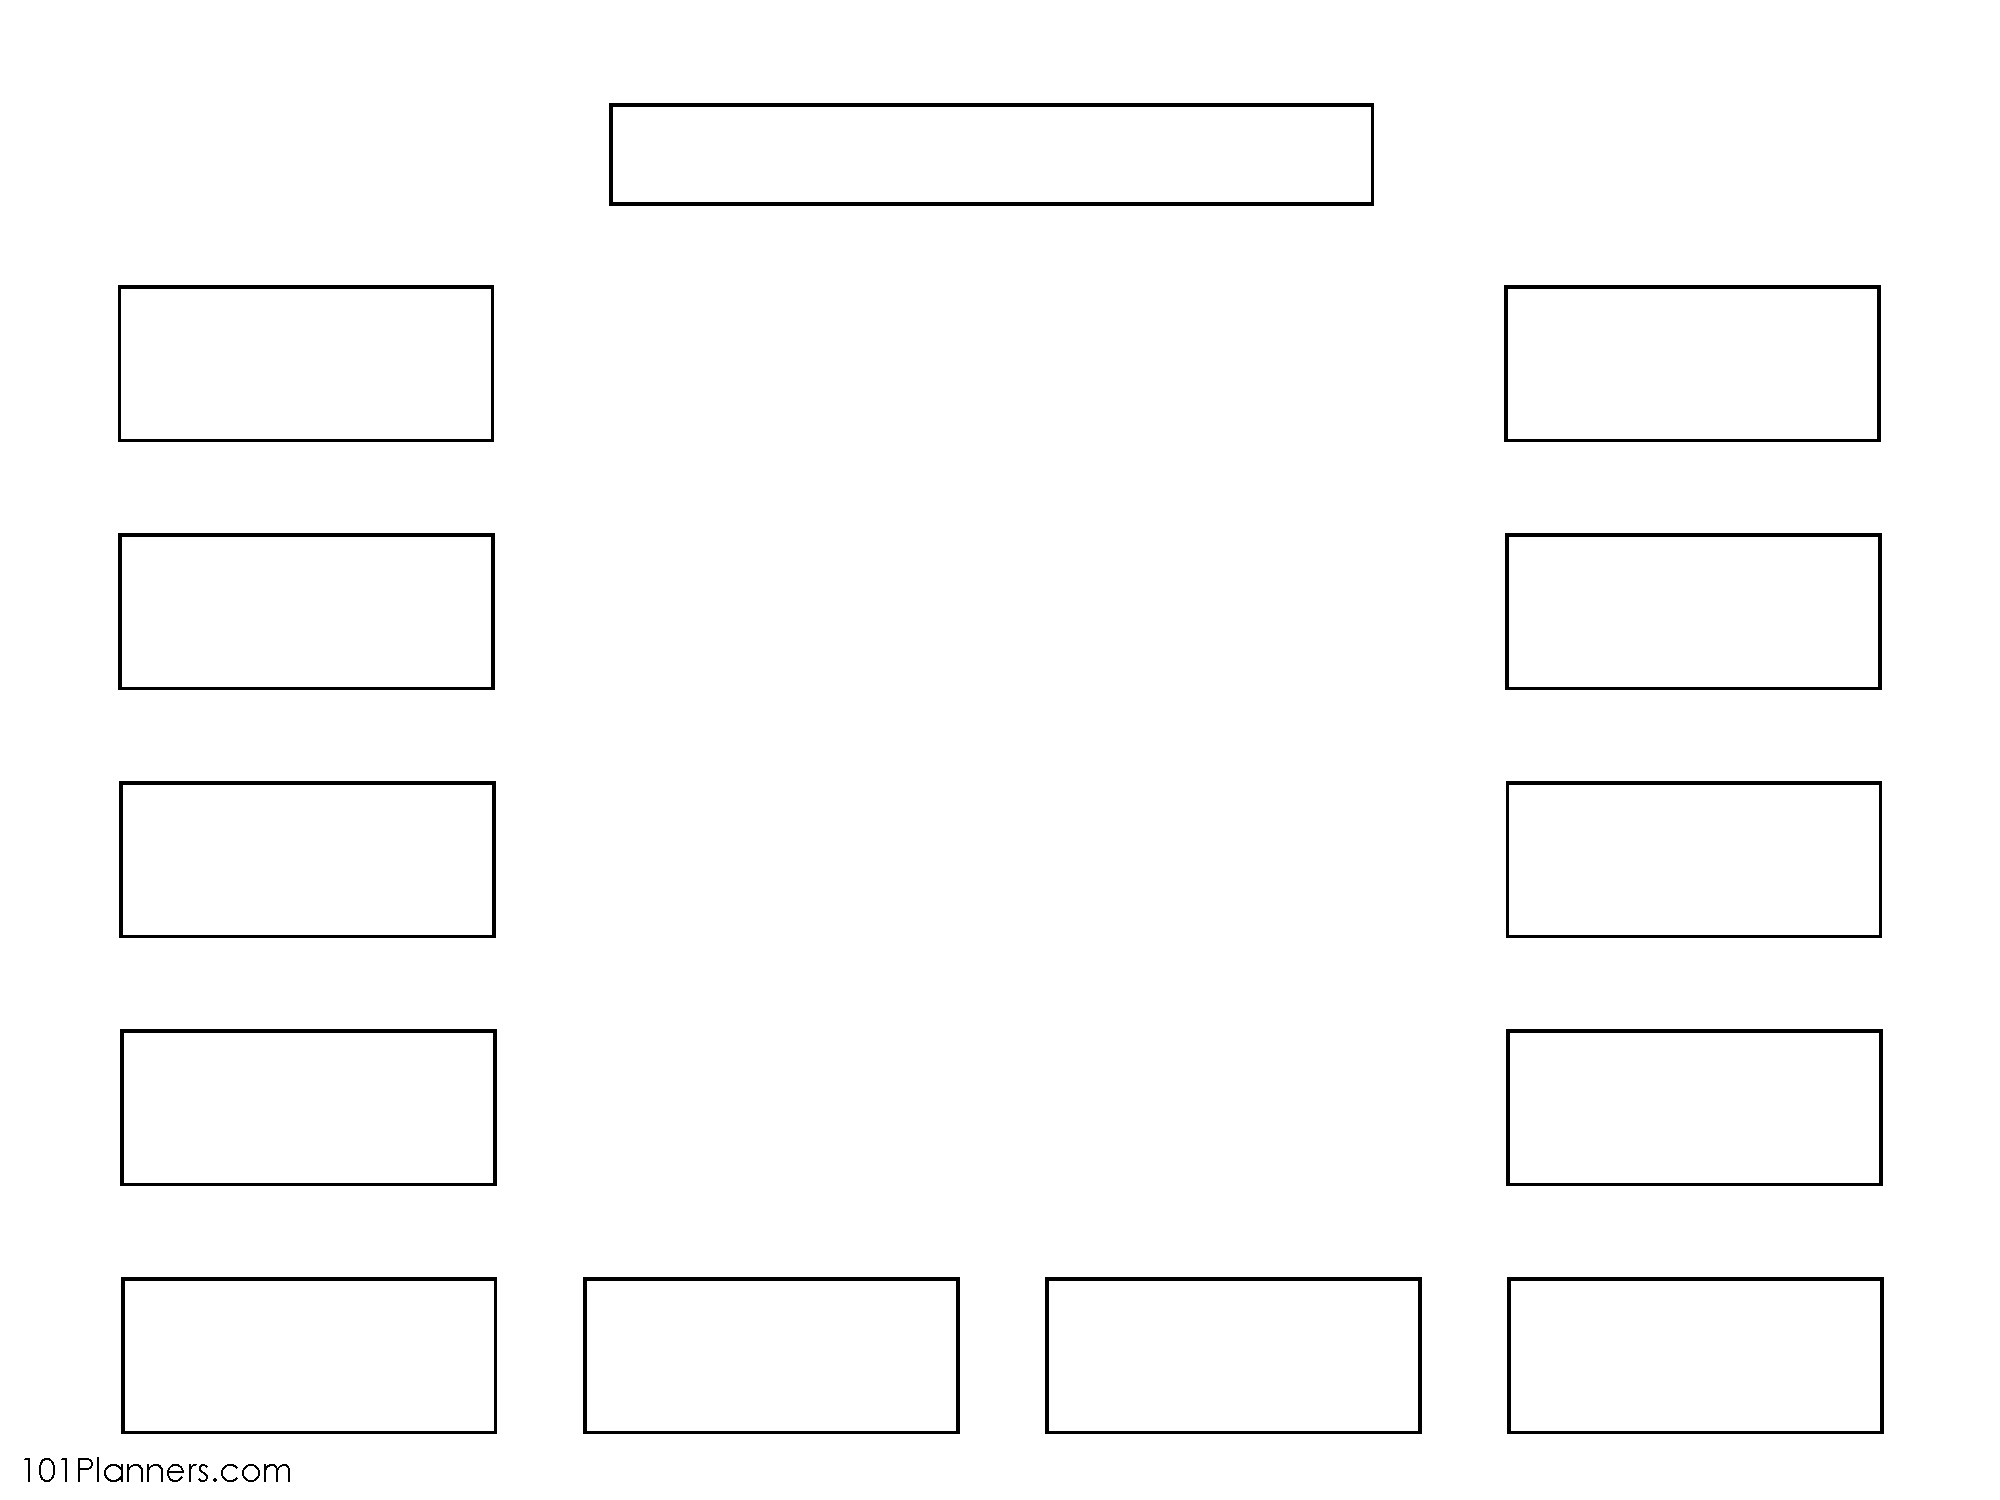
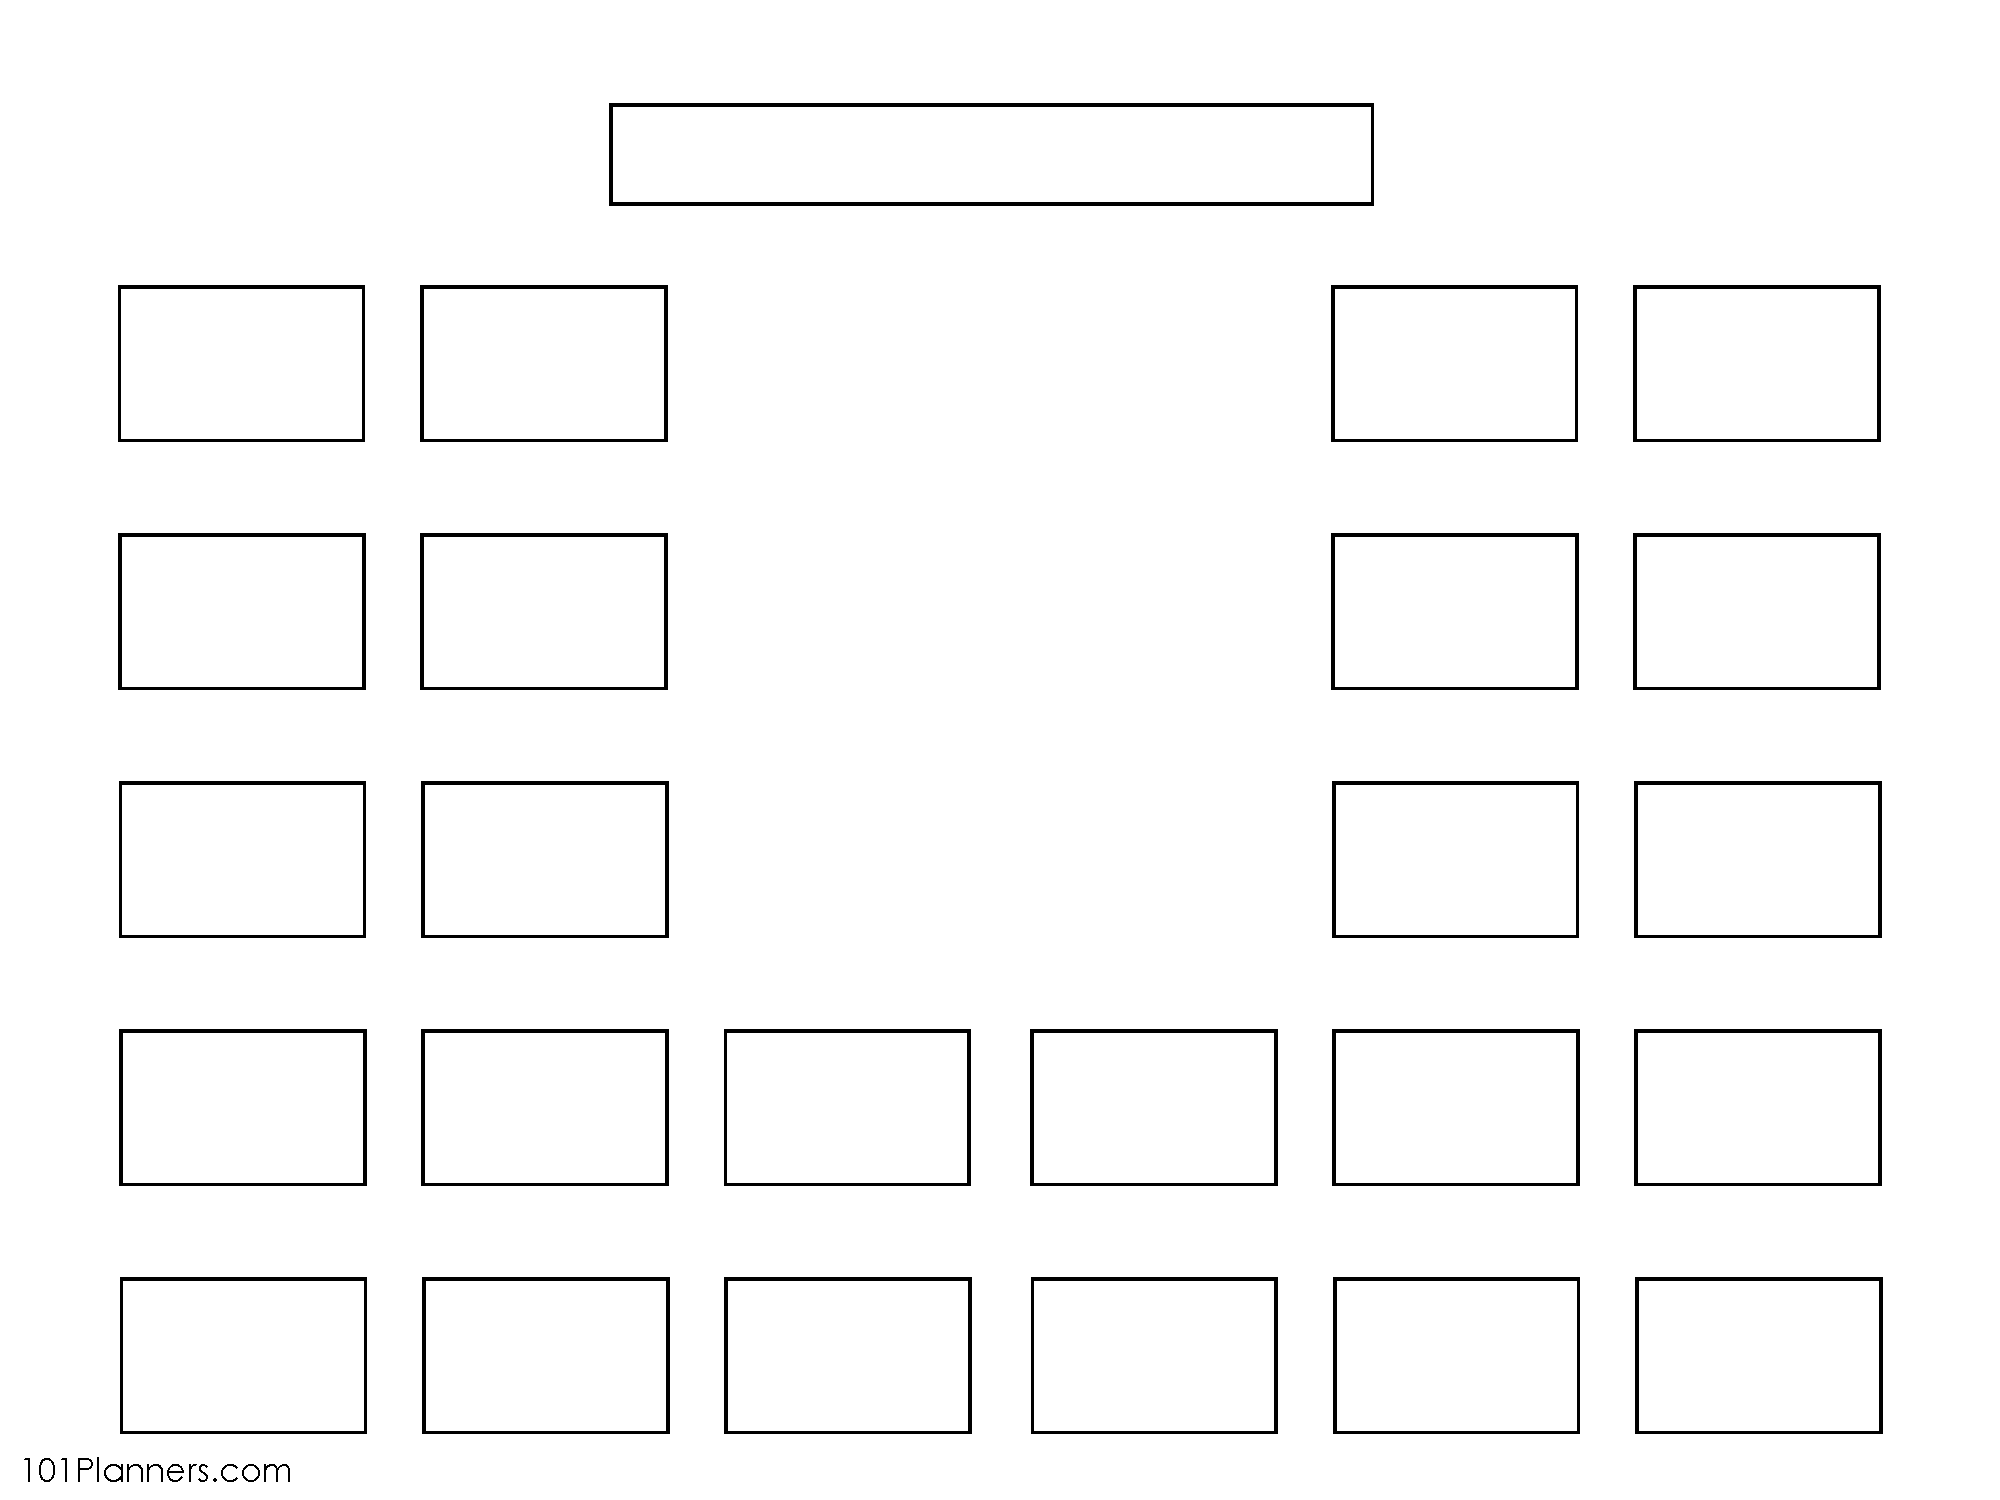
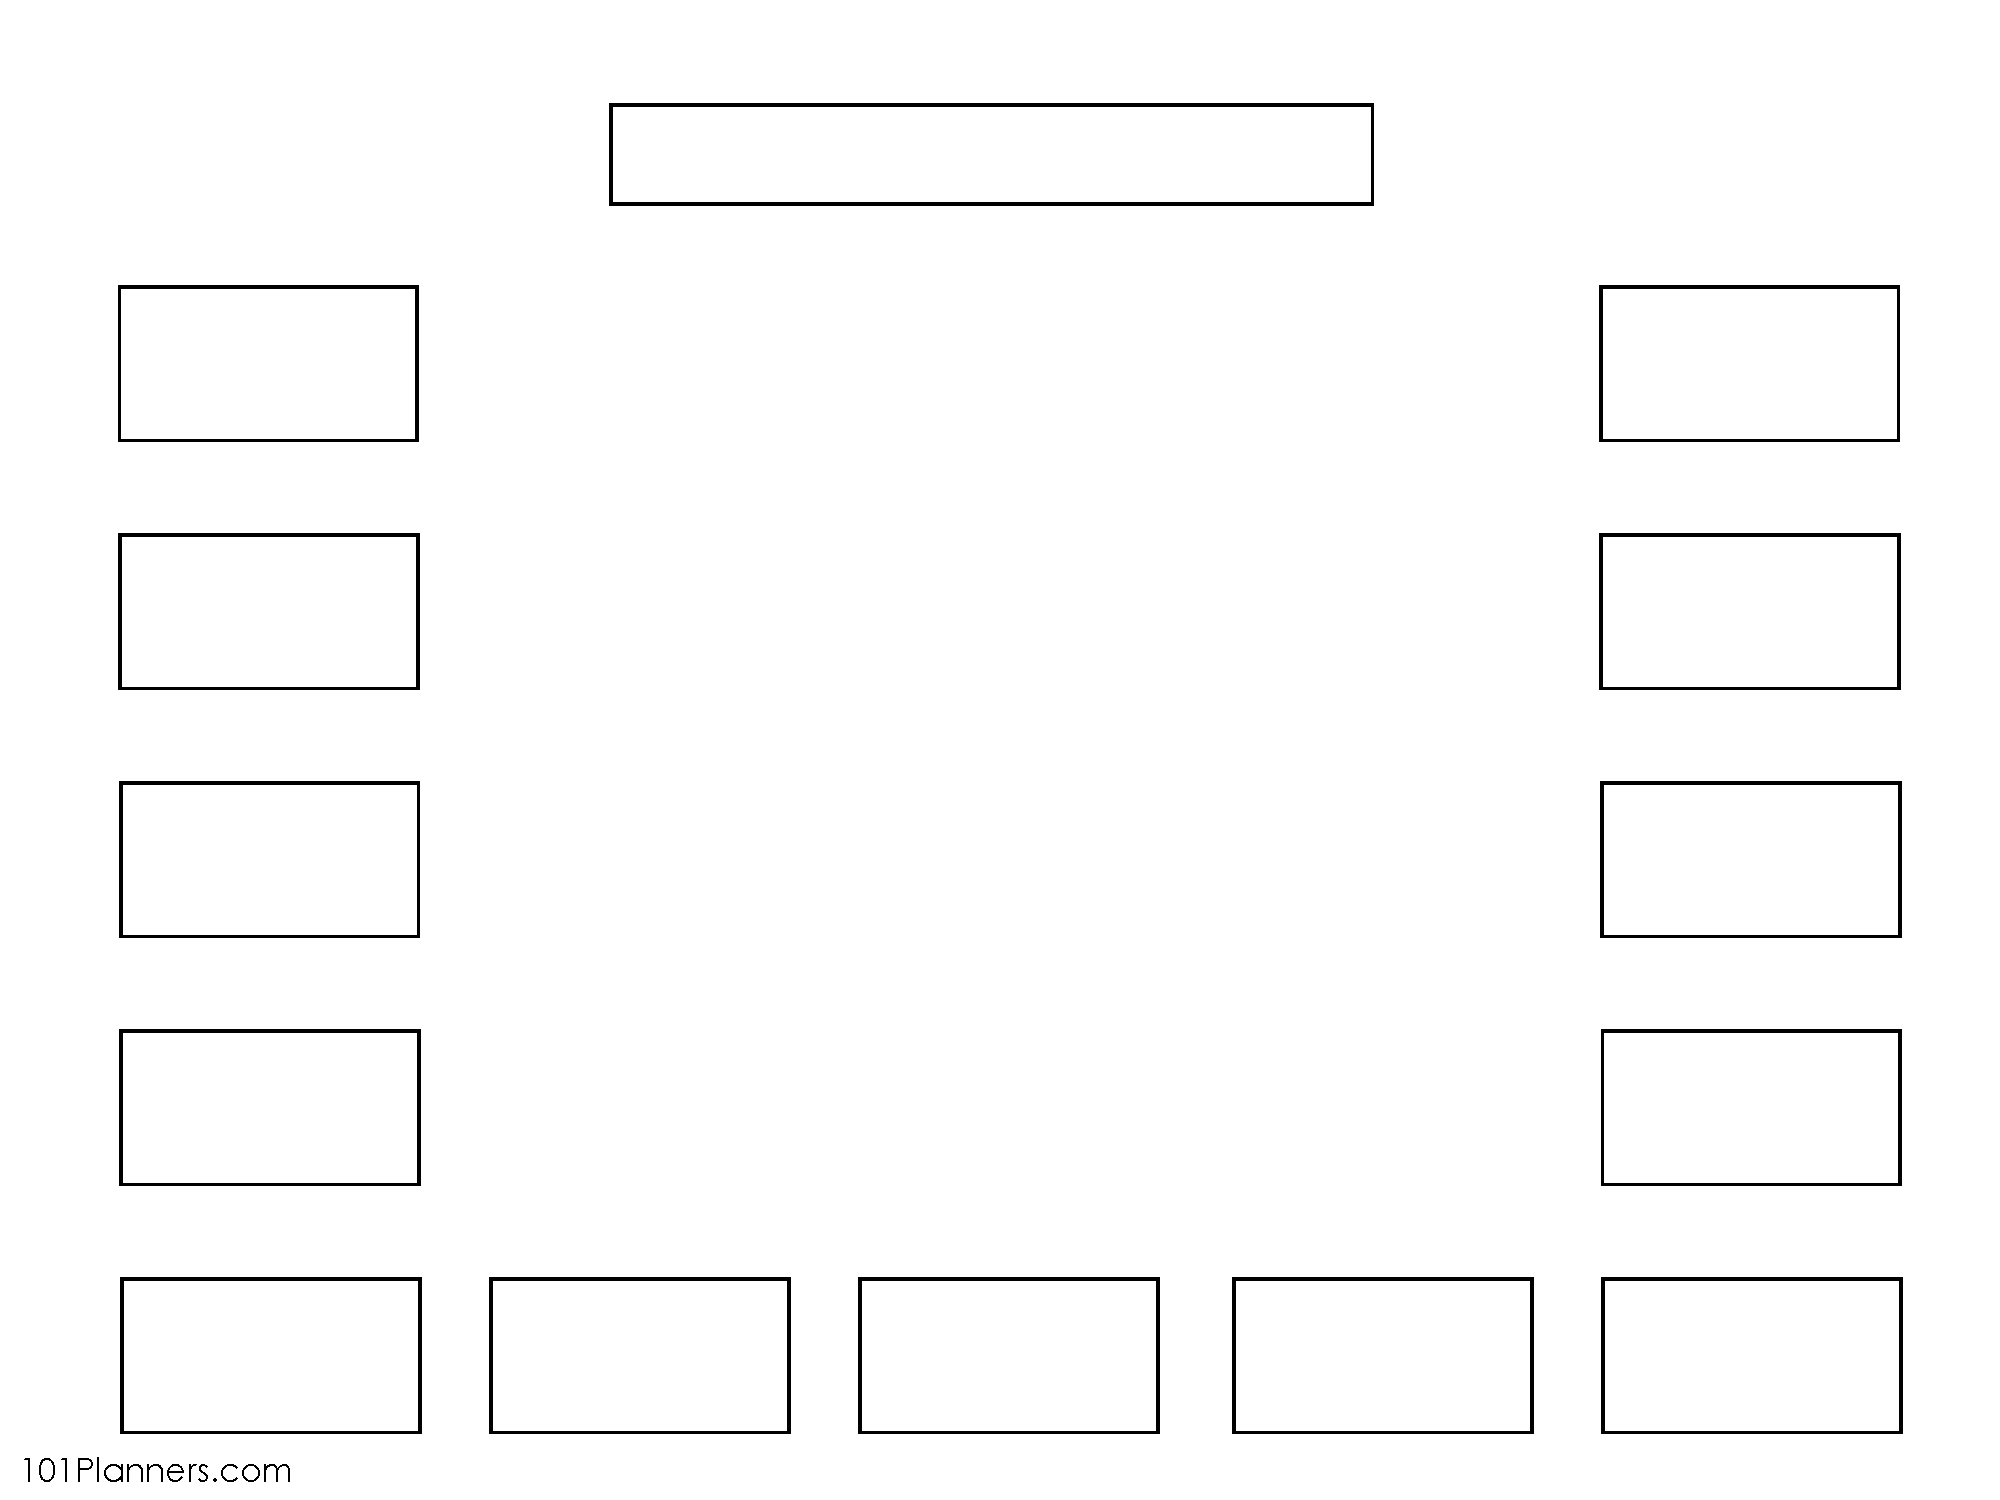
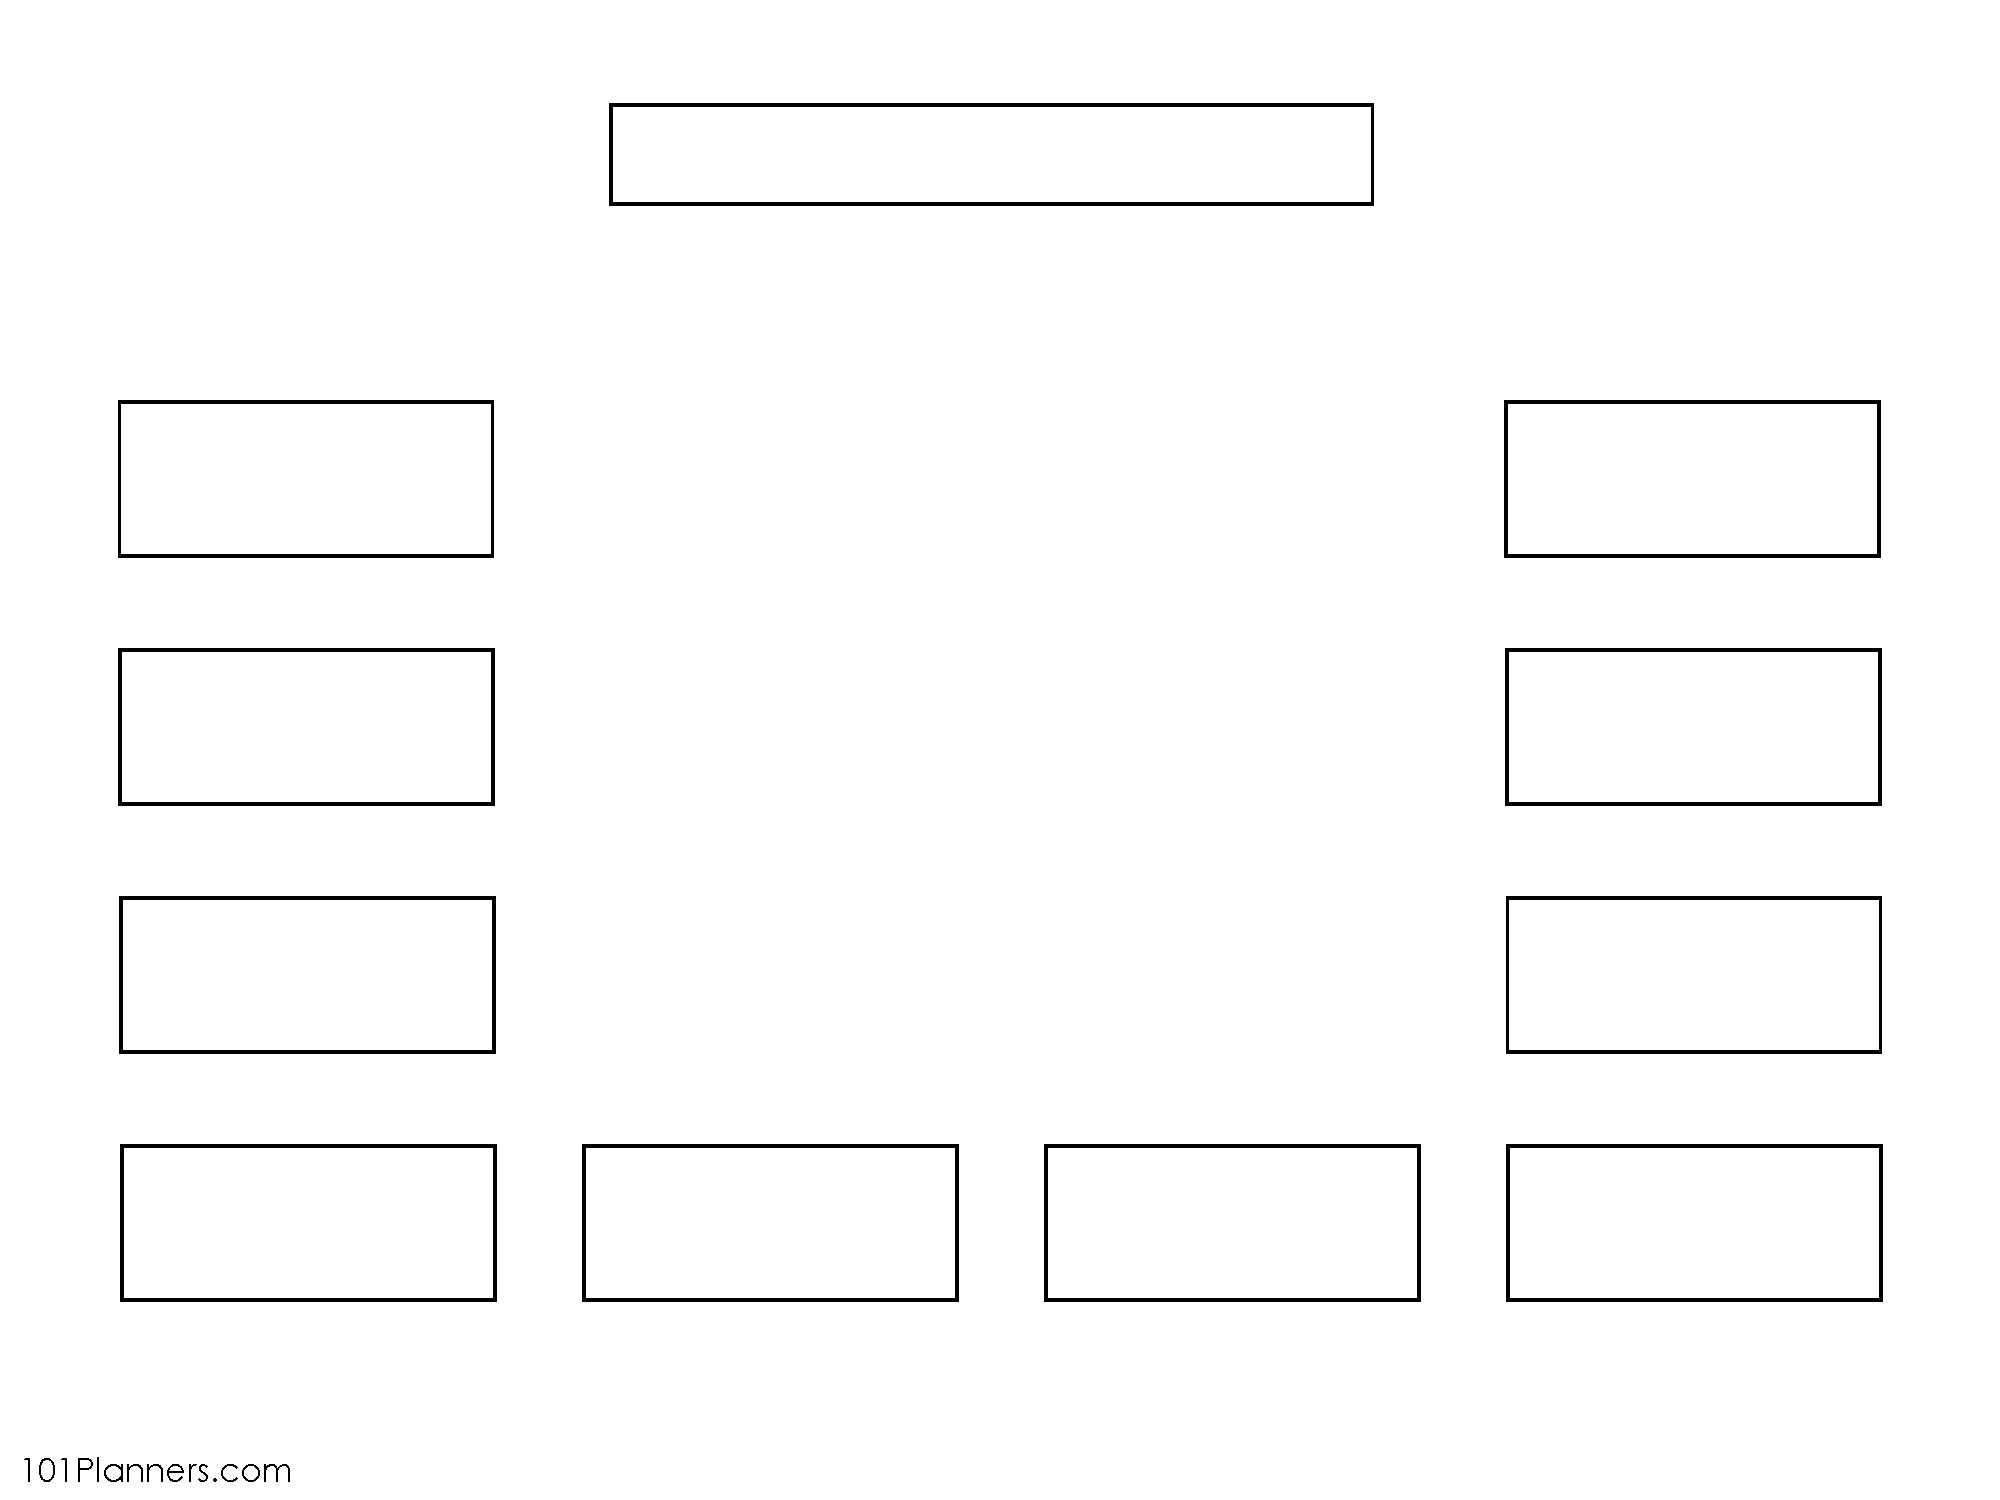
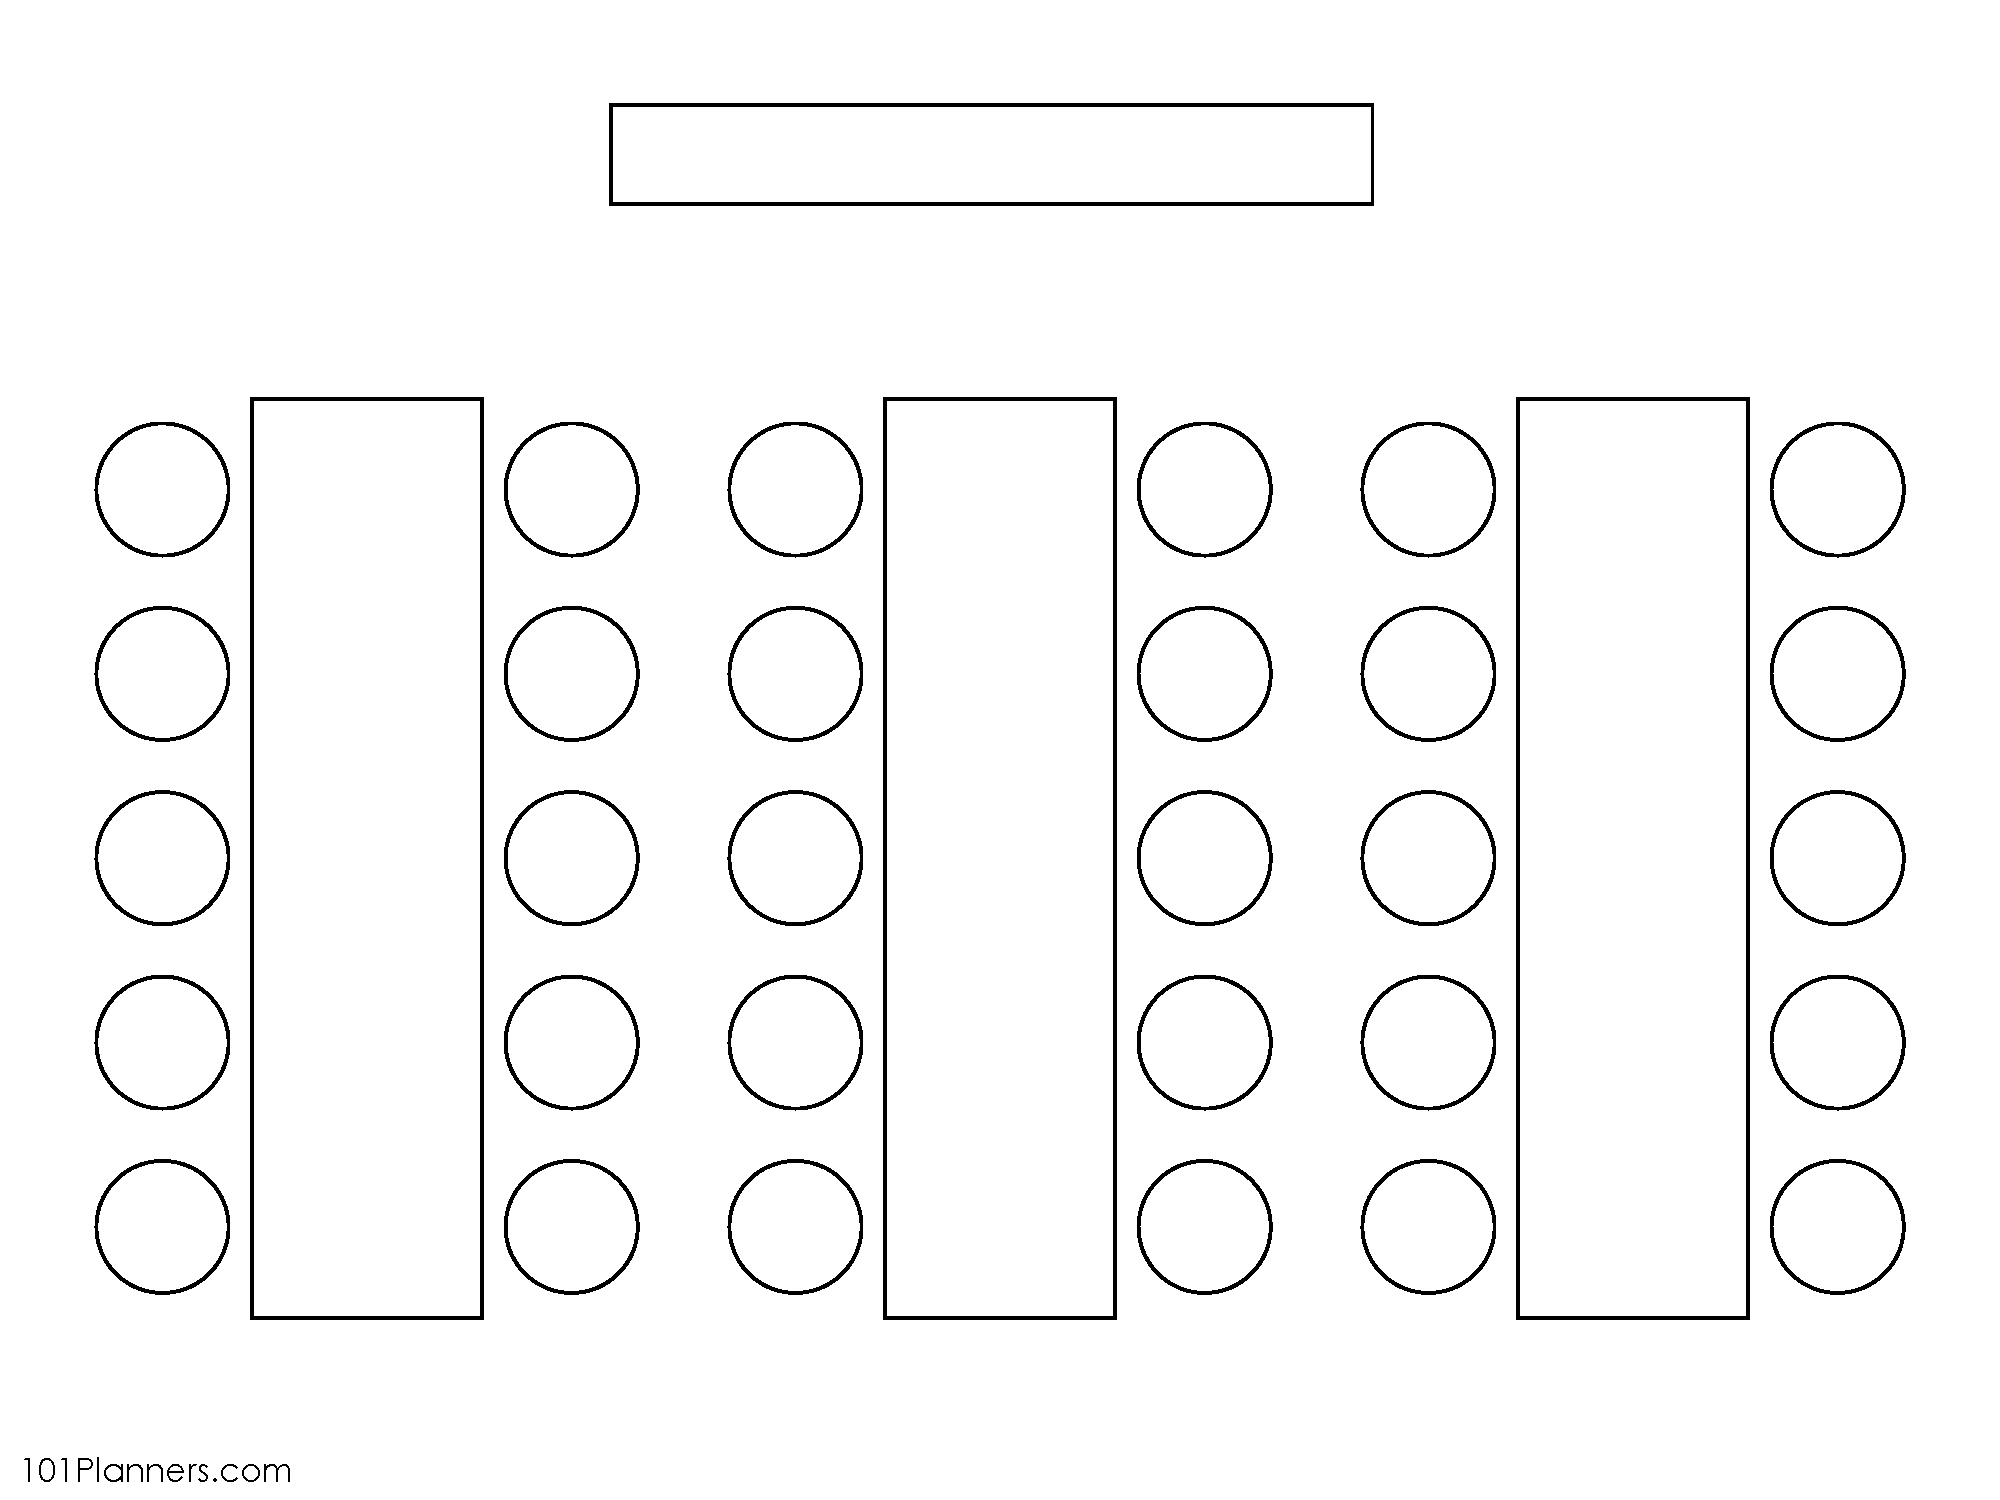
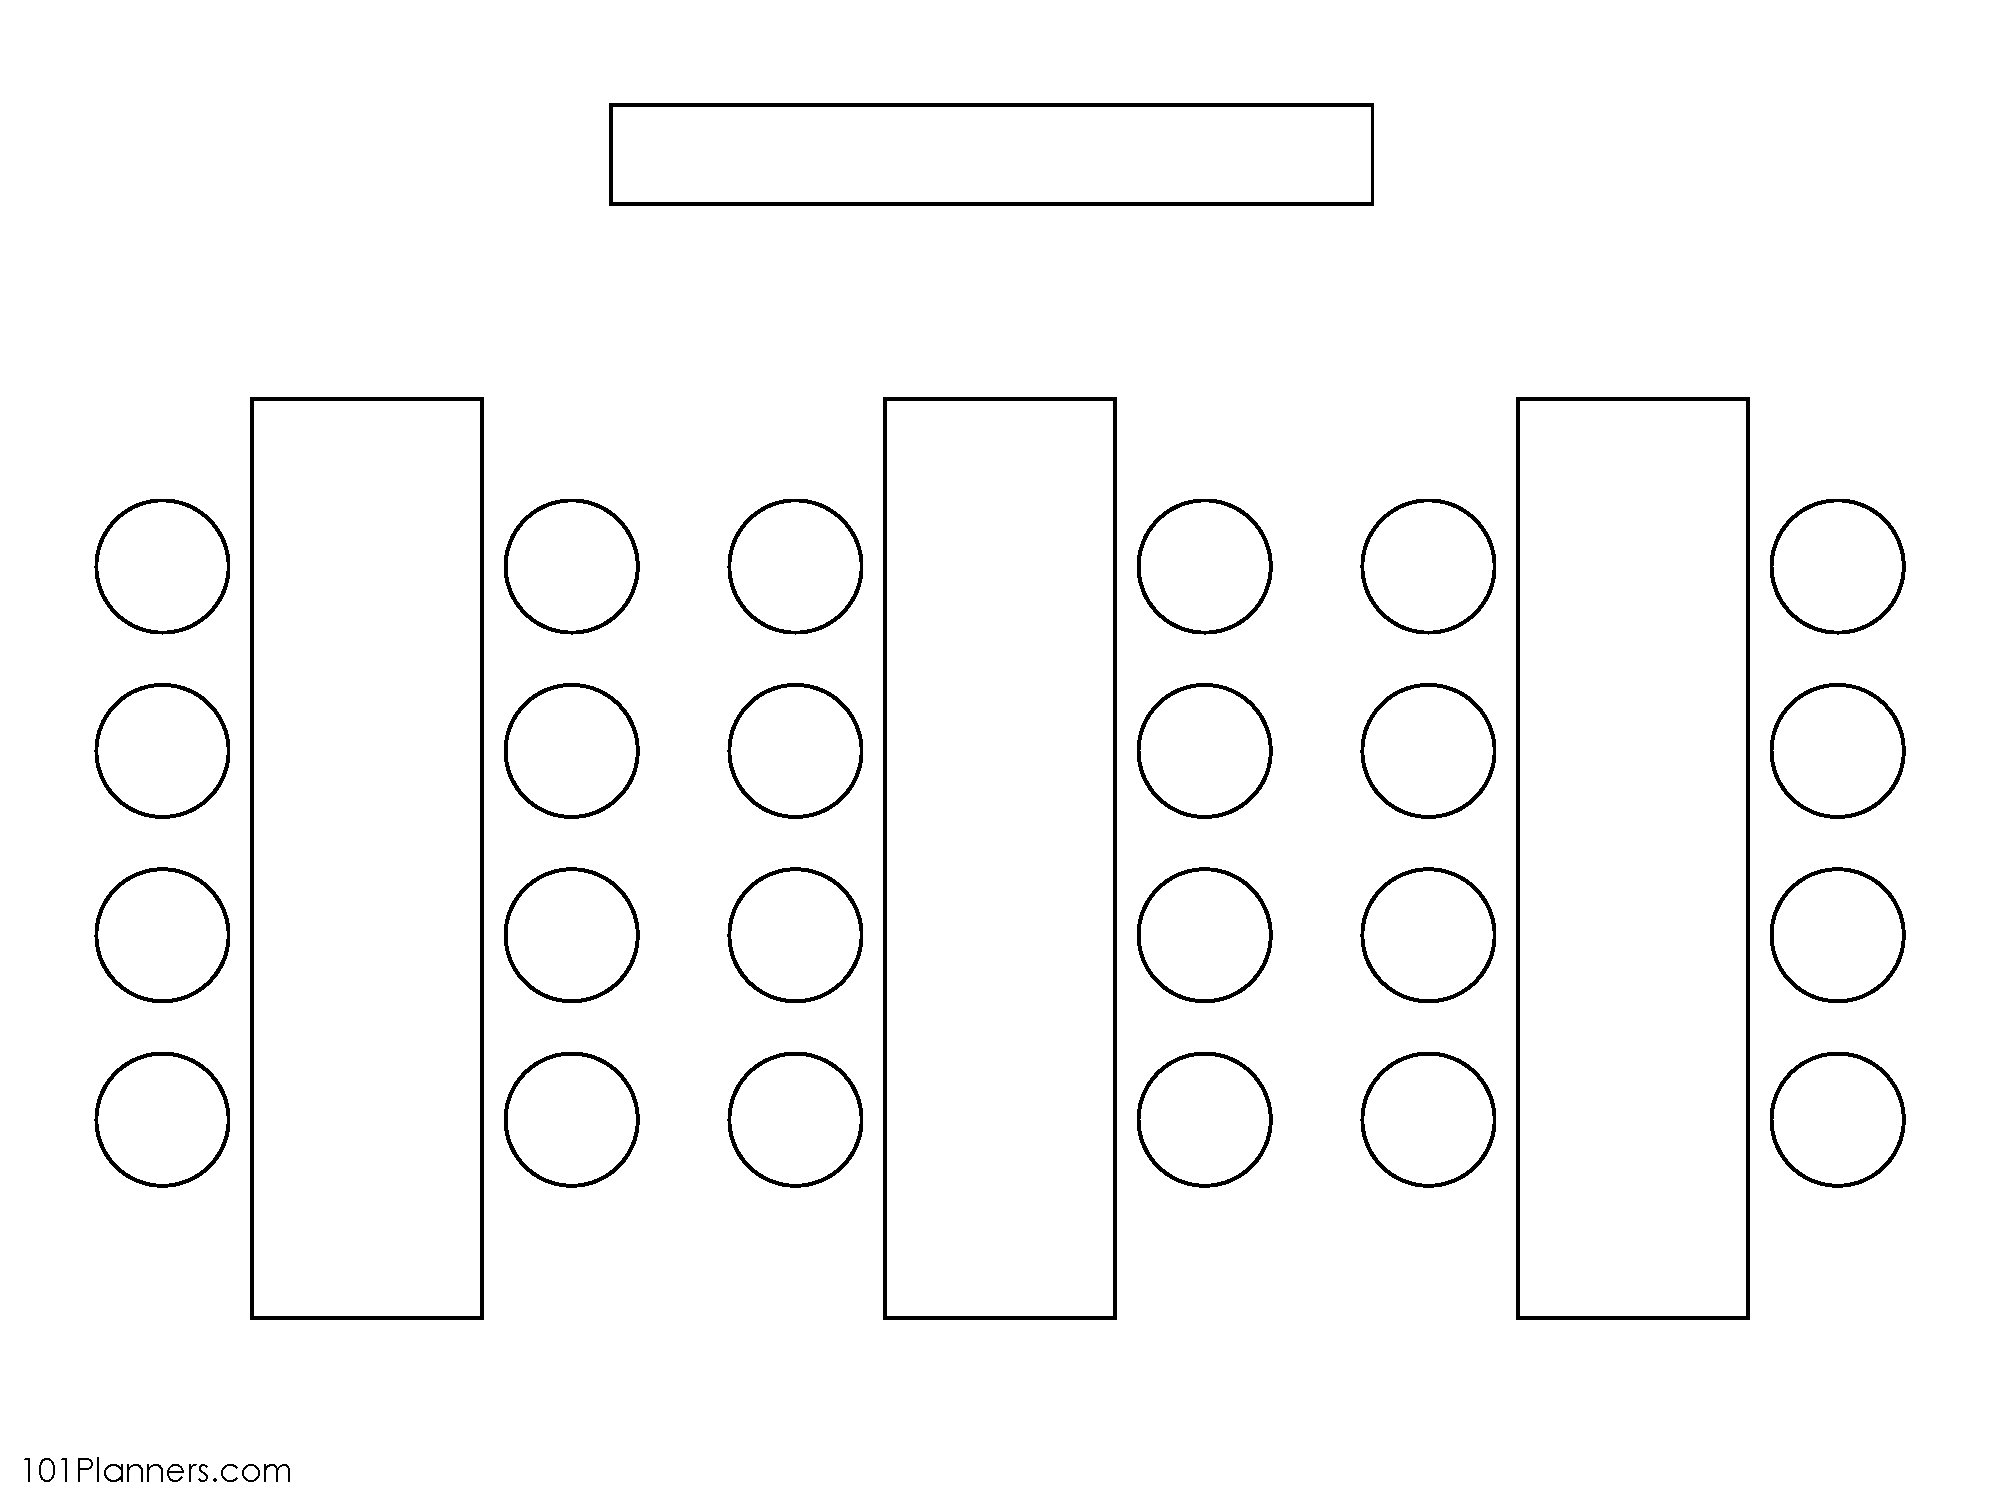
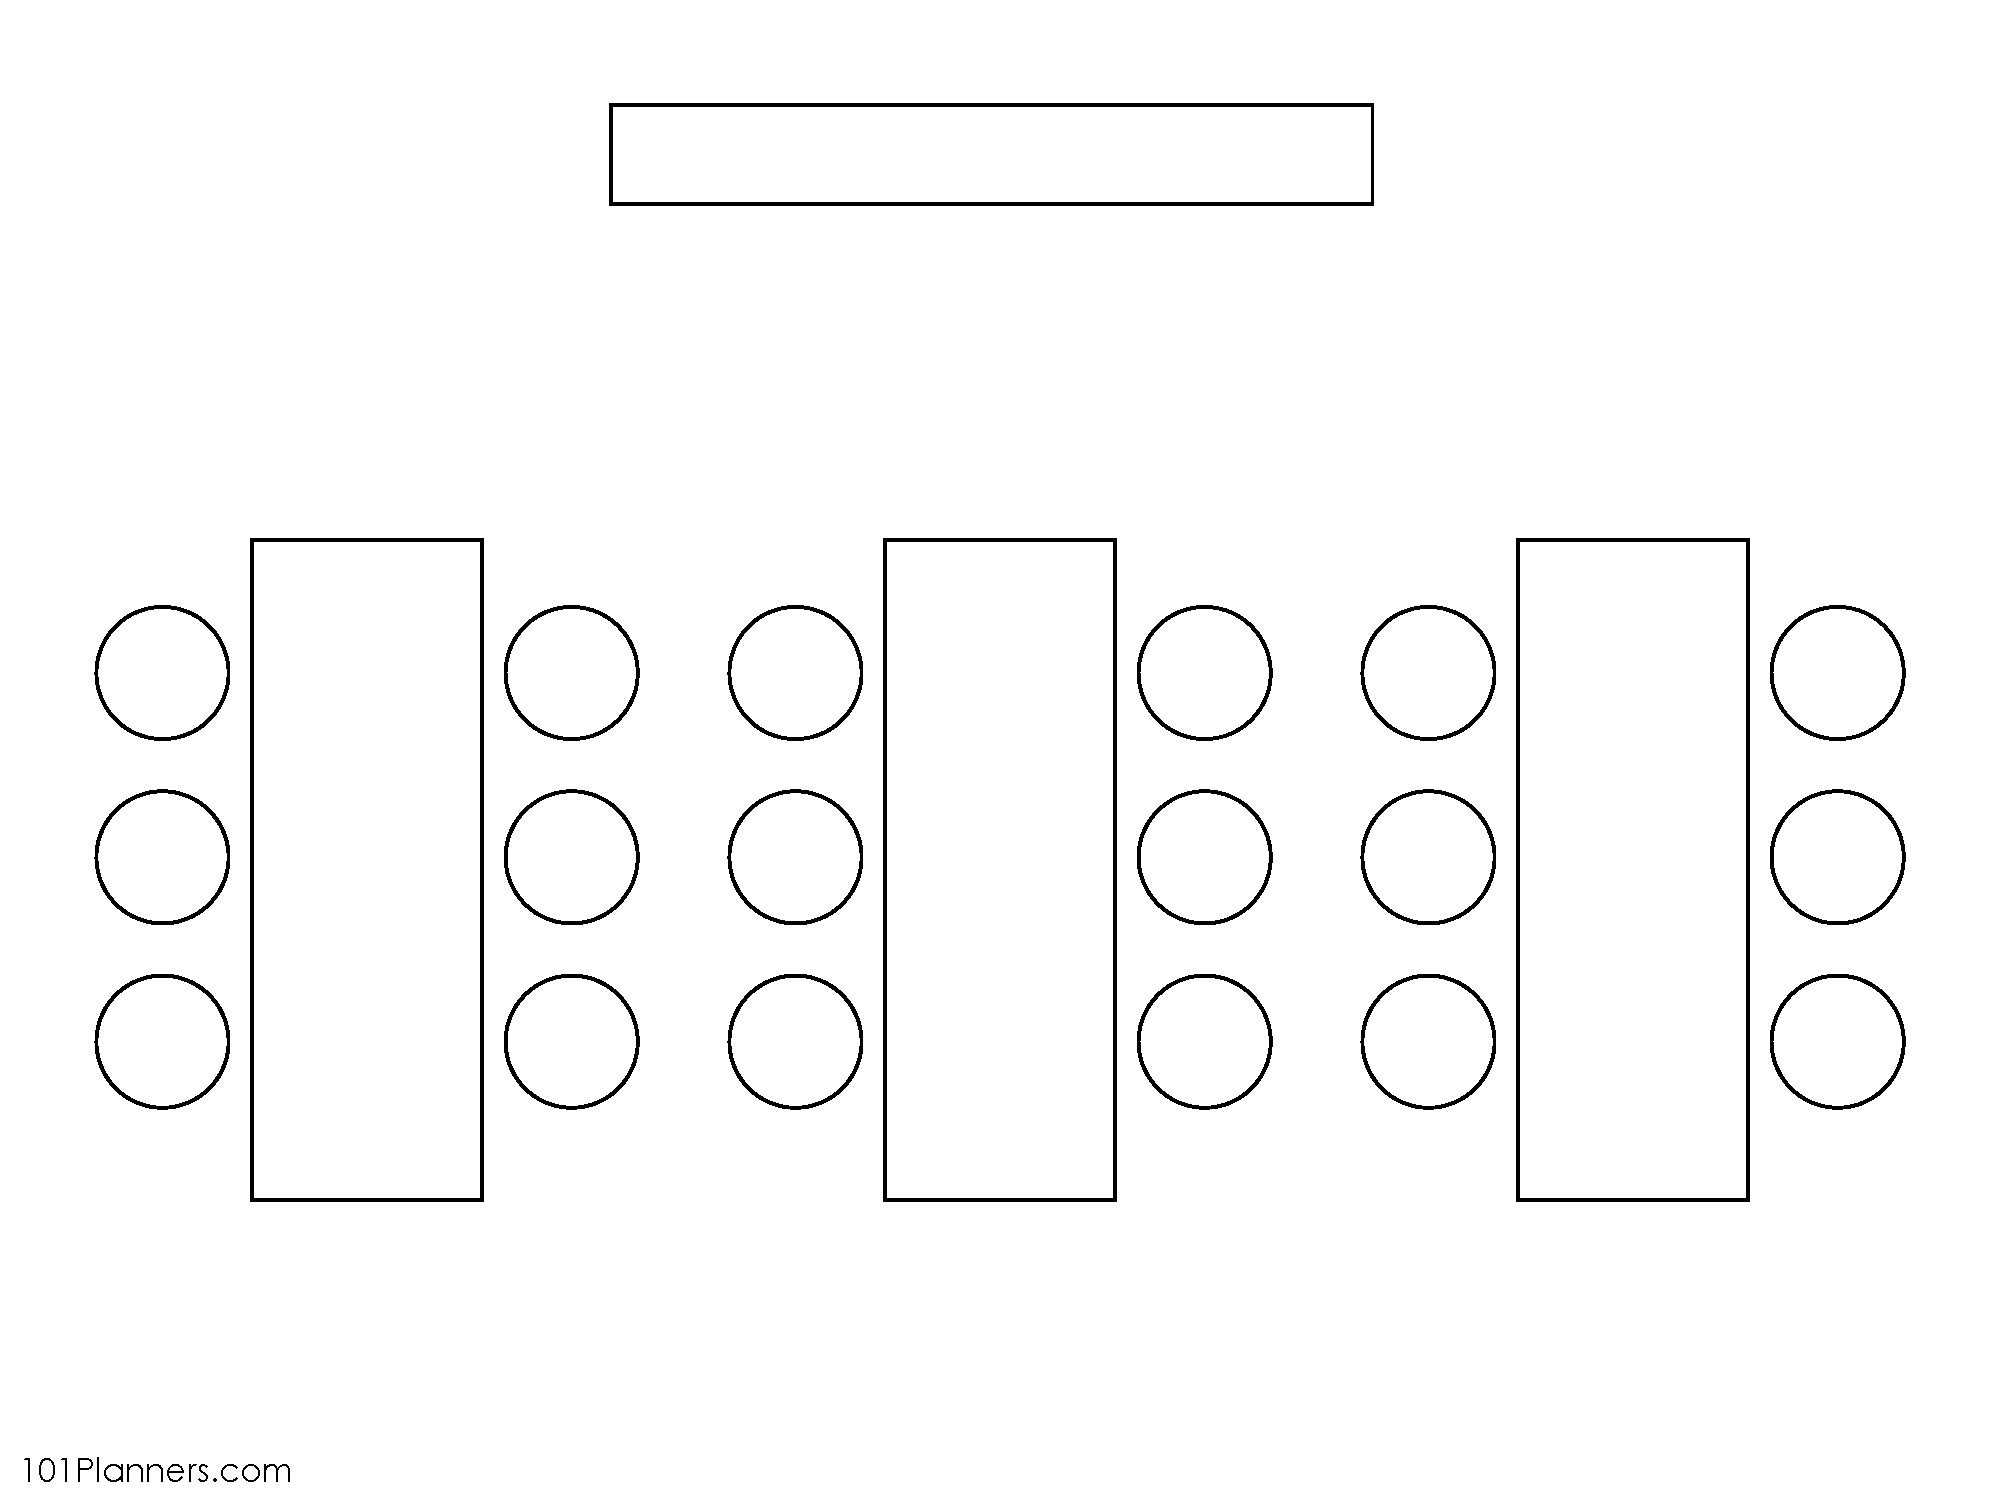
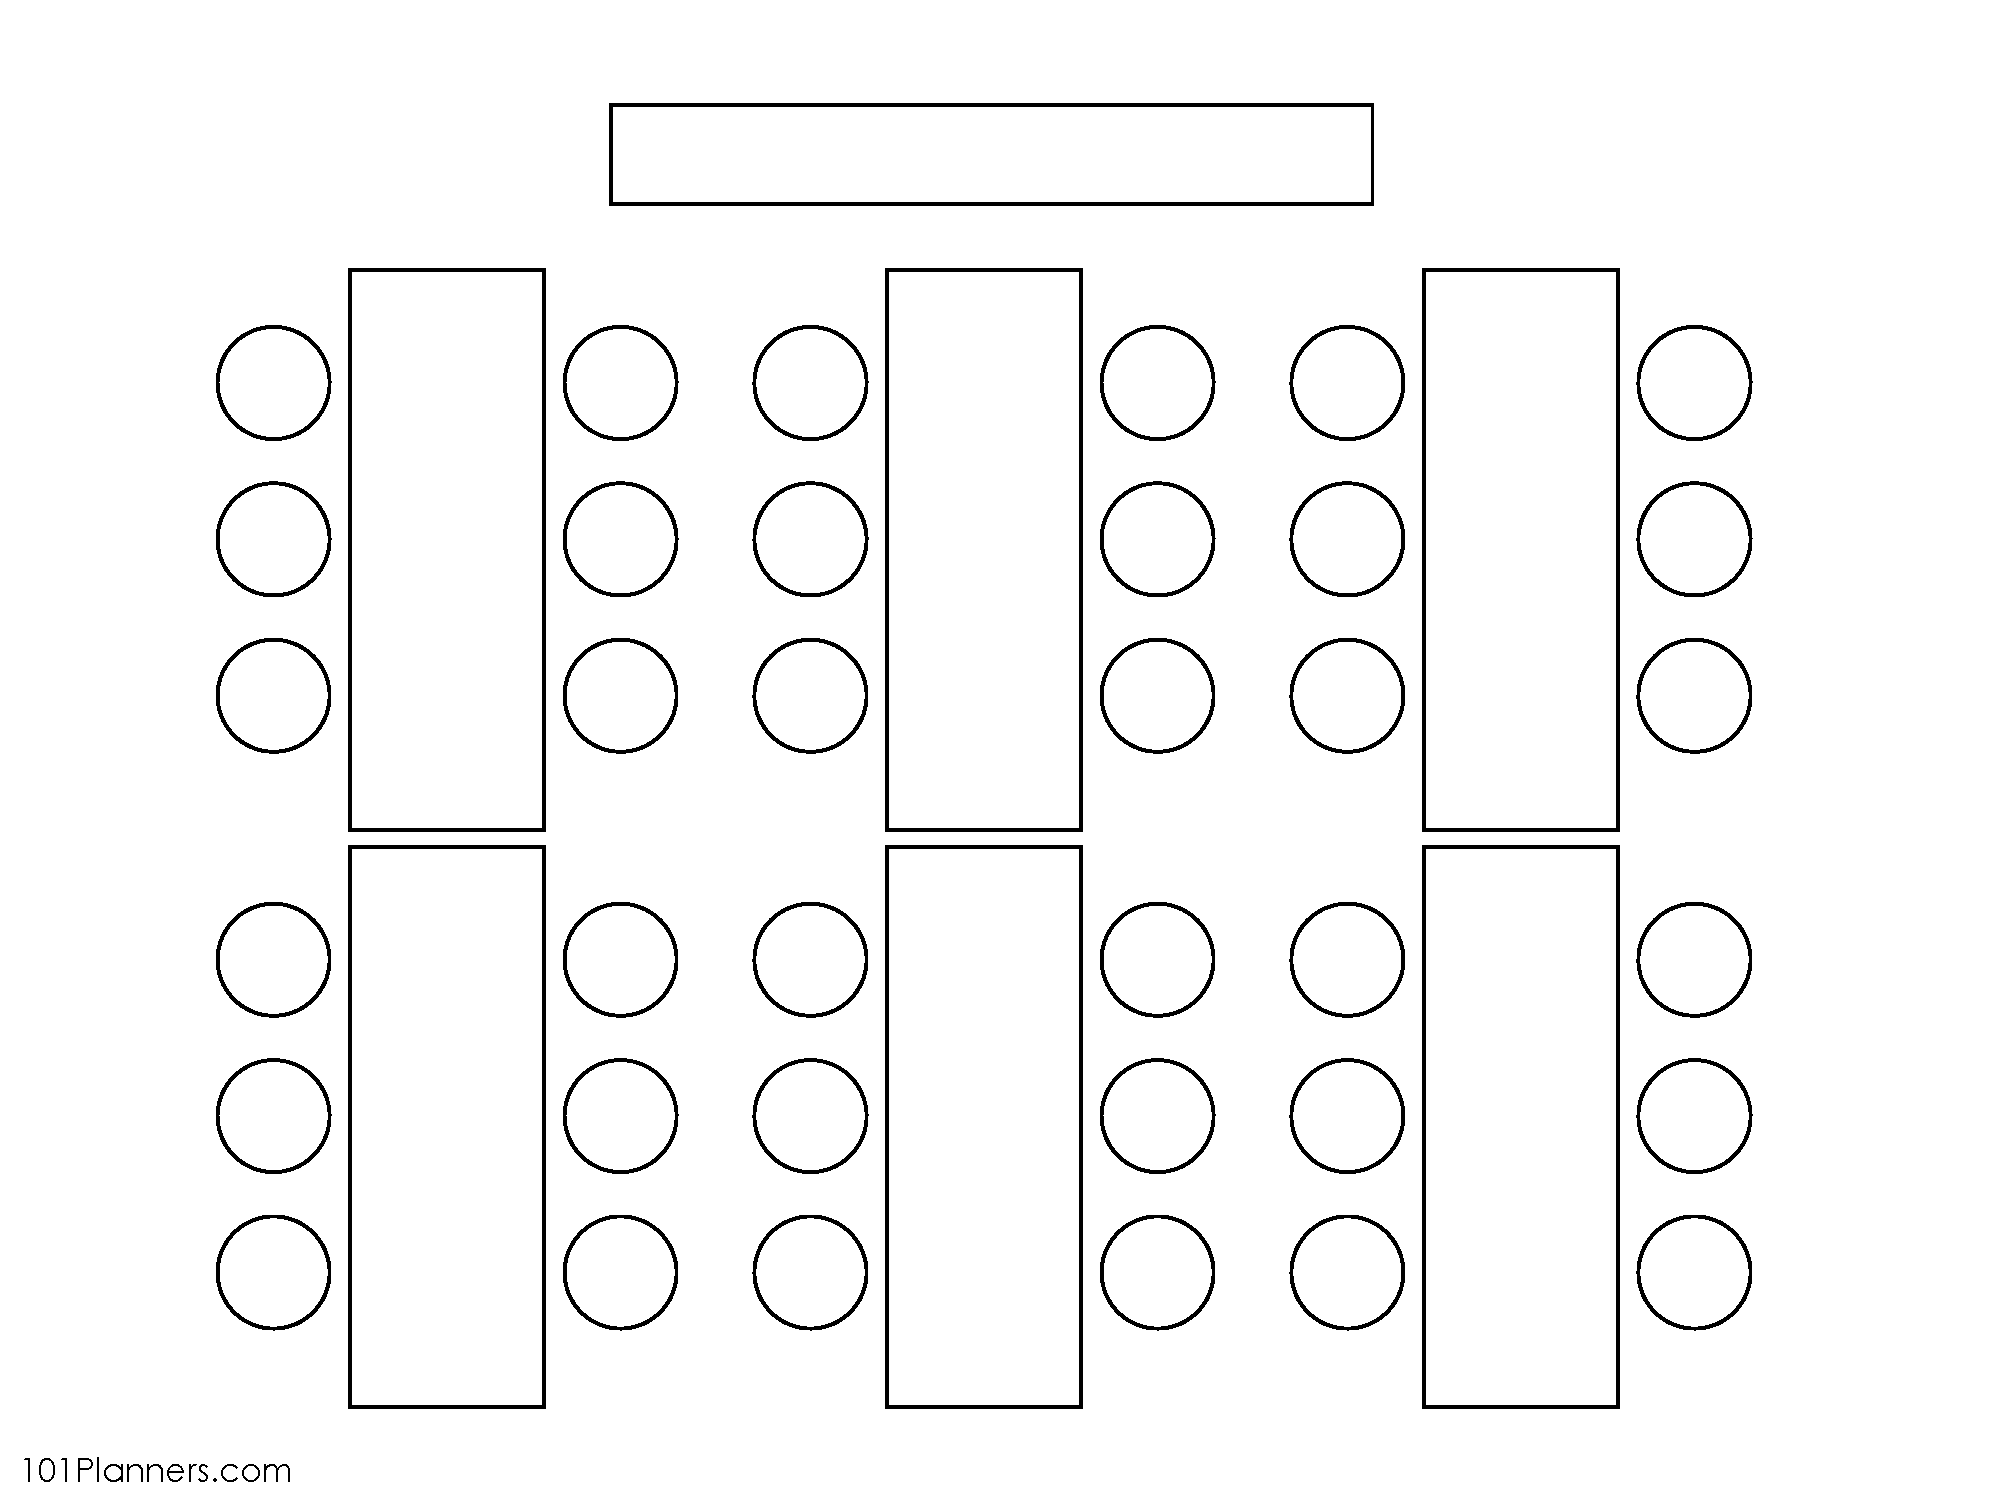
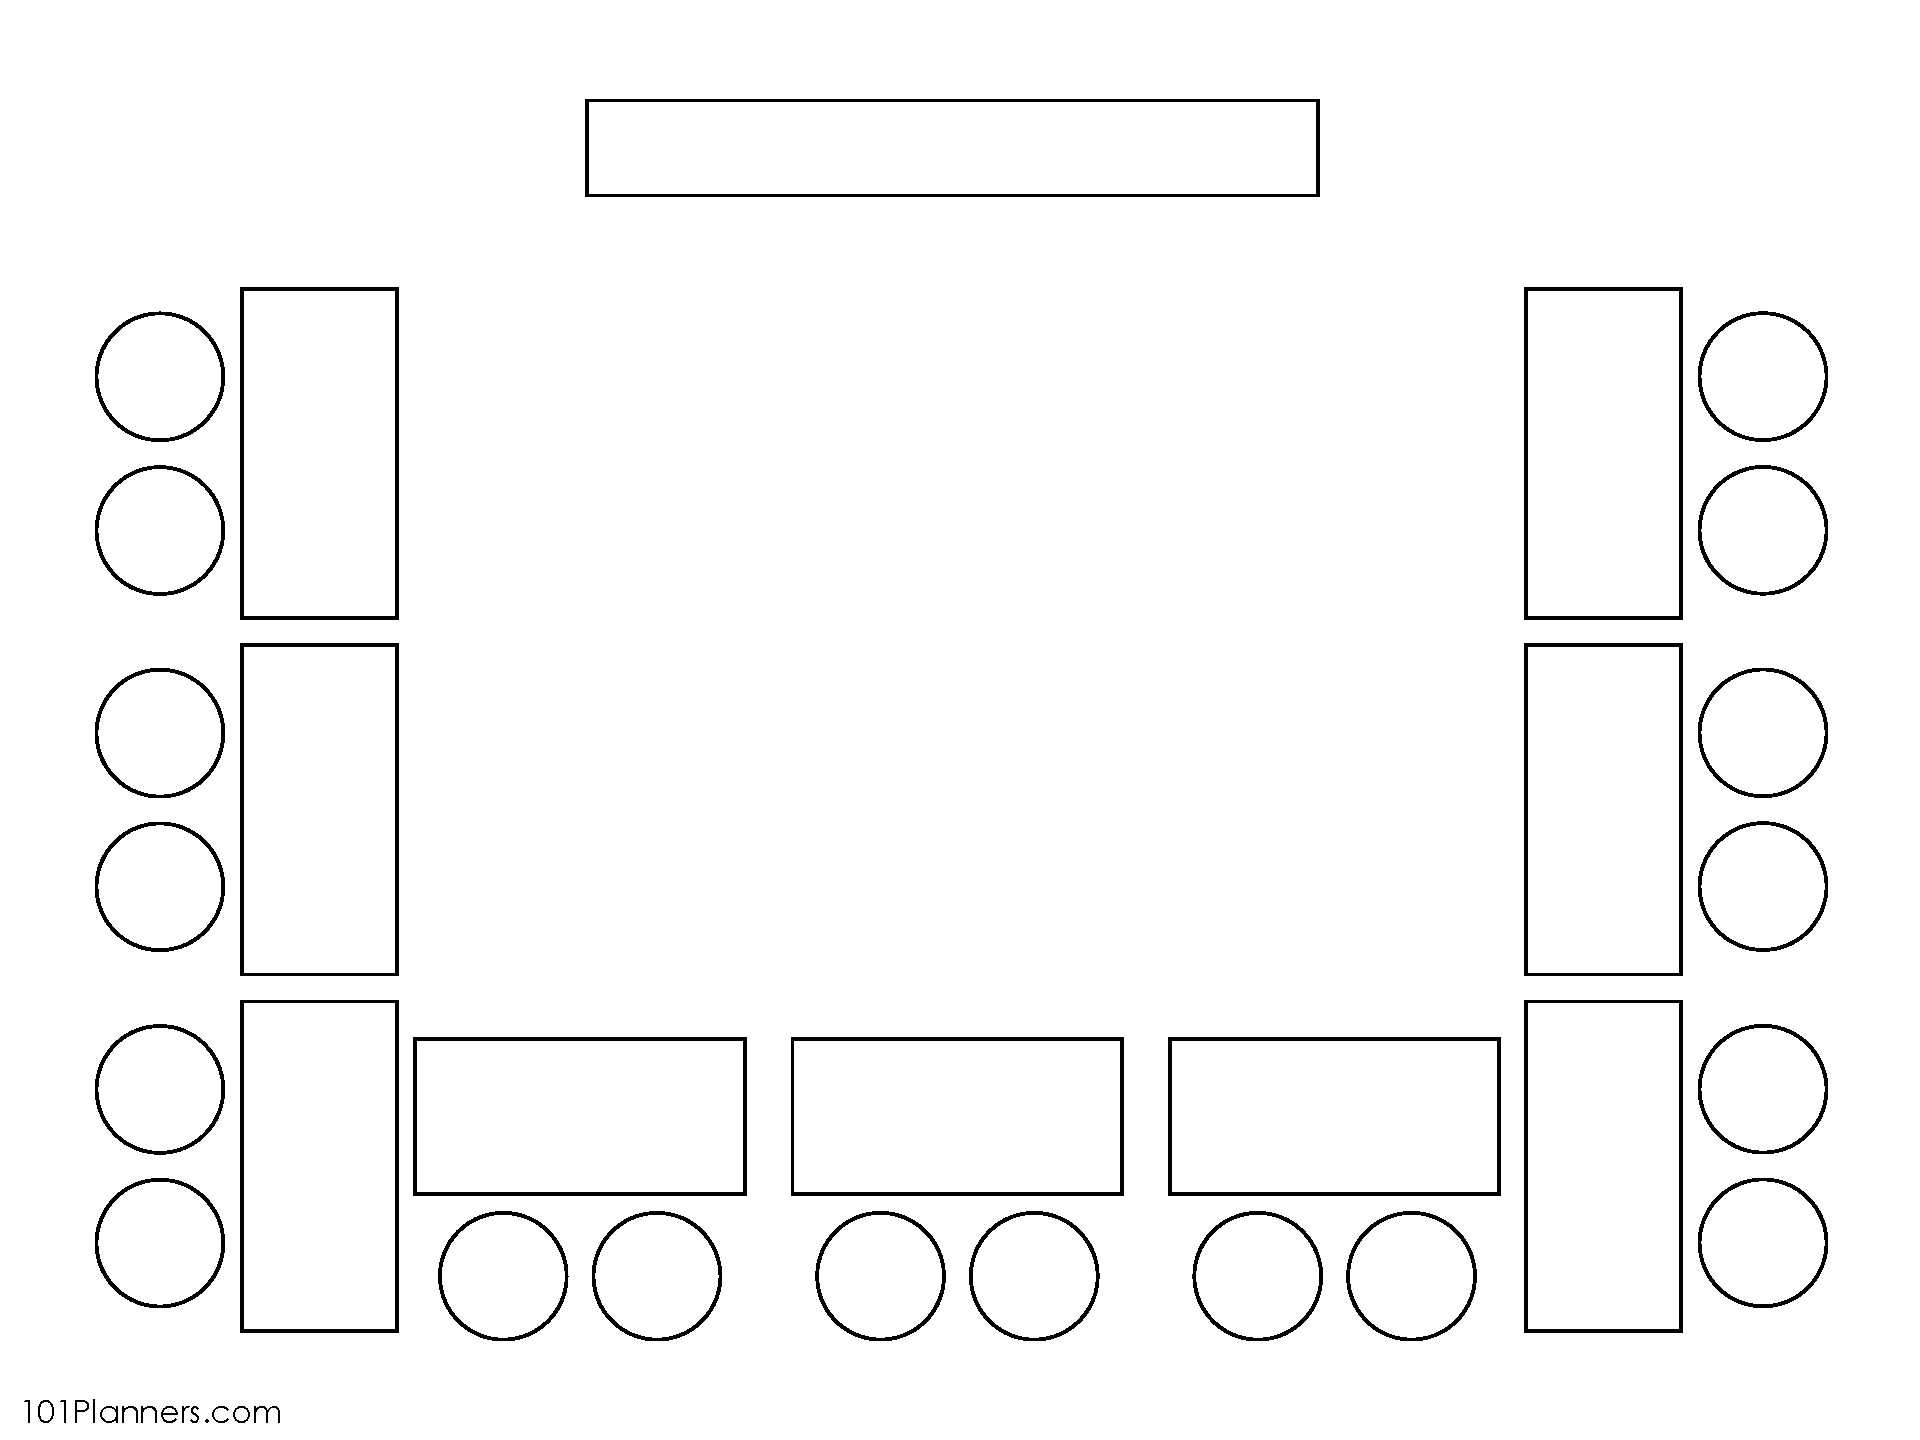
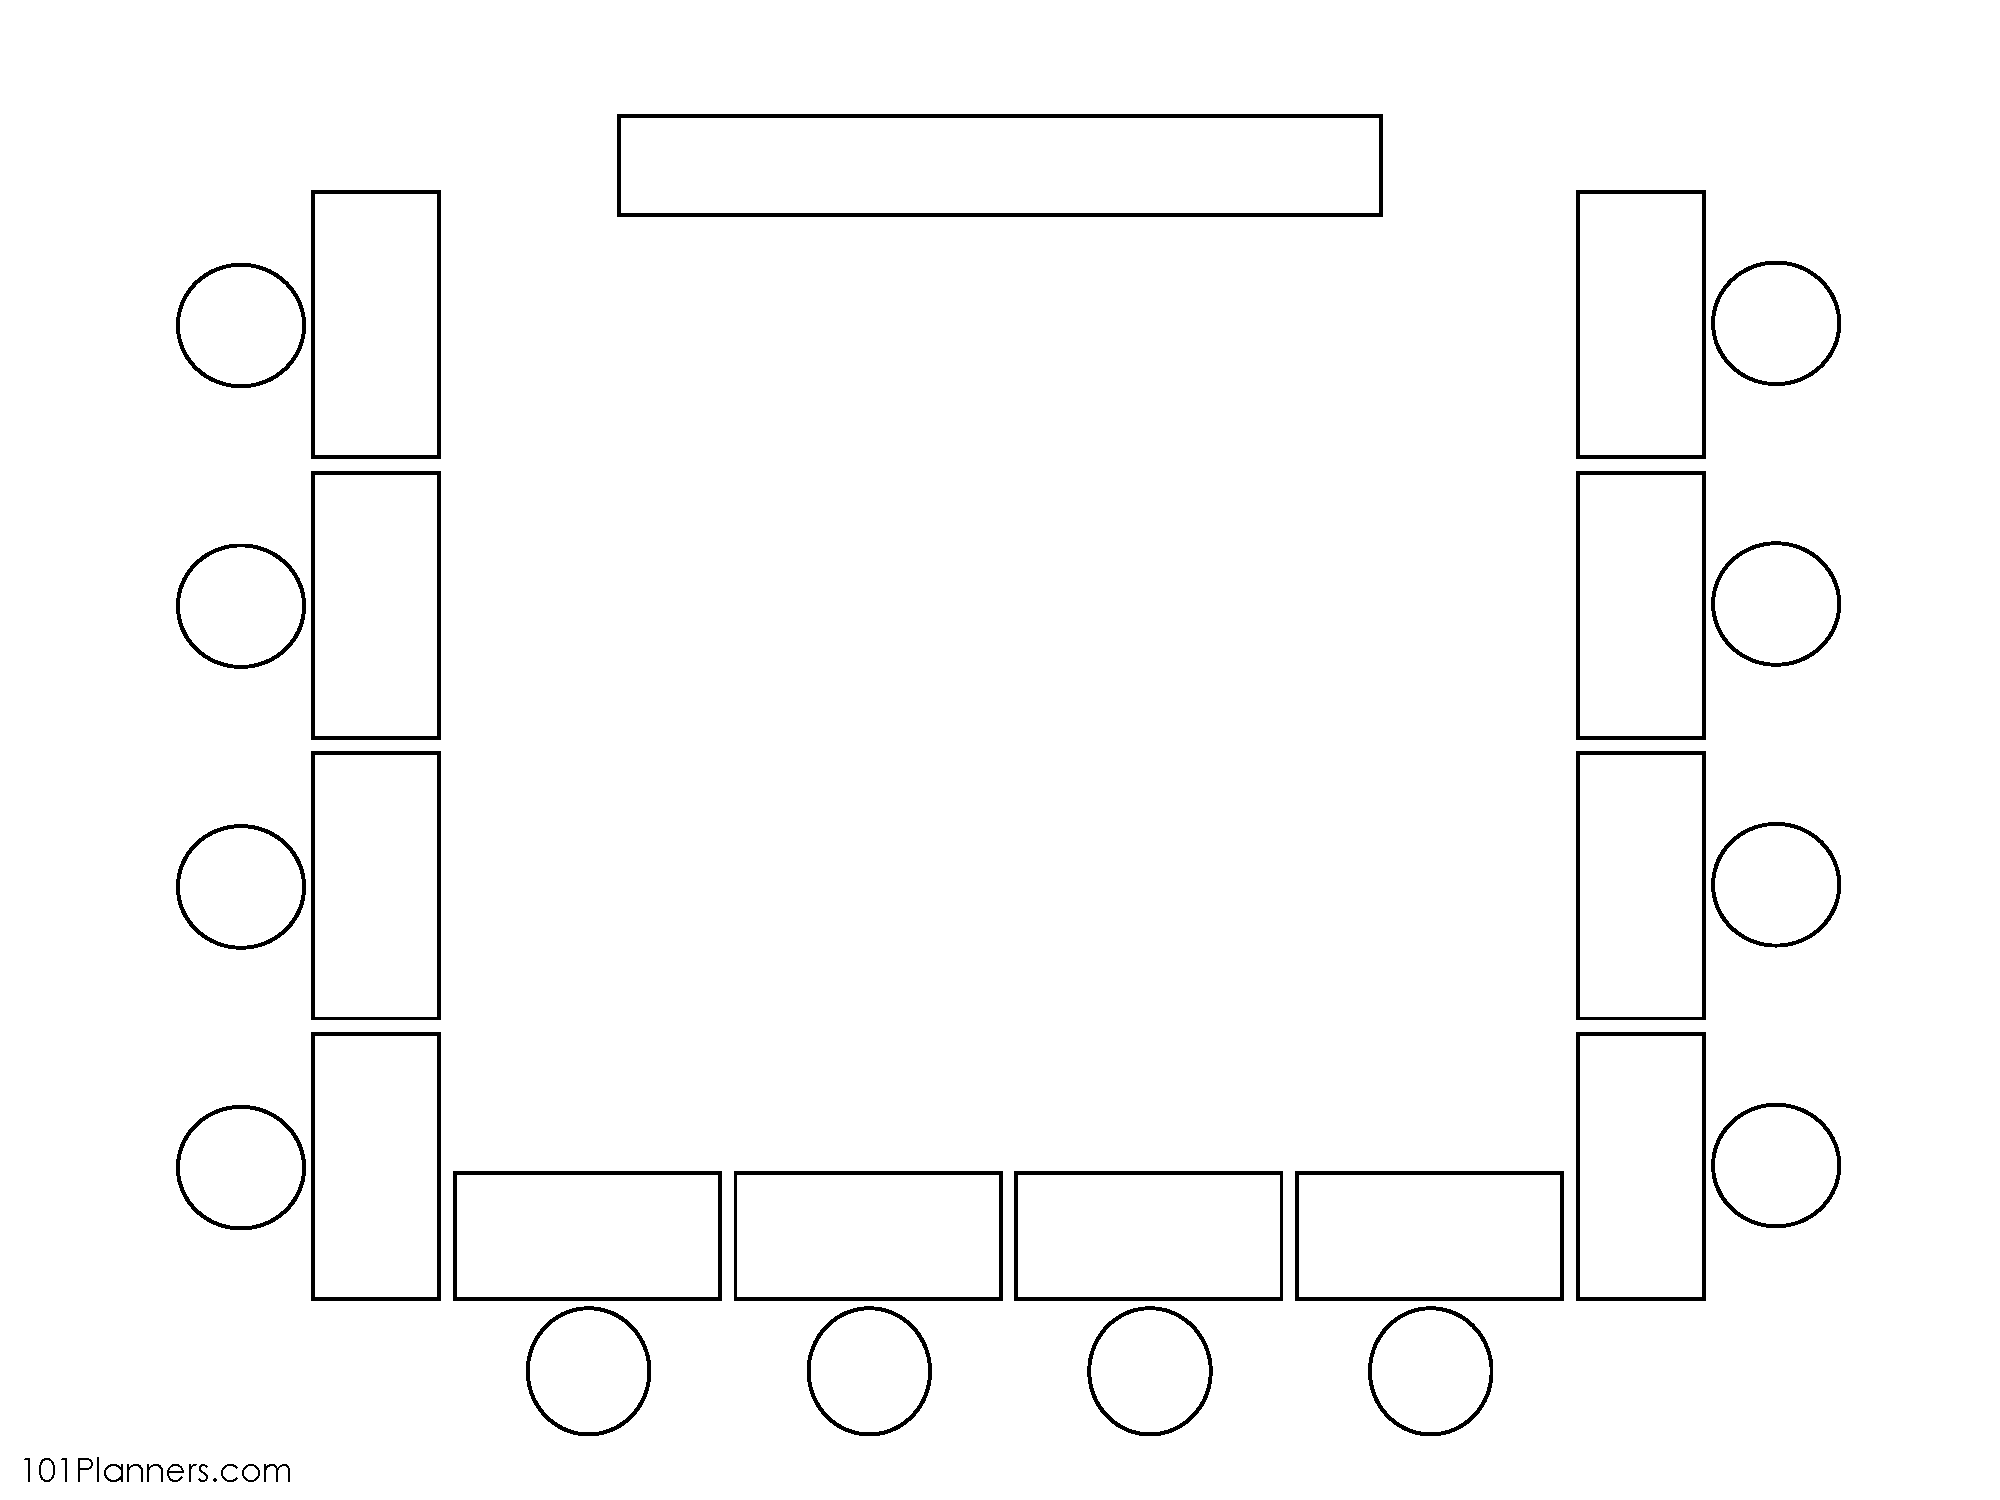
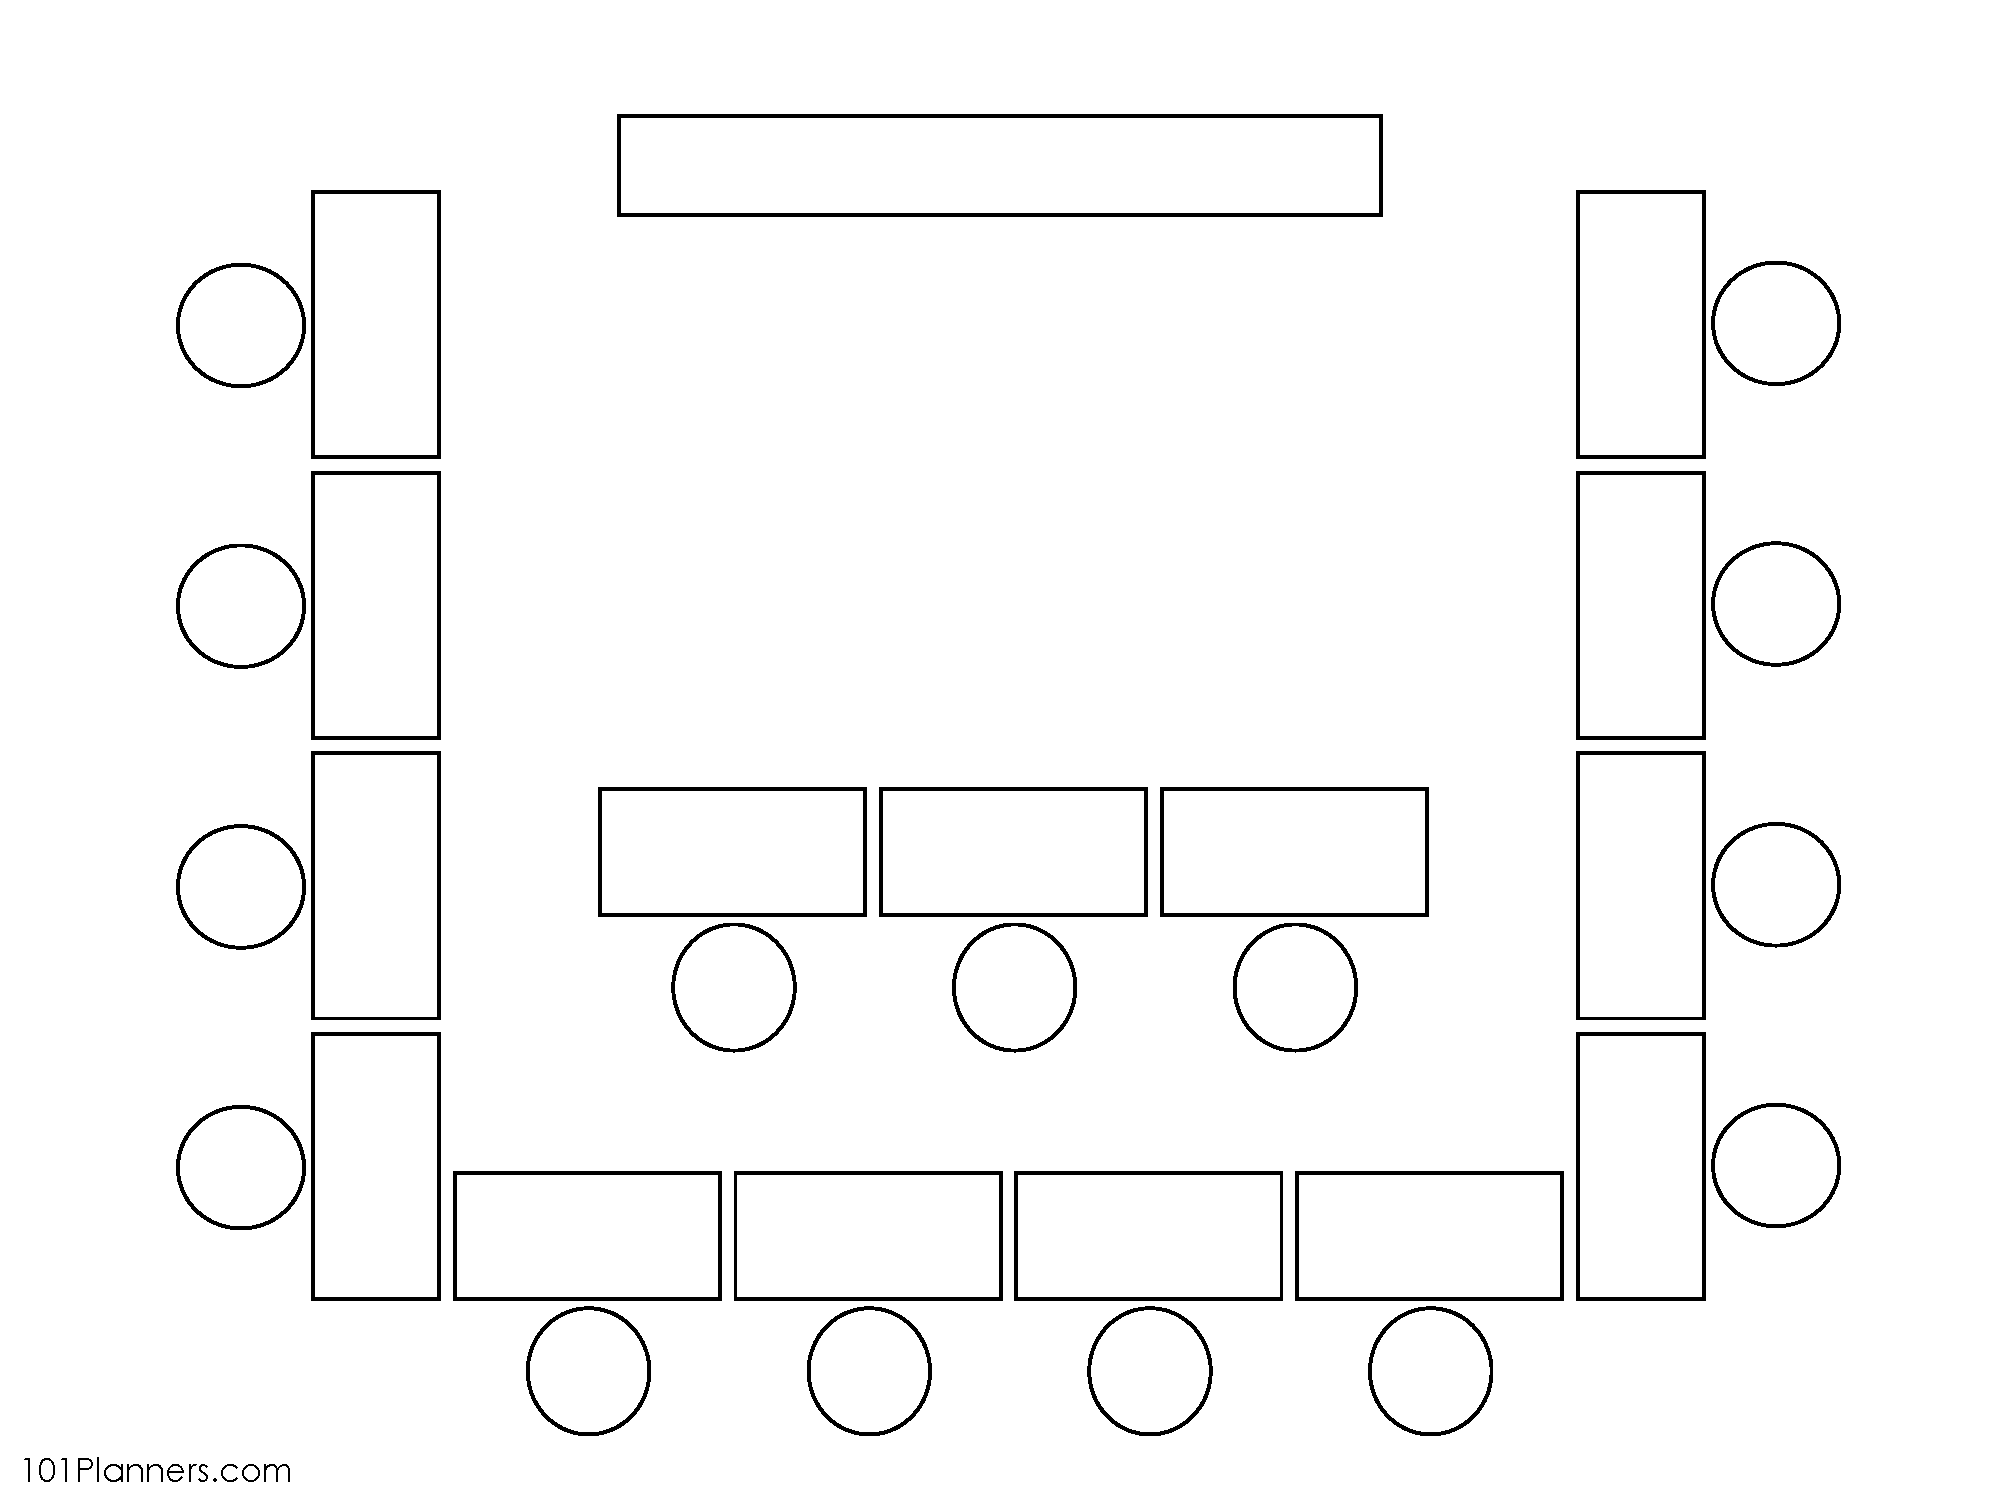
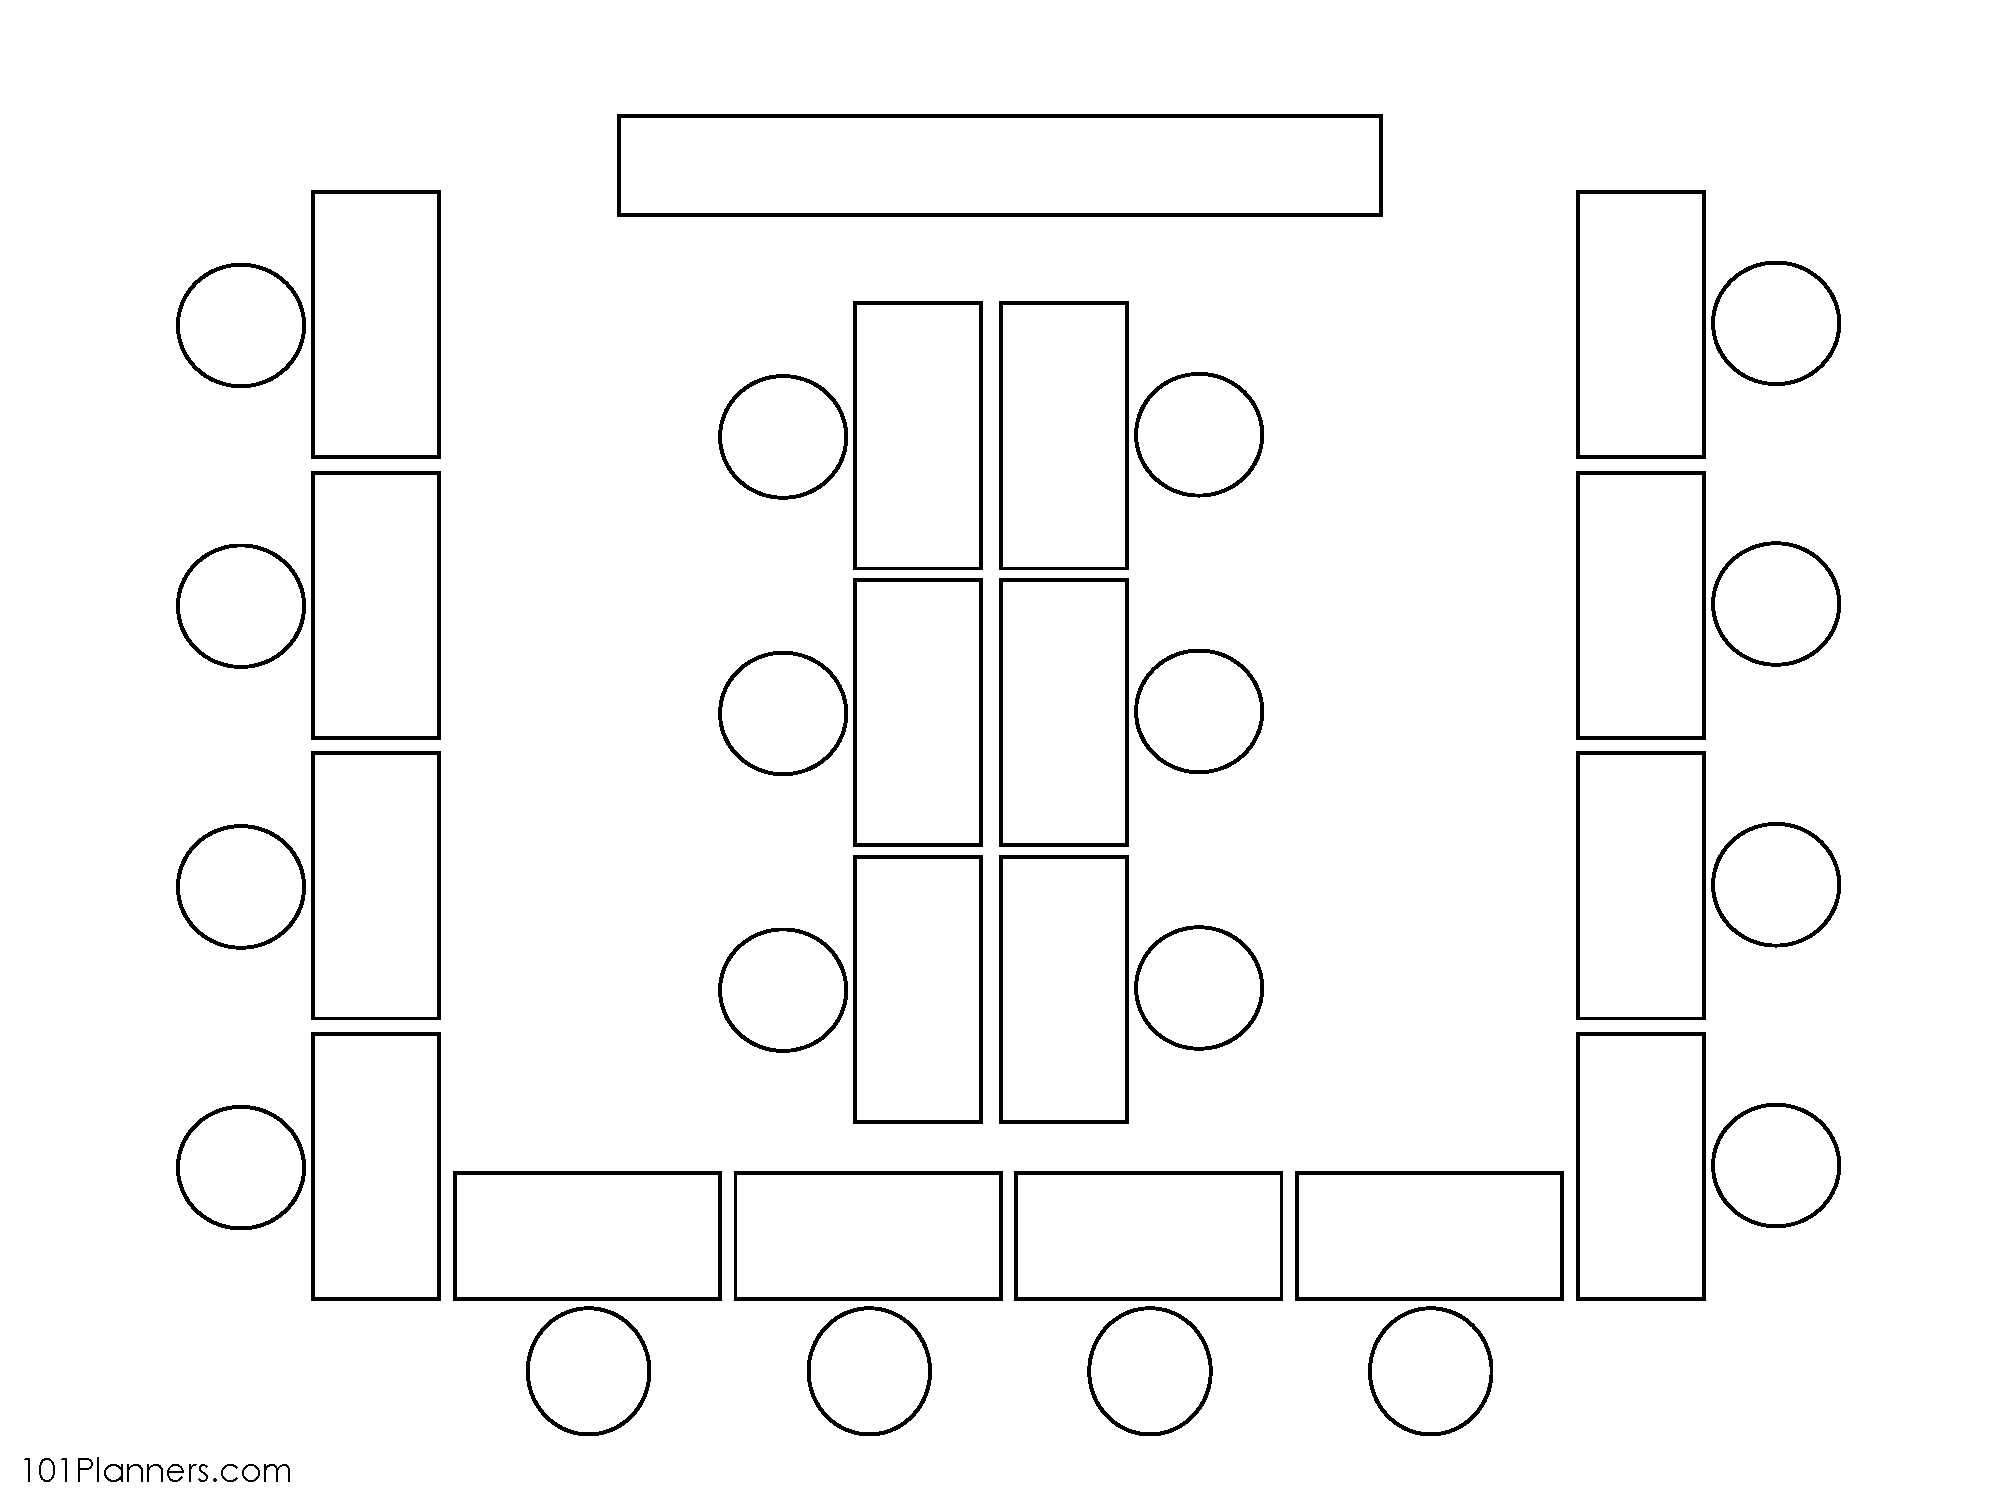
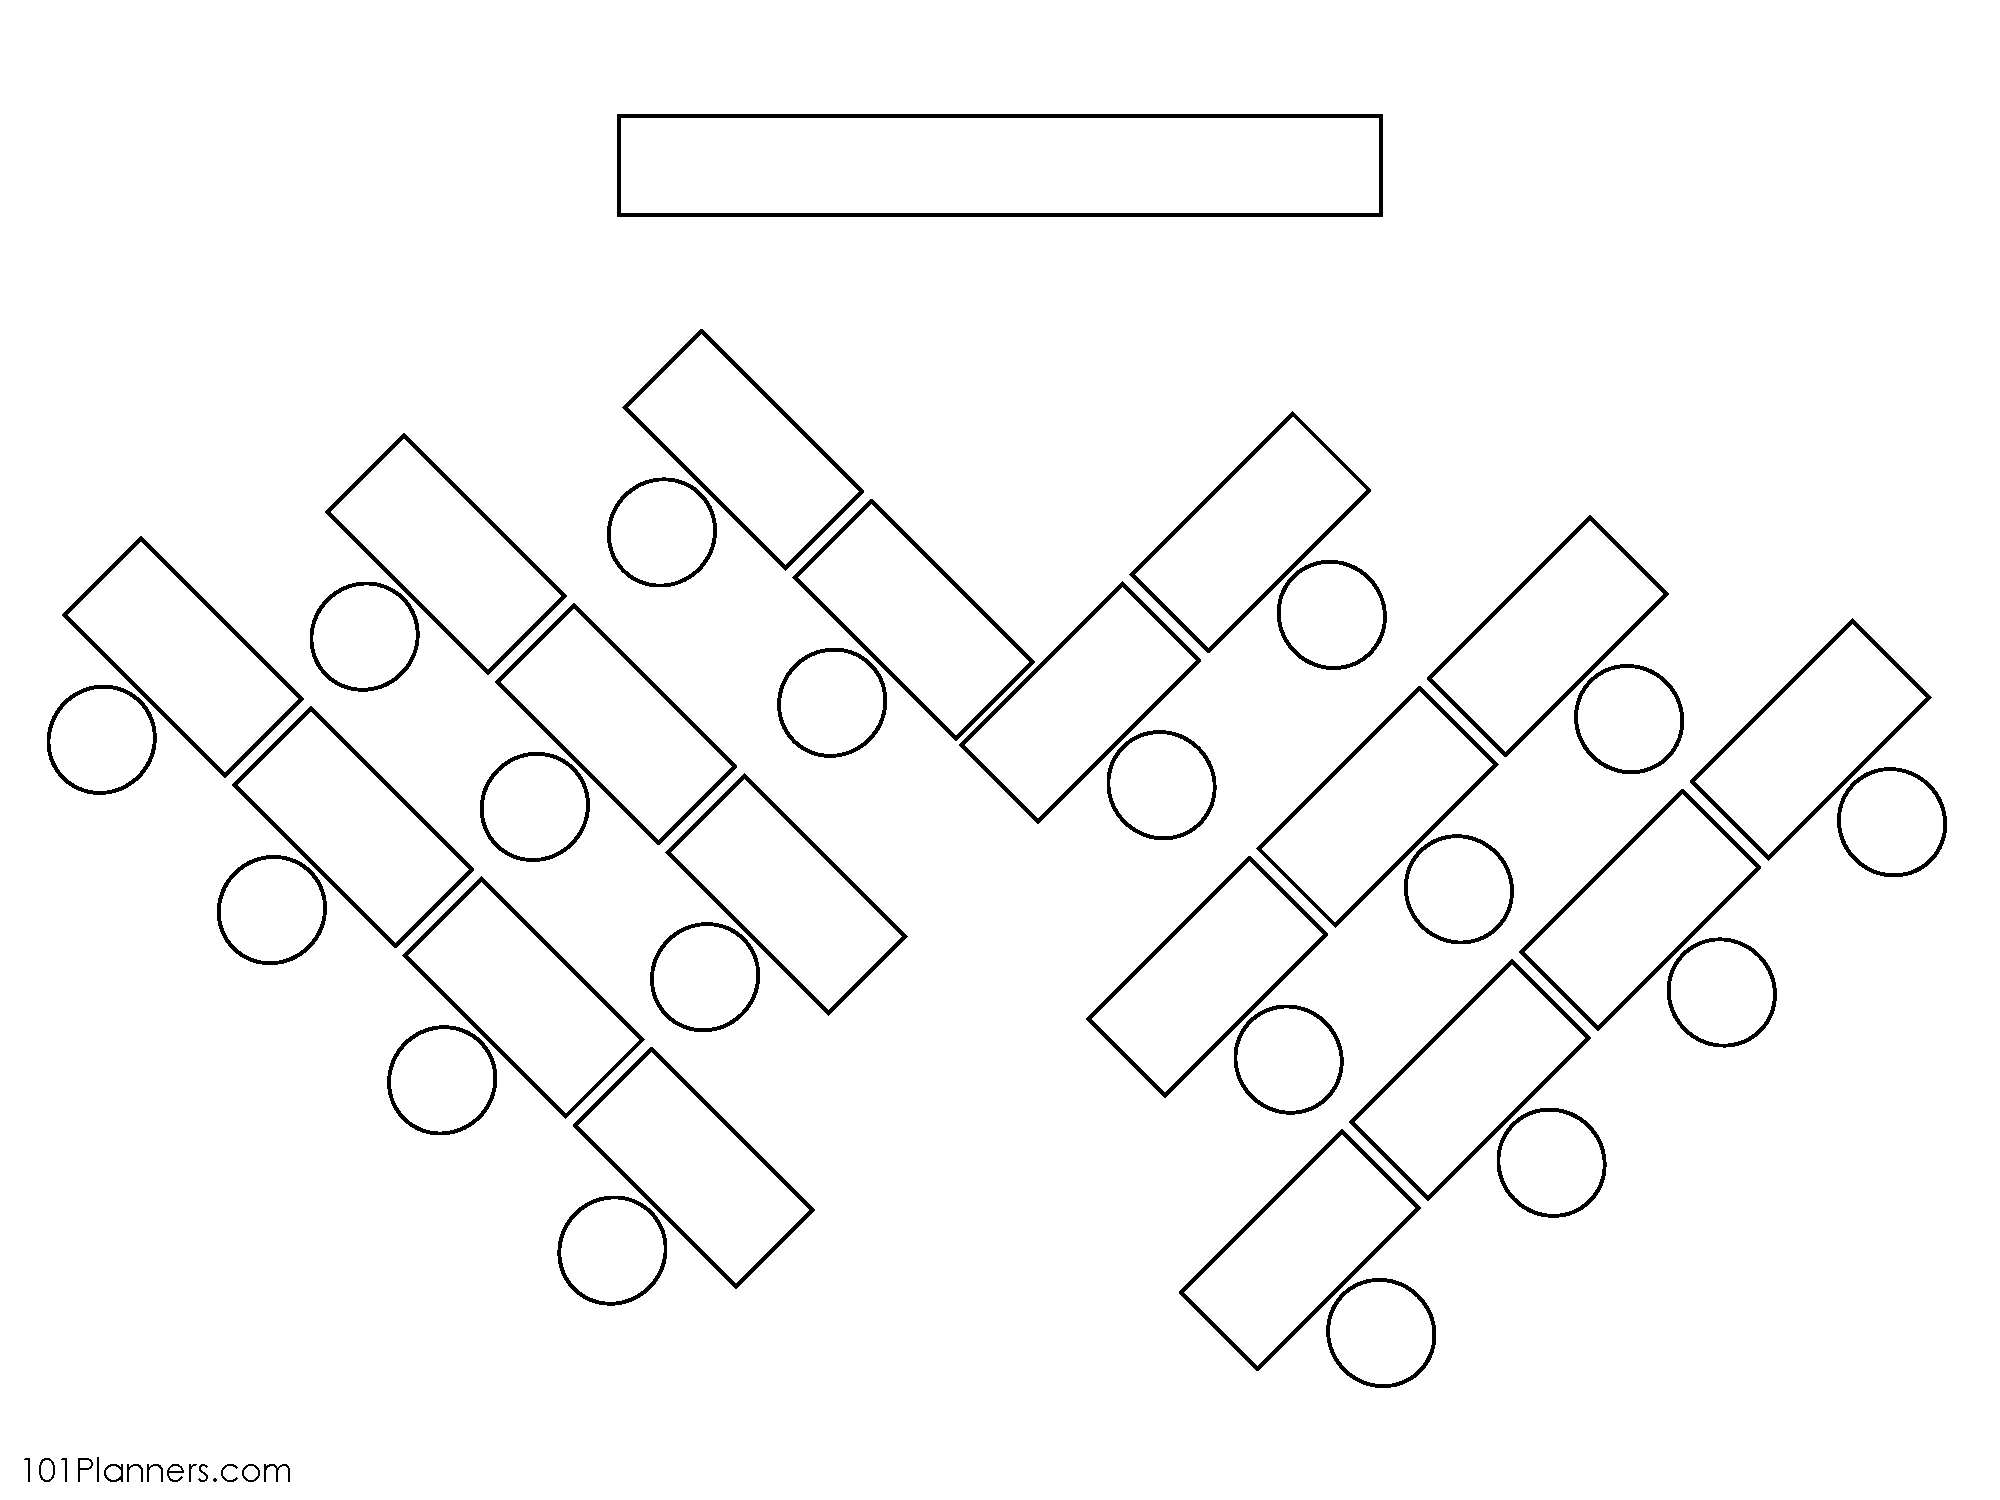
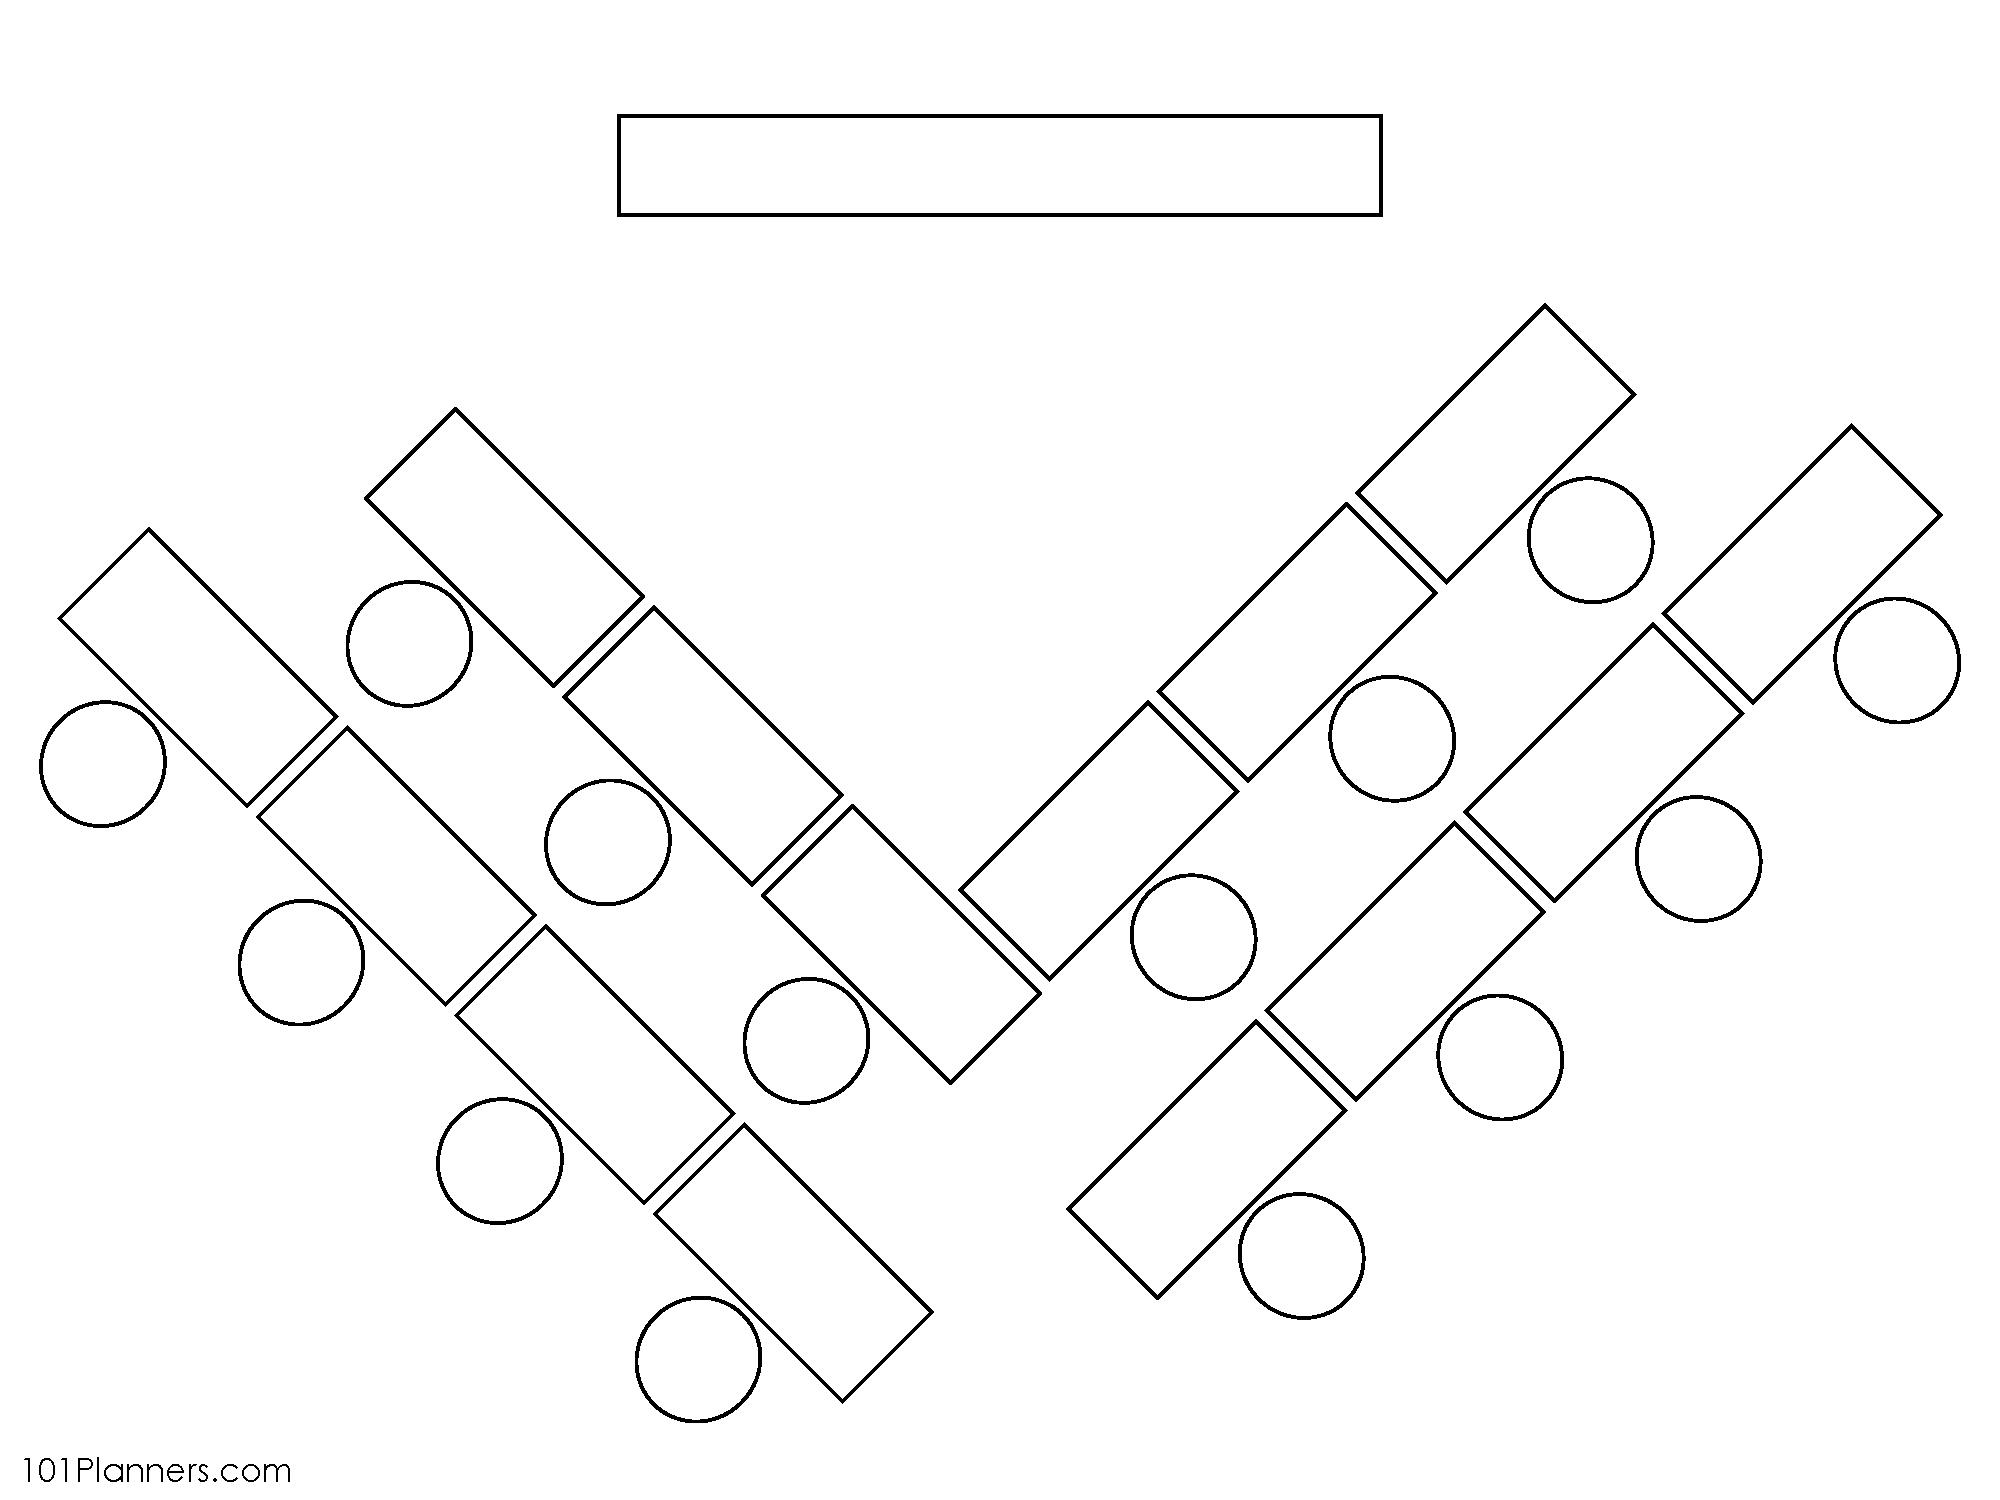

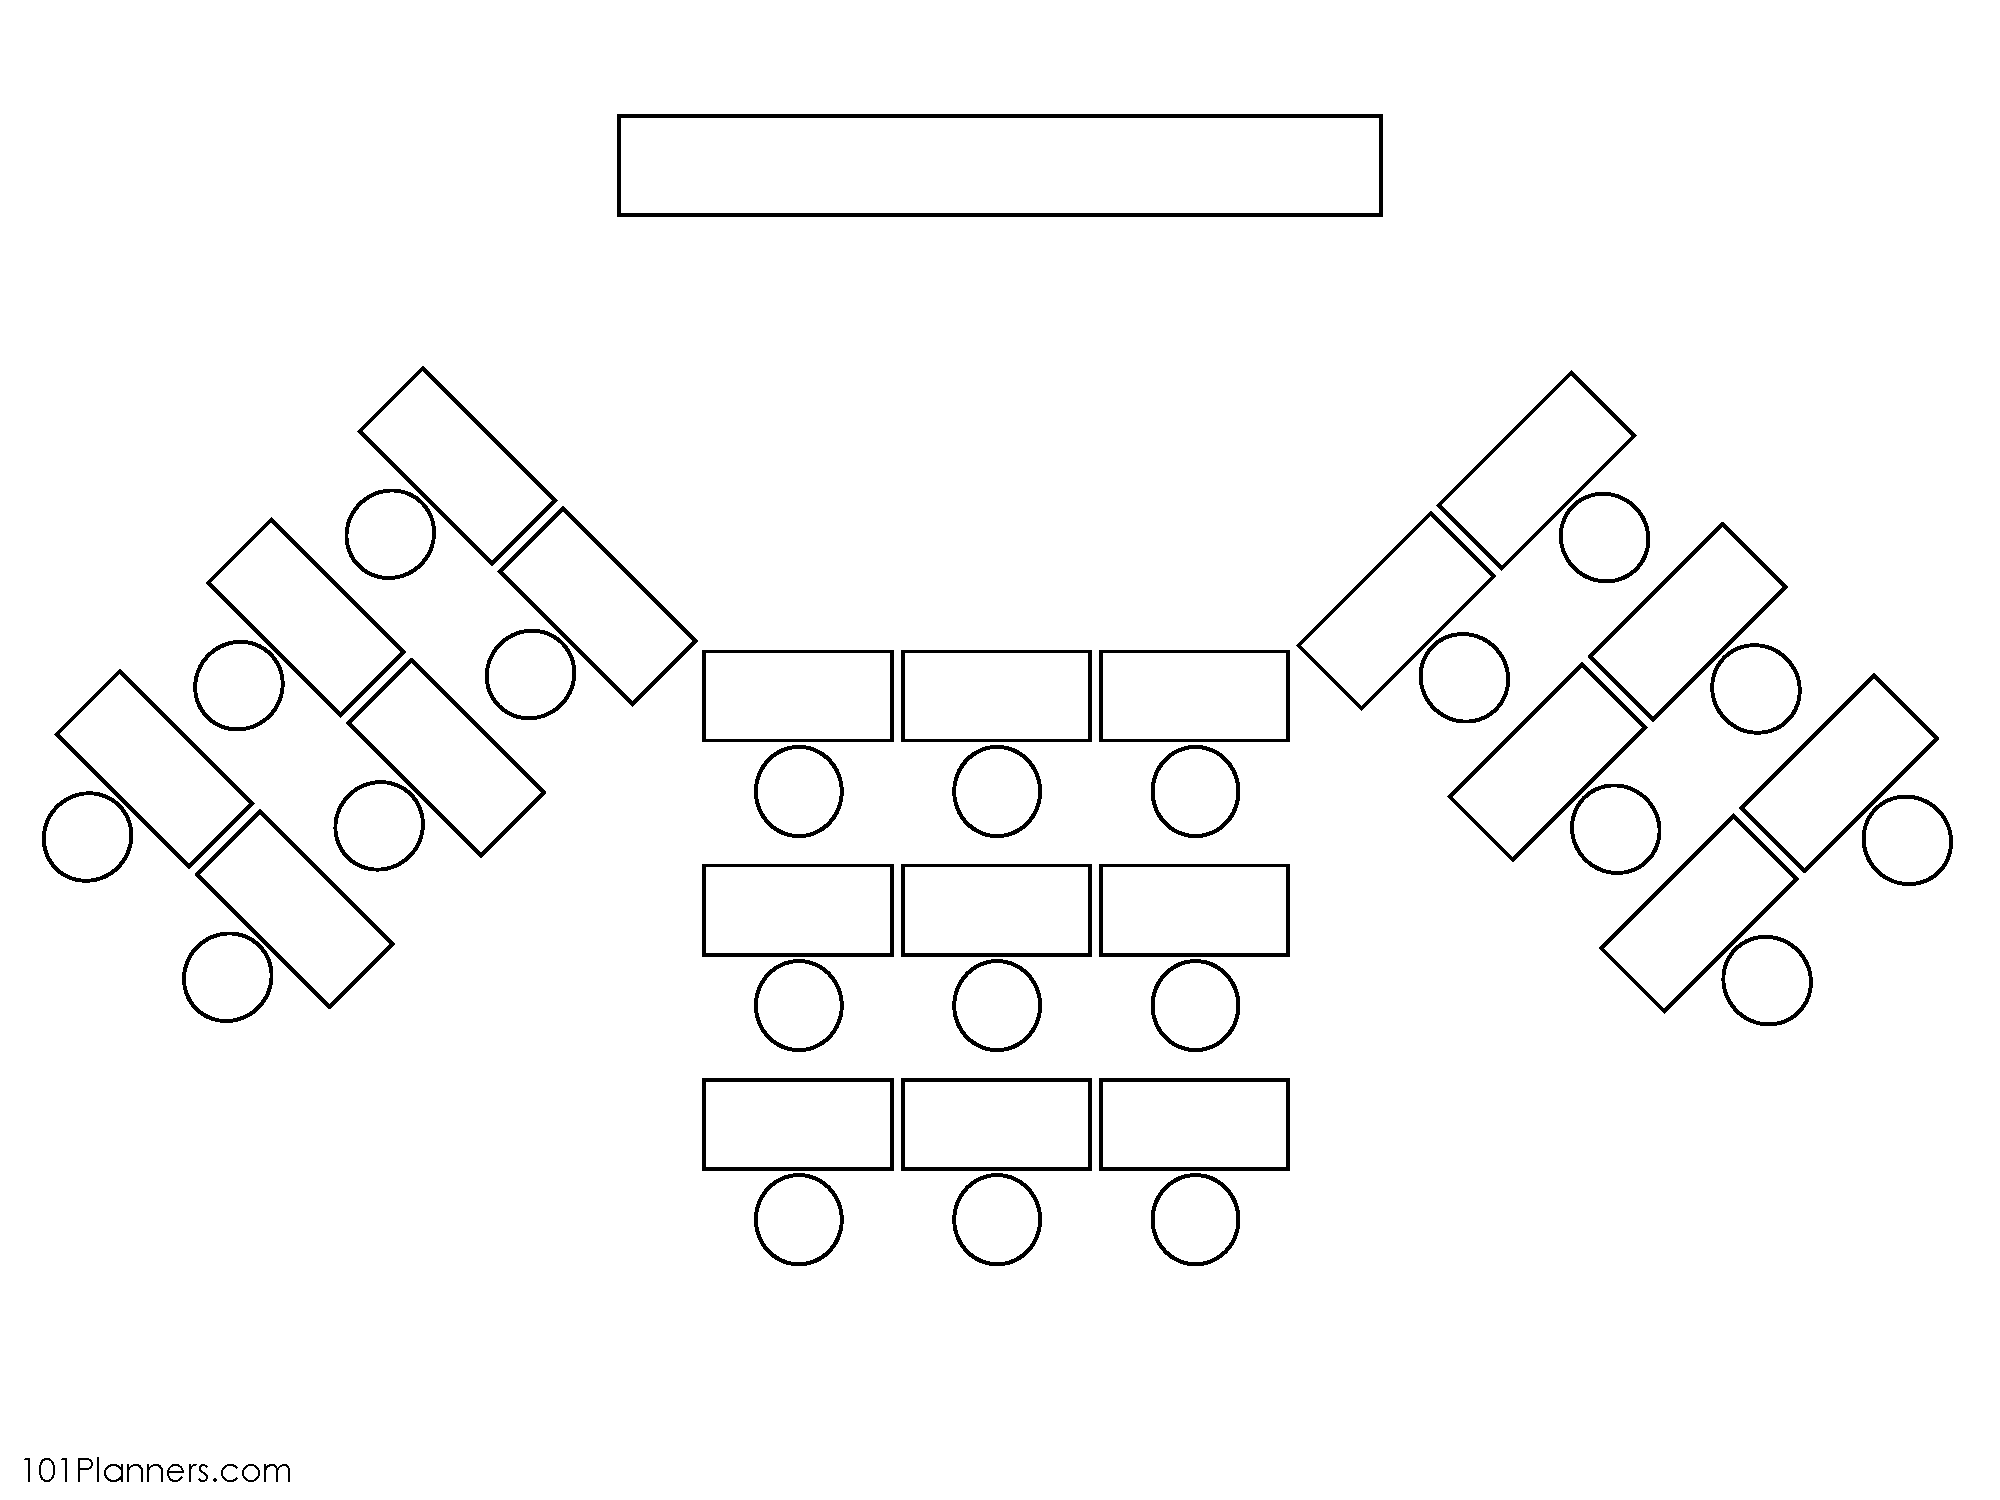
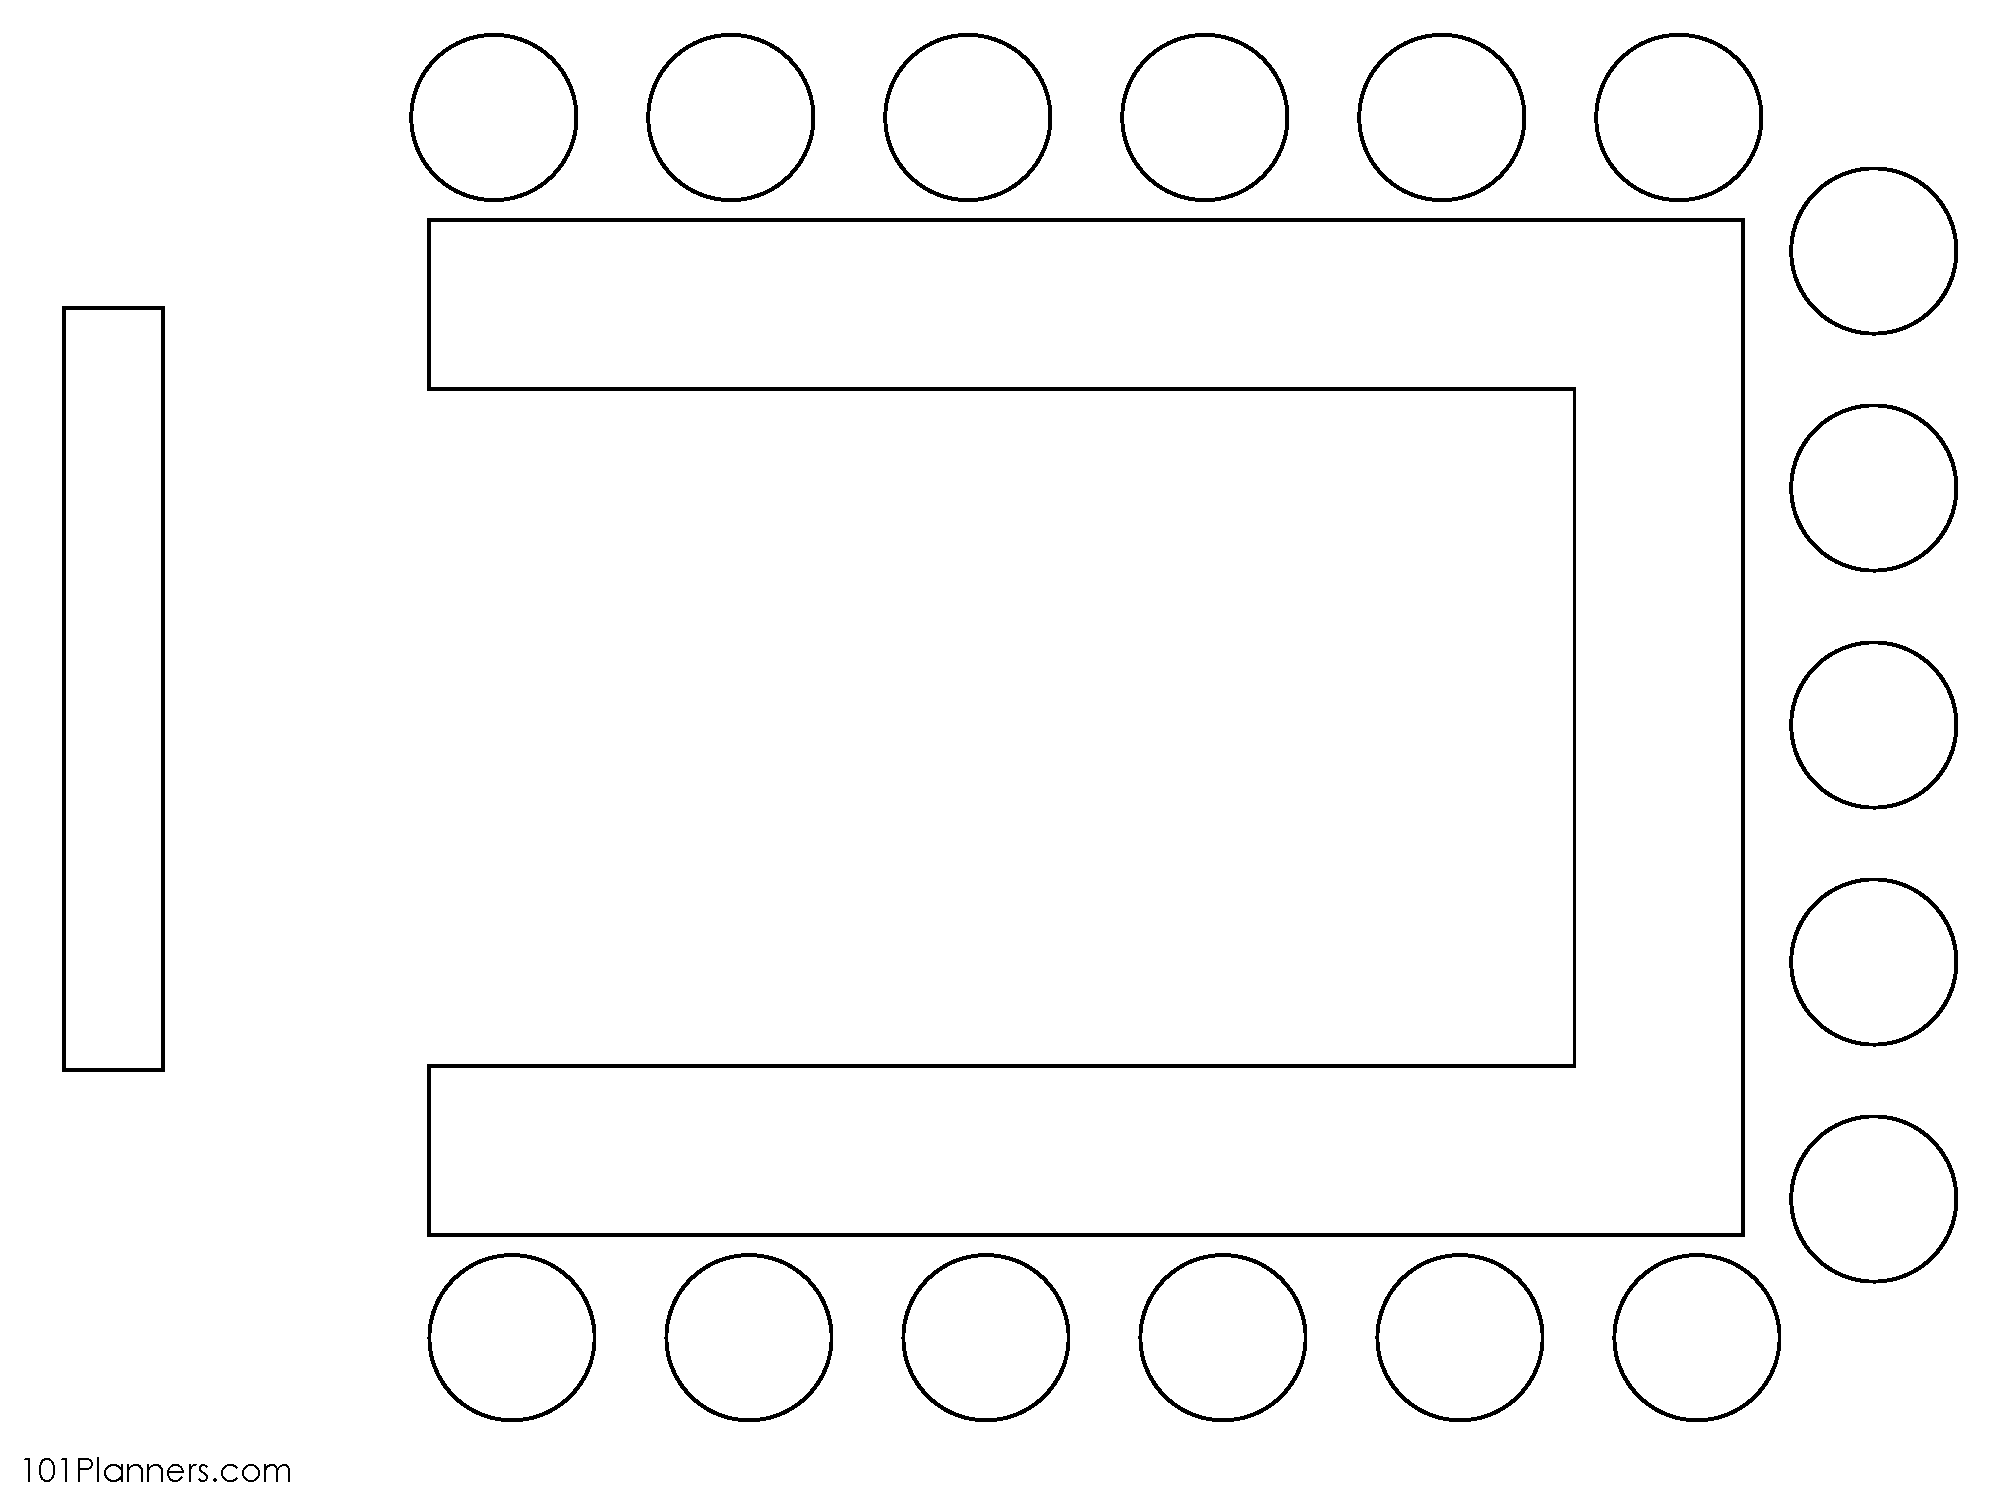
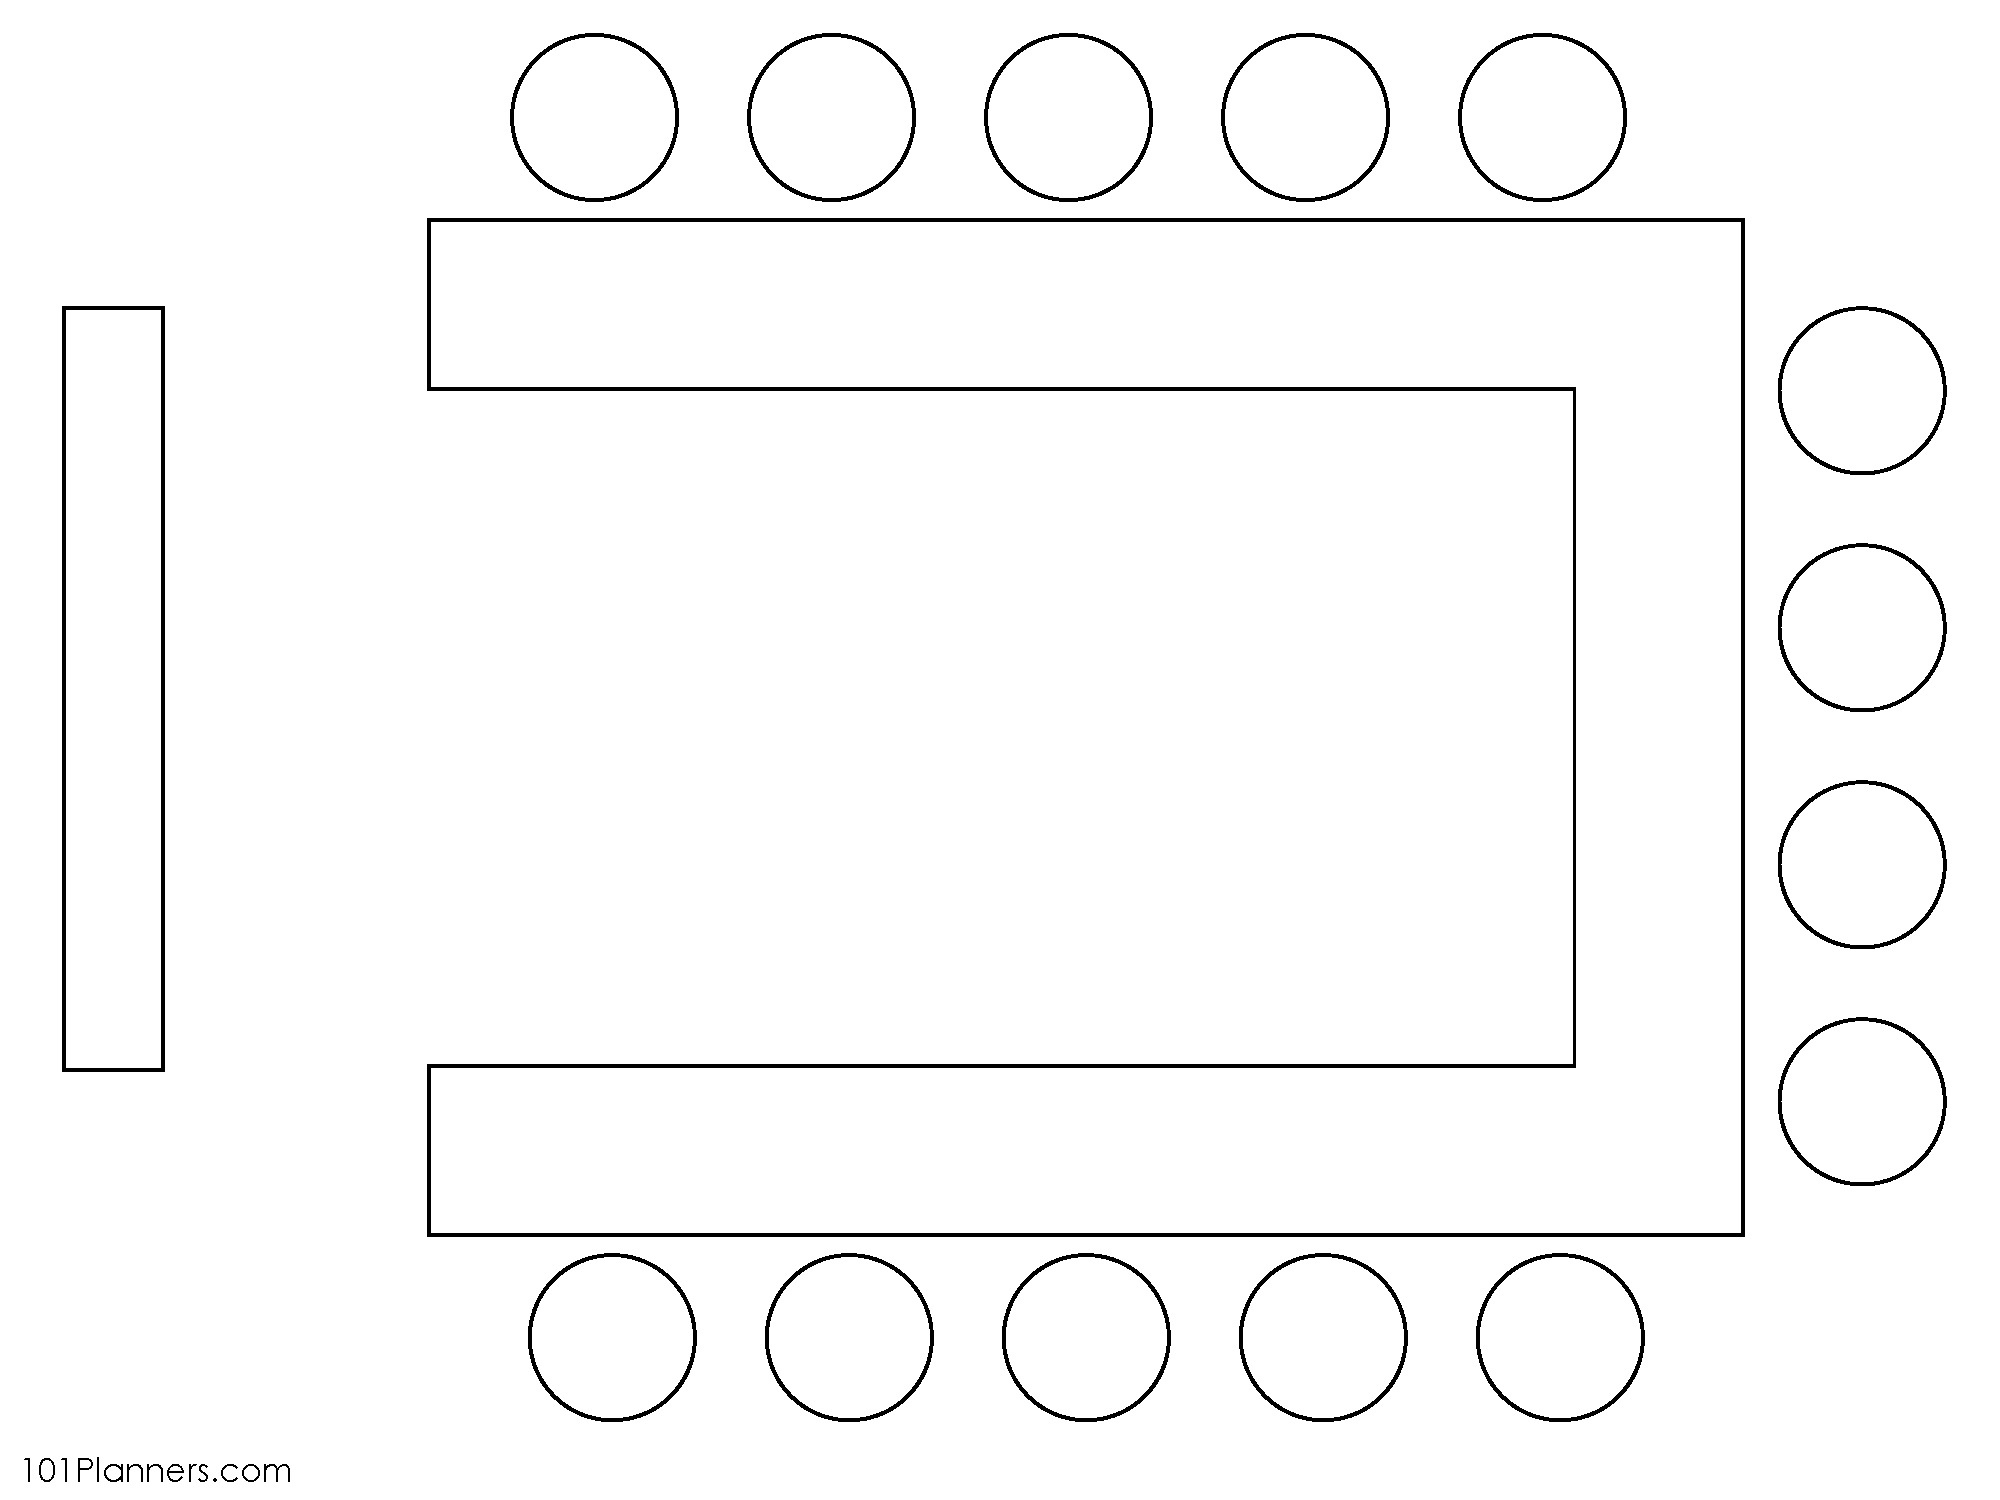
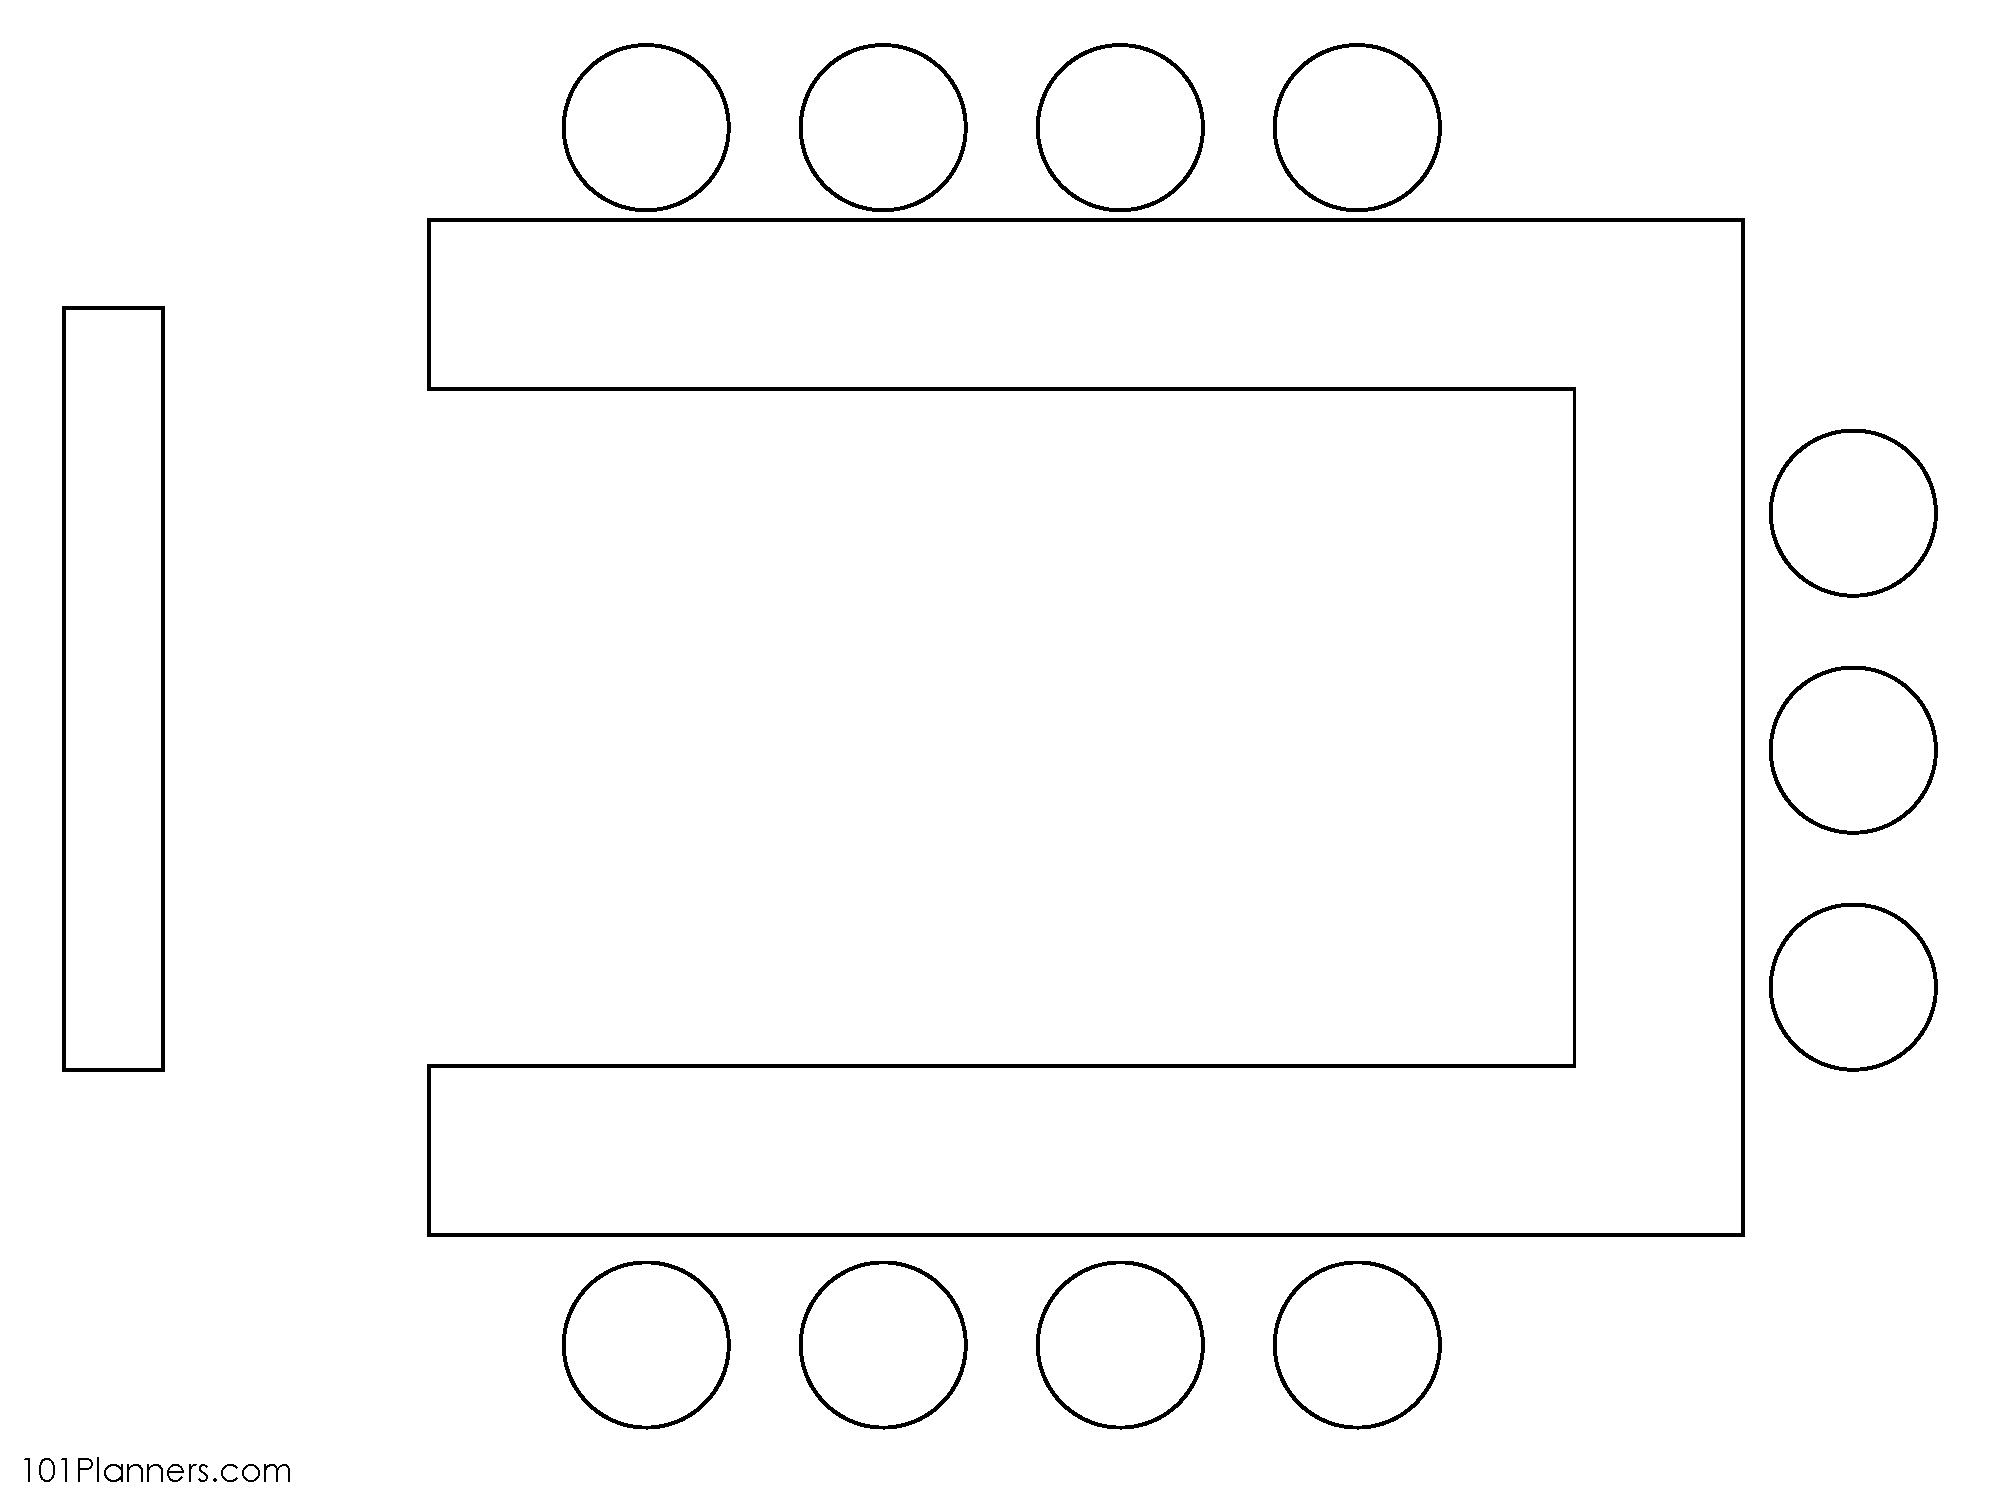
If you don’t find seating charts for classroom layouts similar to yours, then use our free app to create your custom layout. With our free classroom seating chart generator, you can add desks, chairs, and furniture with a click of your mouse. Drag them around to create your ideal classroom seating arrangements.
How to Make a Classroom Seating Chart
- Choose the template that is closest to your classroom layout or the number of students in your class. If you find a classroom template with the same classroom layout that you would like to use, then you can use the image file or the editable PDF to add the students’ names.
- If you need to edit the classroom table plan, then select the Powerpoint version. You can drag the desks around, and delete or add boxes to adapt the seating layout to your actual layout.
- Edit the printable seating chart if you need to adapt it to your classroom. When the layout is ready, you can type the students’ names.
- Print your seating layout chart.
- If you do not find a layout similar to the one you are looking for, then you can use our free classroom seating chart maker below.
Benefits of a Seating Chart
A seating chart helps you plan seating arrangements and to take into account the interactions between different students. Some students disturb each other and it is helpful to separate them. This will not only help your students focus but it will help the teacher concentrate too. There will be less chatter and disturbances during class.
A seating chart is very helpful for substitute teachers. Since you might leave unexpectedly you might want to leave a copy available just in case.
For every given space there are many different possible seating arrangements. Moving tables and chairs around to find the best layout is time-consuming, heavy, and difficult. With our editable seating chart templates, you can drag tables and chairs with your mouse to find the optimal arrangement. It is way easier than moving the desks around. Once you have found the optimal seating arrangement, you can then move the desks and tables according to the seating plan.
Many teachers like to move students around throughout the year. When you have a blank seating chart, you can simply change the names whenever you want. Make a few copies of the chart or save it and visit again when you need to.
It is much easier to take attendance when you have a set seating plan. Within seconds you will know who is missing. When students sit wherever they want, you will need a while to figure out who is missing.
Classroom Layout
You can set up your classroom floor plan with our free online classroom design tool. If you only want to plan the seating layout, then add desks and chairs only. To design the entire classroom layout, add storage, bookshelves, activity areas, etc. If there are additional icons that you would like us to add to the classroom planner, then please leave a comment below.
Classroom Layout Maker
With our free classroom layout maker, you can plan the ideal layout for your classroom. With a click of your mouse, you can add storage, bookshelves, desks, chairs, etc. Drag each item around the “classroom” until you find the ideal layout. Drag items, duplicate them, and delete them with one click of your mouse.
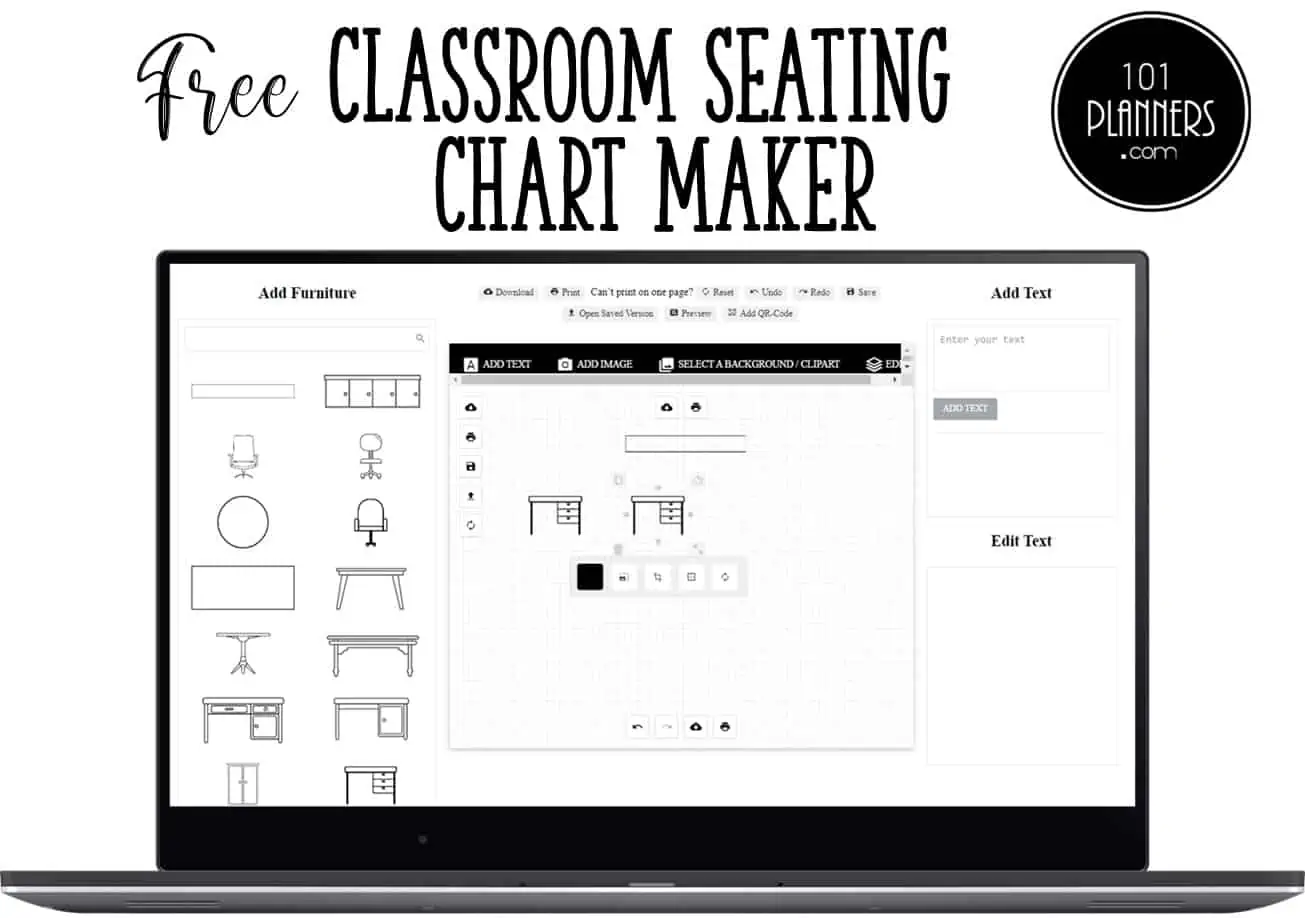
- Click on the button below to open the classroom seating chart maker.
- Click to add desks, chairs, blackboard, storage, etc. Drag each item to wherever you want it to appear.
- To add the students’ names to the seating layout chart, click on “add text”.
- Once you are happy with the classroom diagram, download it.
- Print the chart.
Preschool Classroom Layout
The preschool classroom layout is often different from those above since you will also need to include an area to play in and an area for other group activities.
You will probably want to include learning centers, a teacher station, storage, a library, etc. Each learning center should have room for about 4 children. However, this really depends on how much space you have, how many learning centers you will have, and how many students are in each class.
How to Setup your Classroom
When determining your classroom setup, there are a number of factors you will need to take into account.
The size of your classroom – How much space do you have to work with?
Permanent fixtures in the classroom – Take into account areas where you cannot place tables such as near the door, next to the air-con, etc. Also, take note if you have any sinks, windows, or fixed furniture that you cannot move.
How many students will be in your class? The number of students will determine how many spaces you need in your classroom.
Interaction between certain students – Are there any students who you don’t want sitting together? Are there students you do want to sit together?
Are there additional spaces or functions that you will require? Do you need a teacher station, storage space, a workstation, etc? Think about all the elements you want to include in your classroom.
Desk arrangements for classrooms – You will need to find the desk arrangement that works best with the size of your classroom and the number of students you have.
It also depends on the age of your students. High school and middle school students will have different seating arrangements than those in preschool.
Different learning styles need different seating options. If you do more individual work with students, then you will need a different layout than if you work with a small group of students or with the entire class. If you use different methods in your classroom, then you will want more flexible seating options.
Here are some ideas for desk arrangements.
U-shape of semi-circle – students face each other. This is a great way to encourage discussions between the students and the teacher. The teacher has space to move around the classroom and can easily reach each student. The problem is that this classroom arrangement requires a lot of space and most classrooms are not big enough. To overcome this issue, some teachers create a double u-shape (or double horseshoe layout as it is often referred to). This shape tends to be problematic since it is difficult for the kids to move and very easy to chat with their fellow students.
Grid seating – some teachers like to separate their students into a grid layout to allow students to work individually.
Traditional rows – this layout is good when you need your students to focus on the front of the classroom (for example, when you use a whiteboard, blackboard, or projector). However, students at the back might find it difficult to see the board. It is also difficult for the teacher to reach each student.
 My name is